LEAPS Manager
LEAPS Manager is an essential tool that provides device discovery, device configuration, network configuration, network management and location visualization for the UDK (All-in-One Ultra-Wideband Development Kit) and the LEAPS RTLS (an advanced Ultra-Wideband Real-Time Location System).
Key Features
The Demo Wizard allows an easy and super fast way to configure predefined demo setups of the kit.
The Grid in 2D and 3D provides real-time position updates and visualization of the devices in the network.
The communication with the devices are done via the BLE with support for up to 6 concurrent connections to maintain connection reliability.
When data centralization is used, the communication with the LEAPS Server via MQTT is available, allowing management and visualization of the devices for the whole network.
Other useful features include User Management, Firmware Update over BLE, Anchors Auto-Positioning, Position Logging and Debug Console.
System Environment
The LEAPS Manager has been developed based on the Android API level 24 and subsequent versions. Refer to apilevels
Minimum android version: Android 7 (API 24)
Minimum memory: 100 MB (free disk space)
Minimum Bluetooth version: 4.2 (recommended 5.0 or newer)
Recommendation for a android device : Google Pixel 7 (equivalent devices)
And the non-recommended device is Samsung Galaxy Tab A8, refer to the known issue list:
Instruction
To get started, please download the LEAPS Manager application (available in the Google Play)

To get started, please download the LEAPS Manager application (available in the App Store)

Getting started
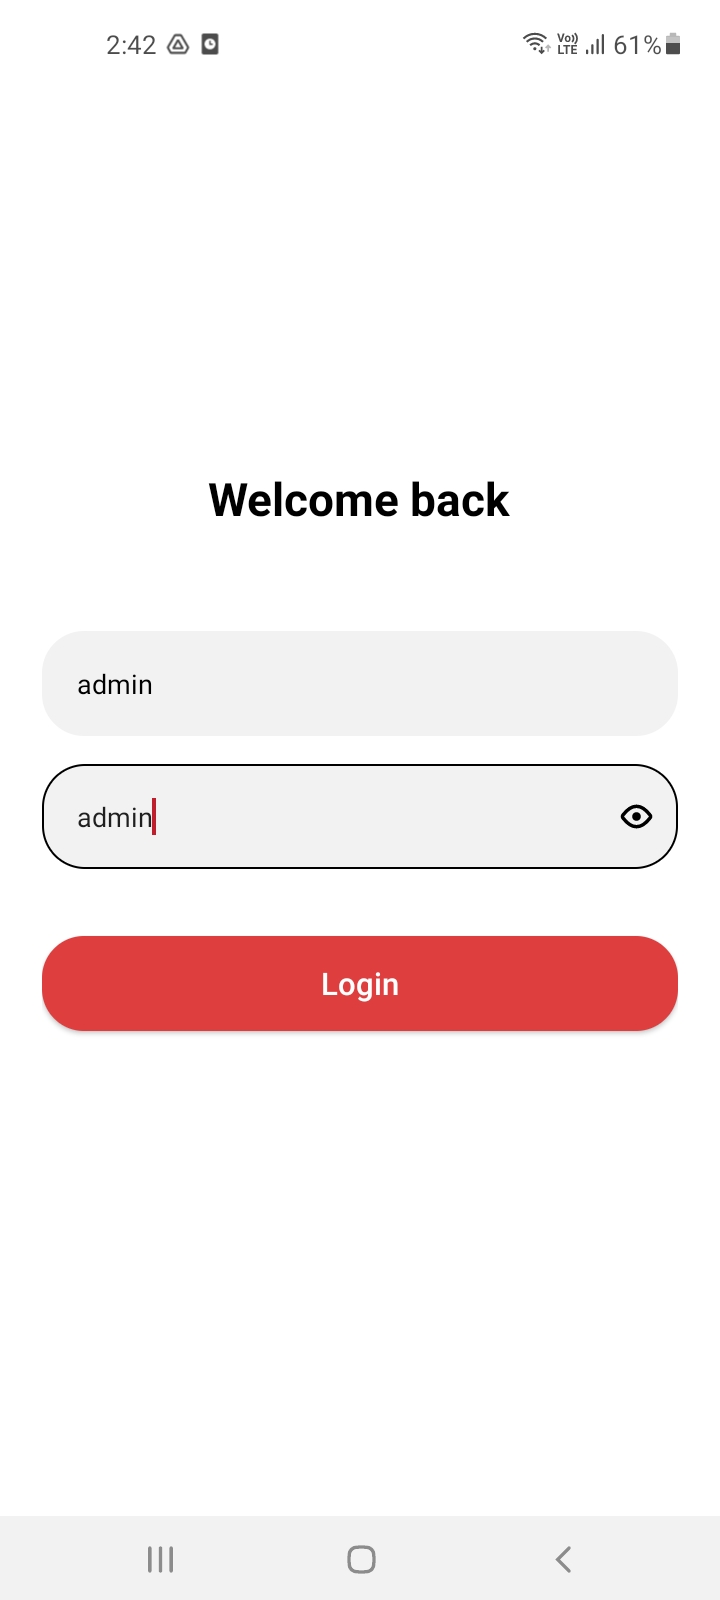
By default, a login account with username is admin and password is admin in case settings enable user management.
Network Configuration
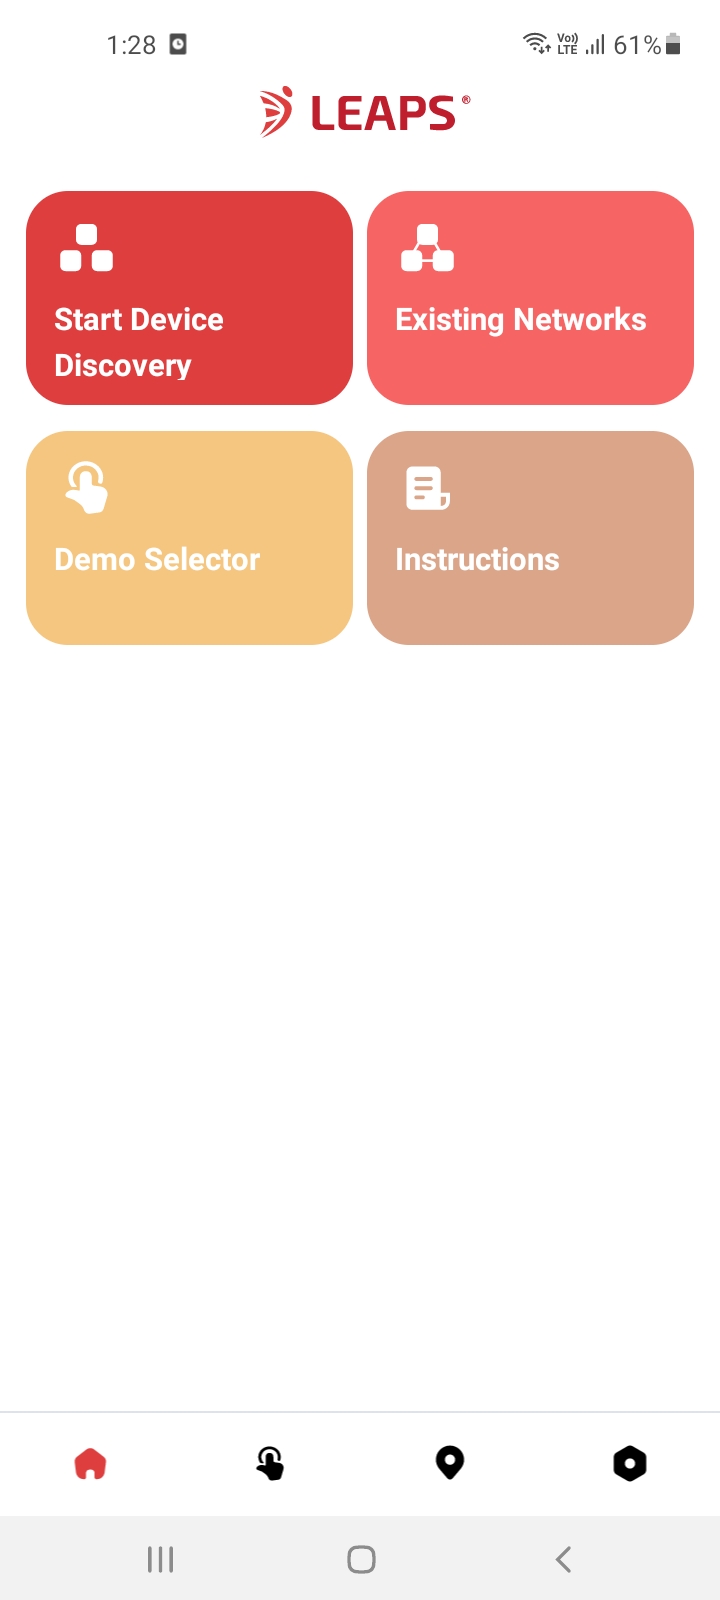
Open the app then select the Start Device Discovery if there are no assigned networks. If a network already exists. Navigate to the Existing Networks.
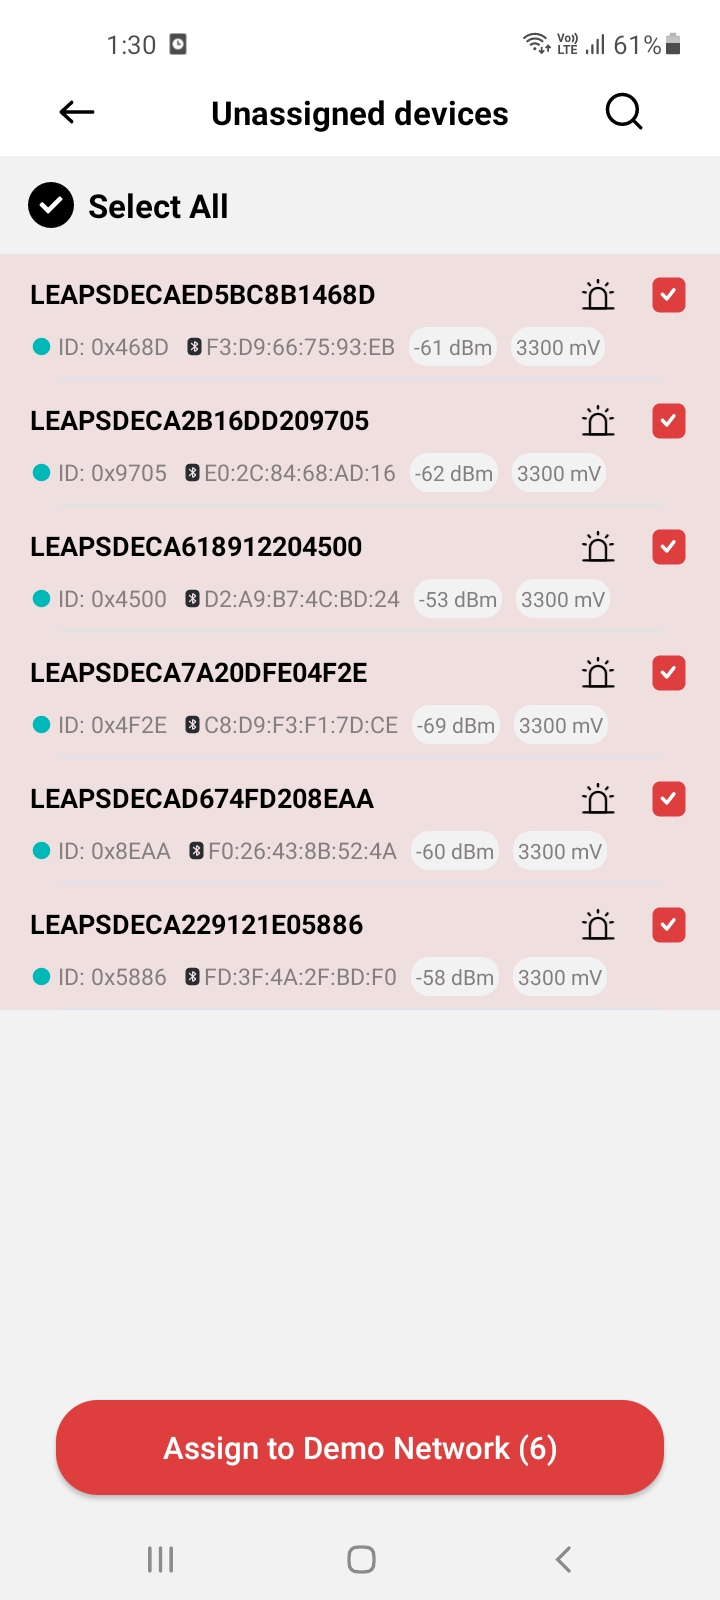
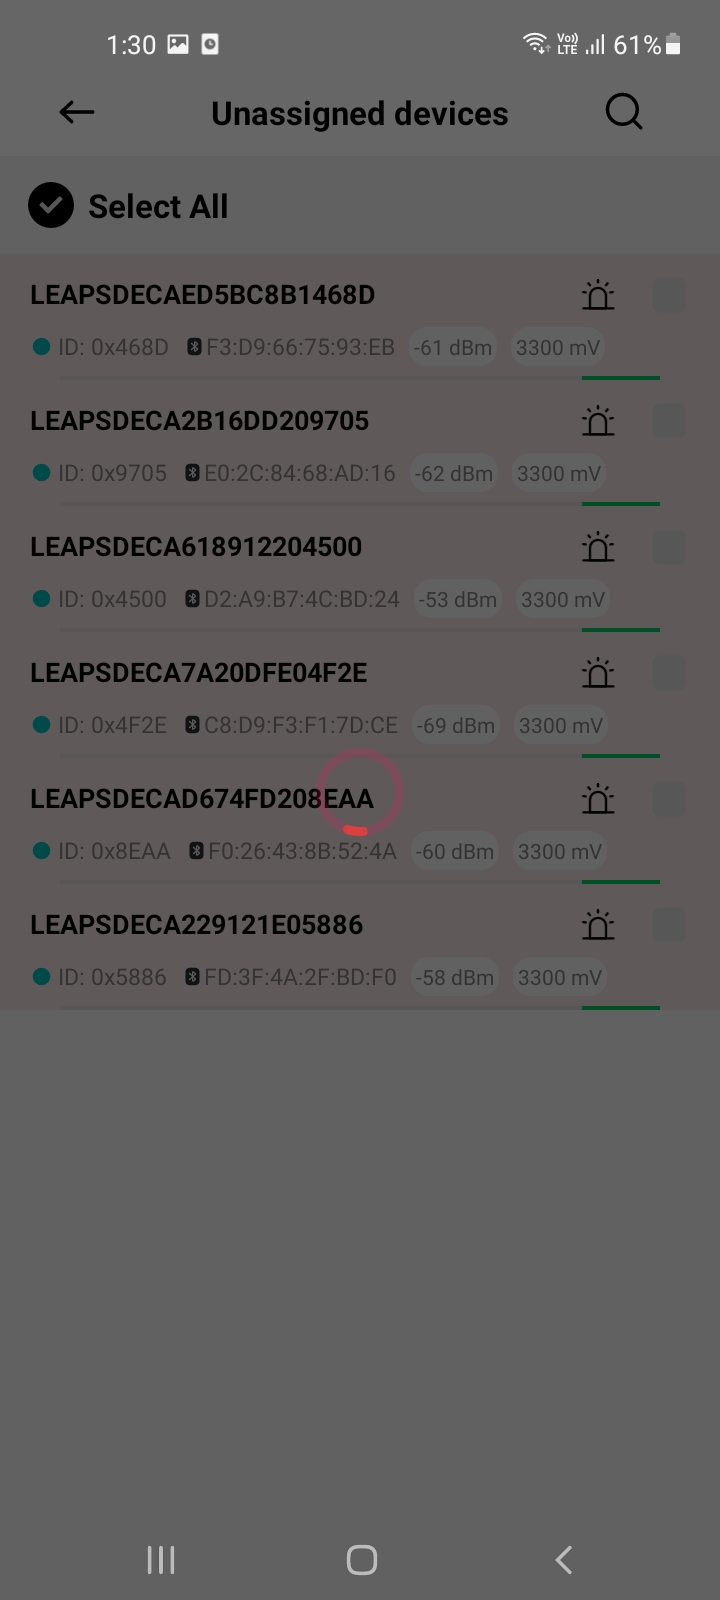
Here, the application begins to discover and scan all available networks and devices.
|
|
|
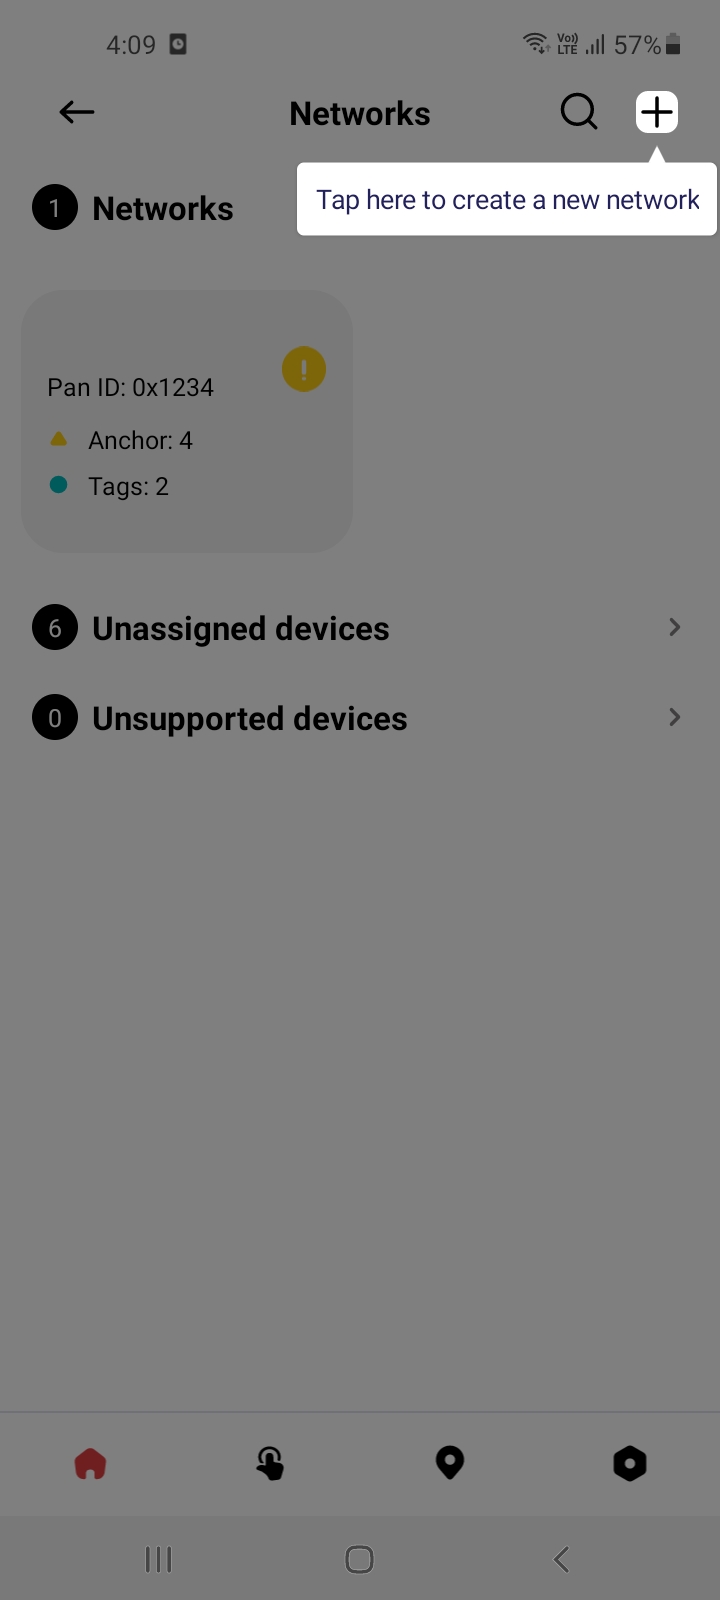
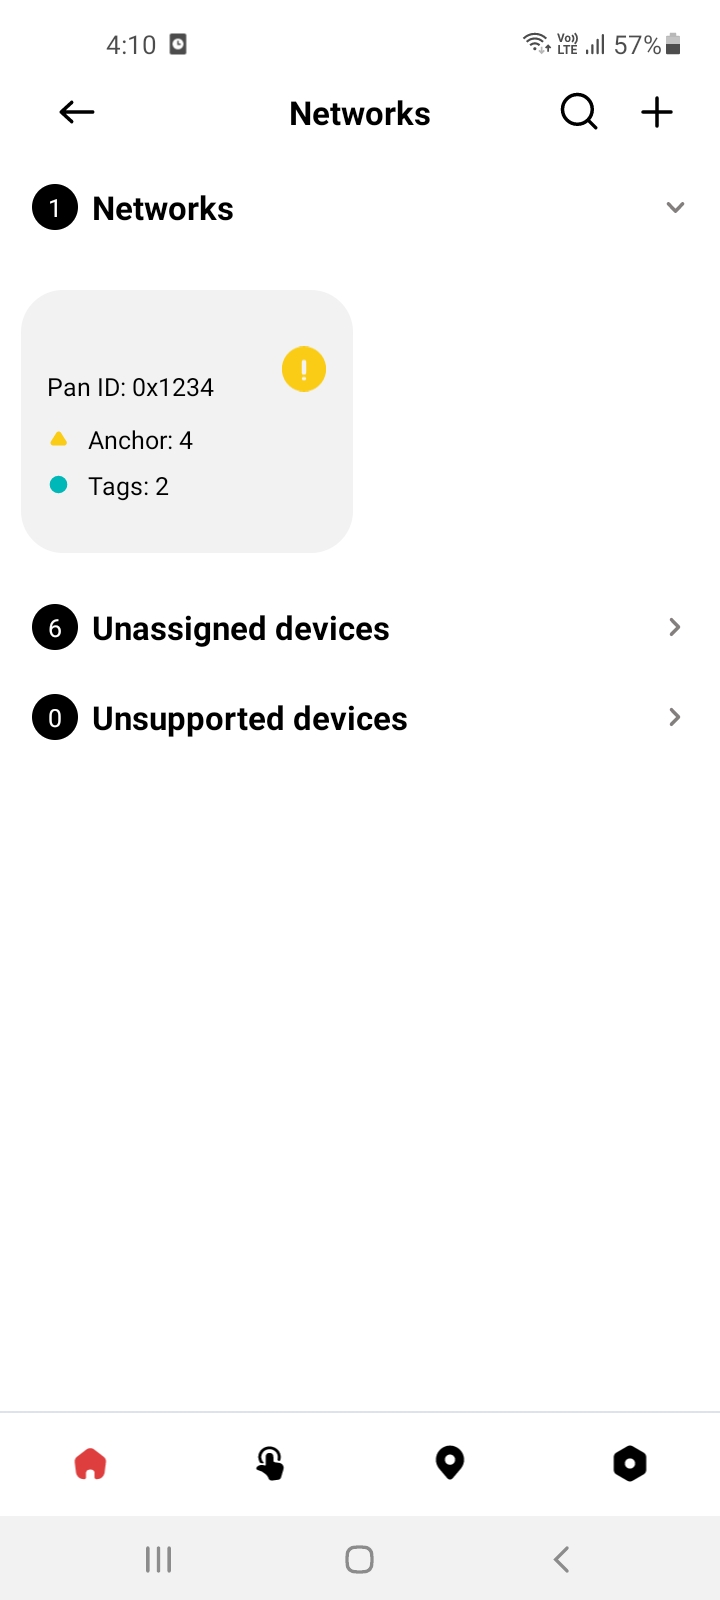
Wait for the discovery and scanning process to finish. You can specify a network if it is available but not assigned. You can select and create devices and then assign them to specified networks.
|
|
|
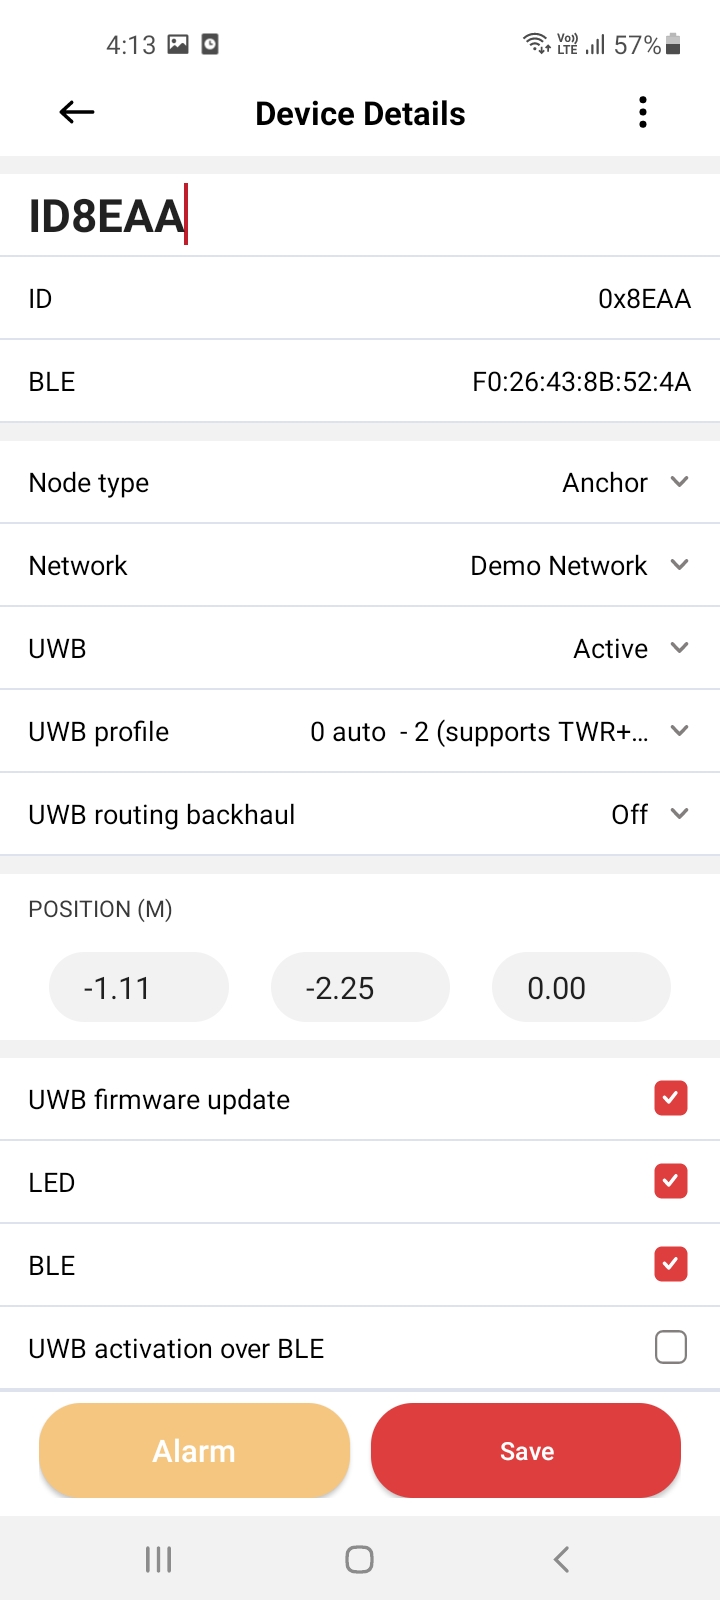
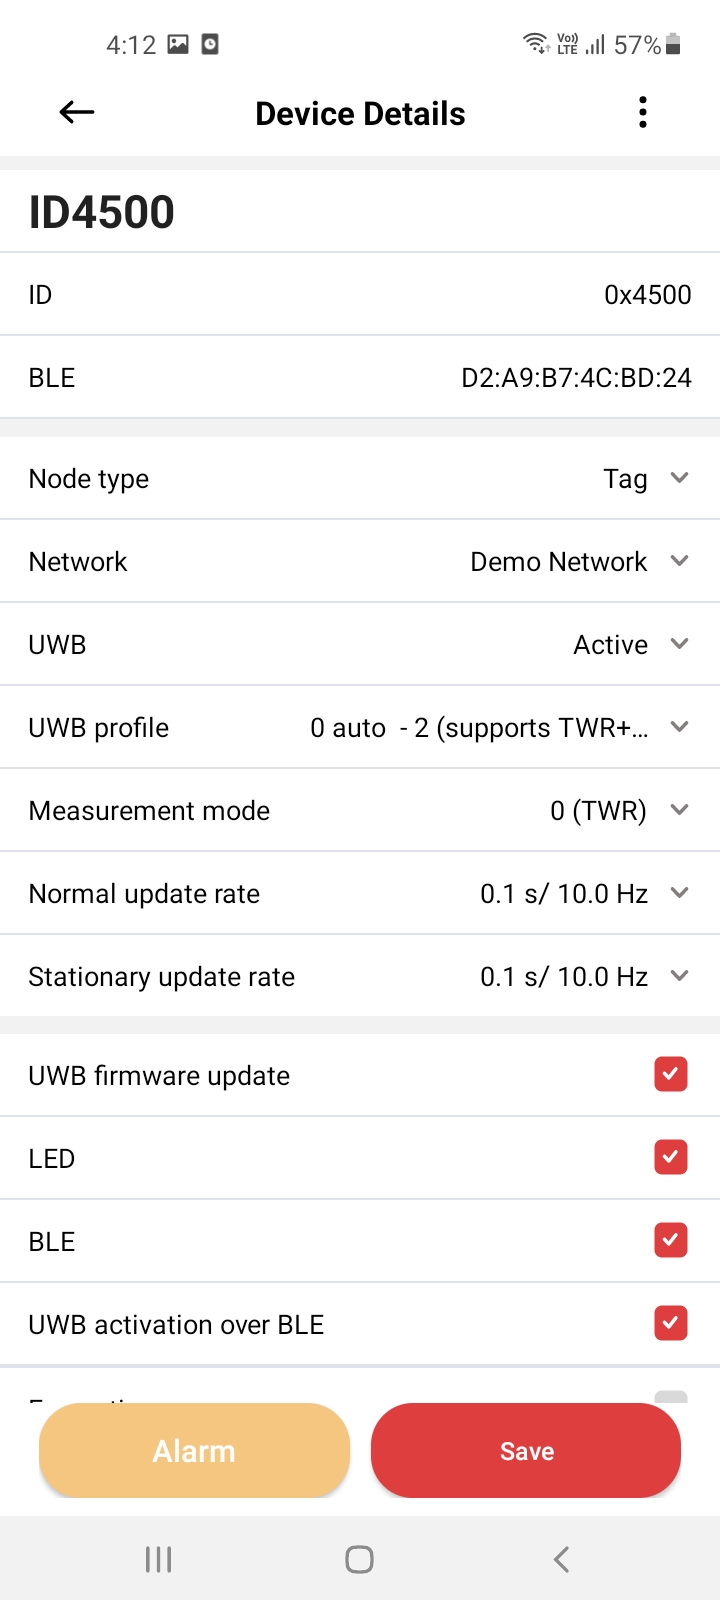
Node Configuration
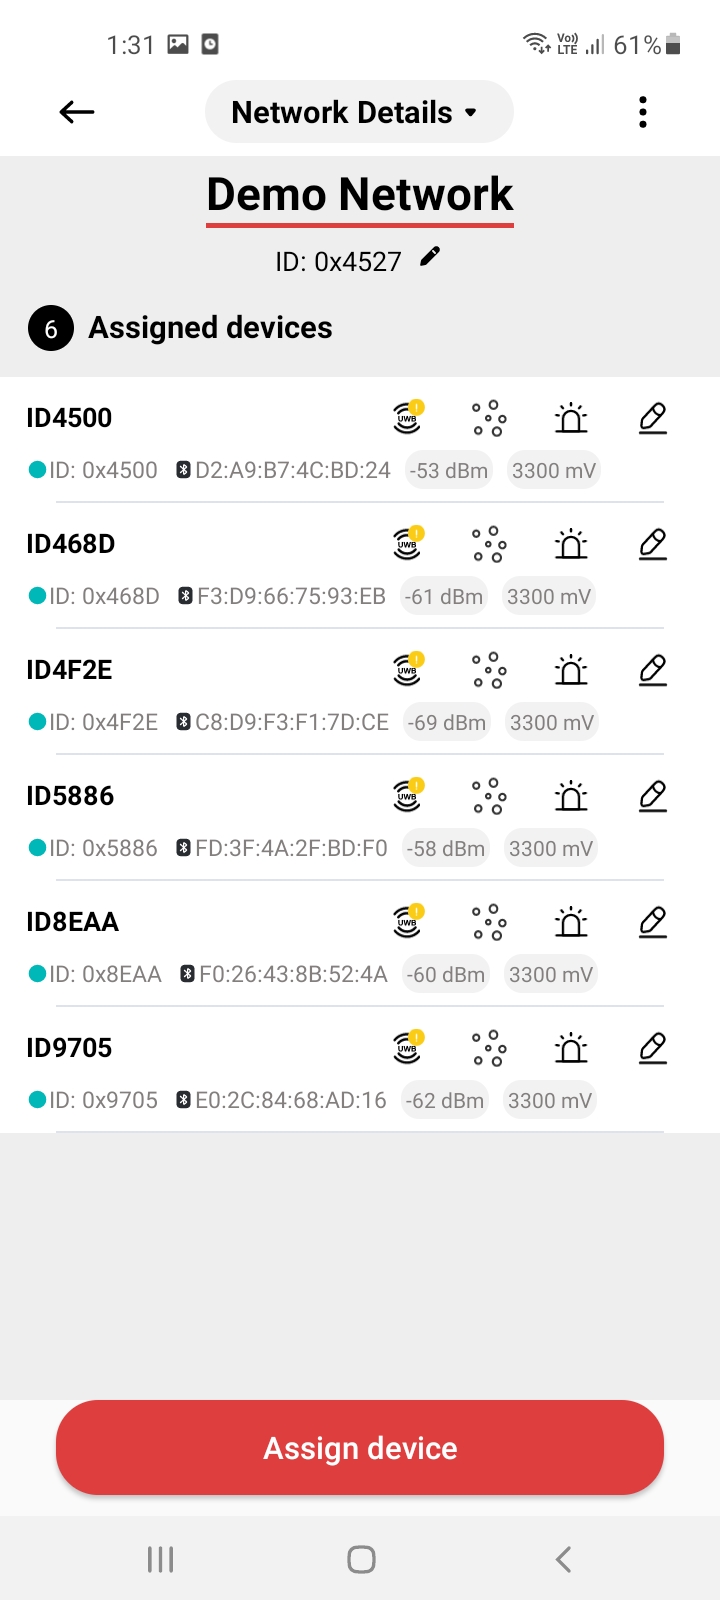
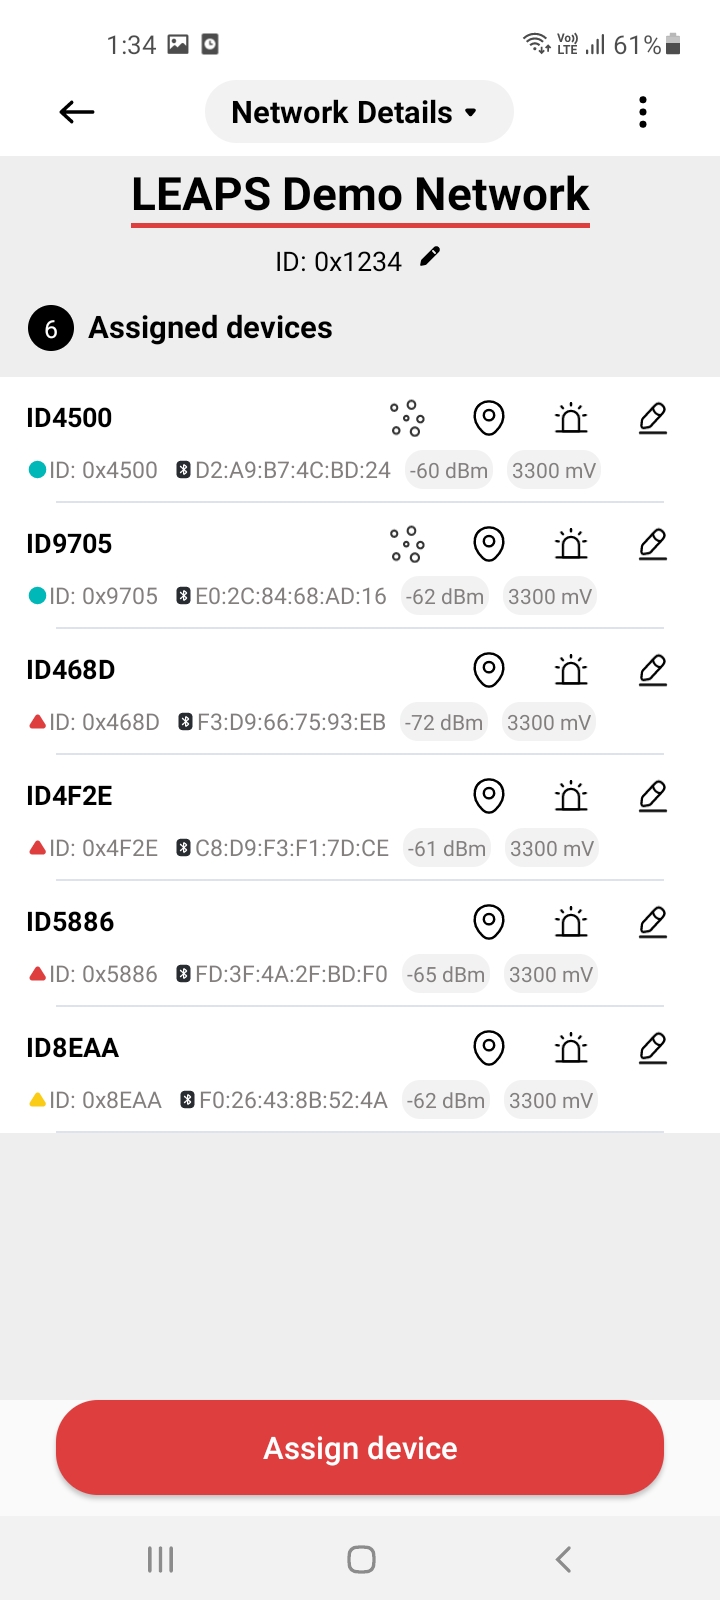
To configure a node, you need to assign the node to a specific network in advance. Select the network with the specified node to view network details.
Swipe the screen to scan, making sure there is a connection signal from the application to the device.
If the pencil icon is available, you can select it to configure the node.
|
|
|
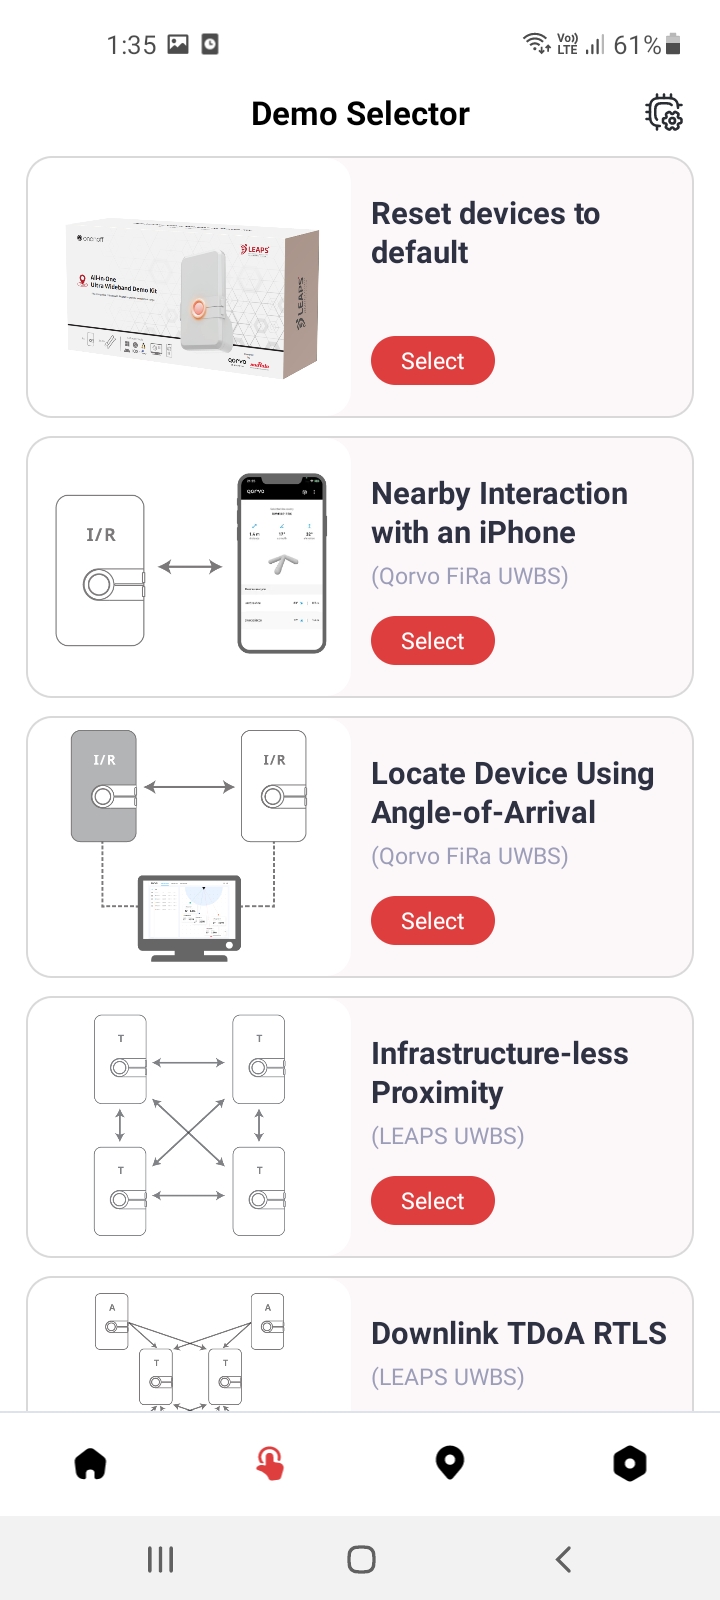
Demo Selector
Navigate to the demo selector, then select the demo you want to configure:
Nearby Interaction Demo with an iPhone
Locate Device using Angle-of-Arrival (AoA) Demo
Infrastructure-less proximity Demo
Downlink TDoA RTLS Demo
High-Speed Downlink TDoA RTLS Demo
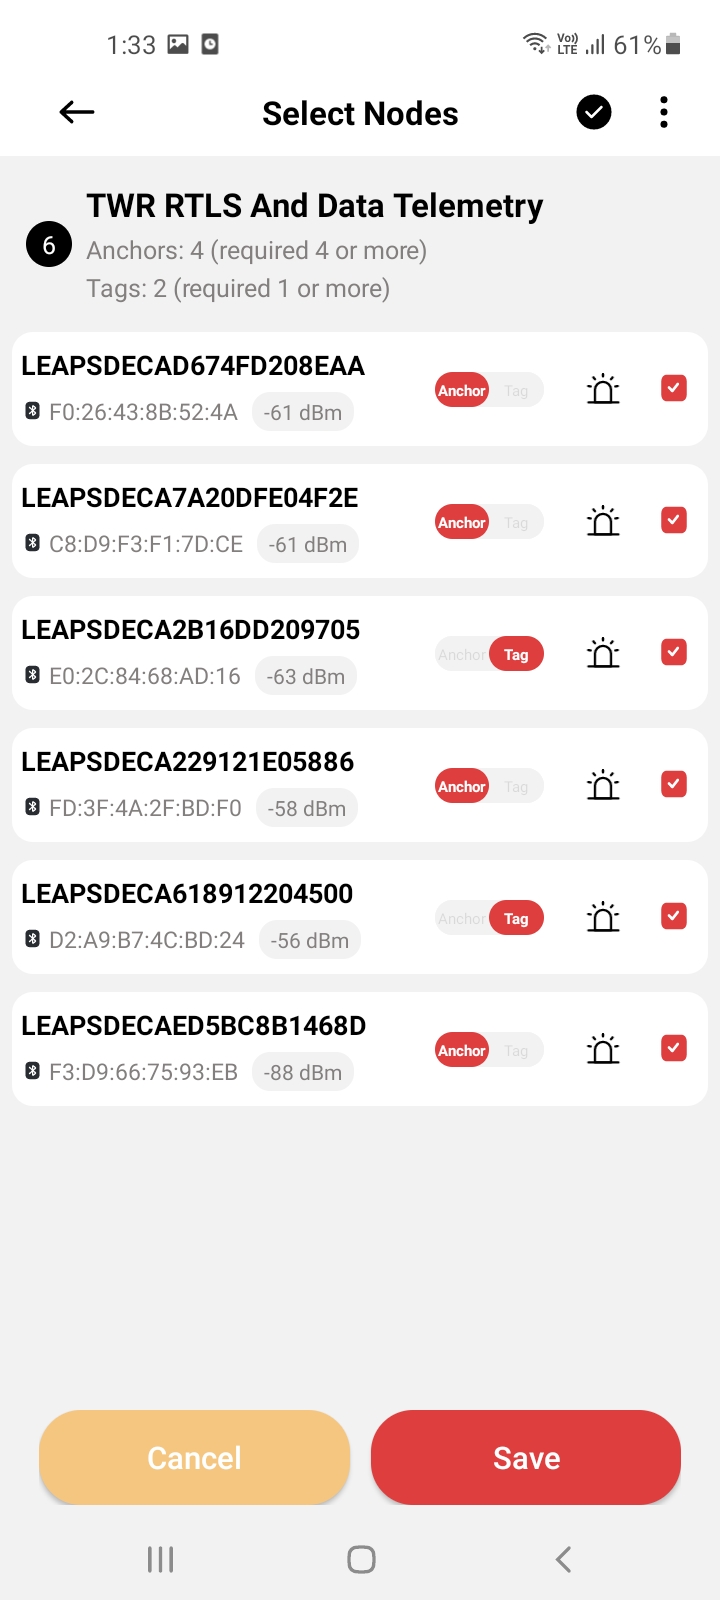
TWR RTLS and Data Telemetry Demo
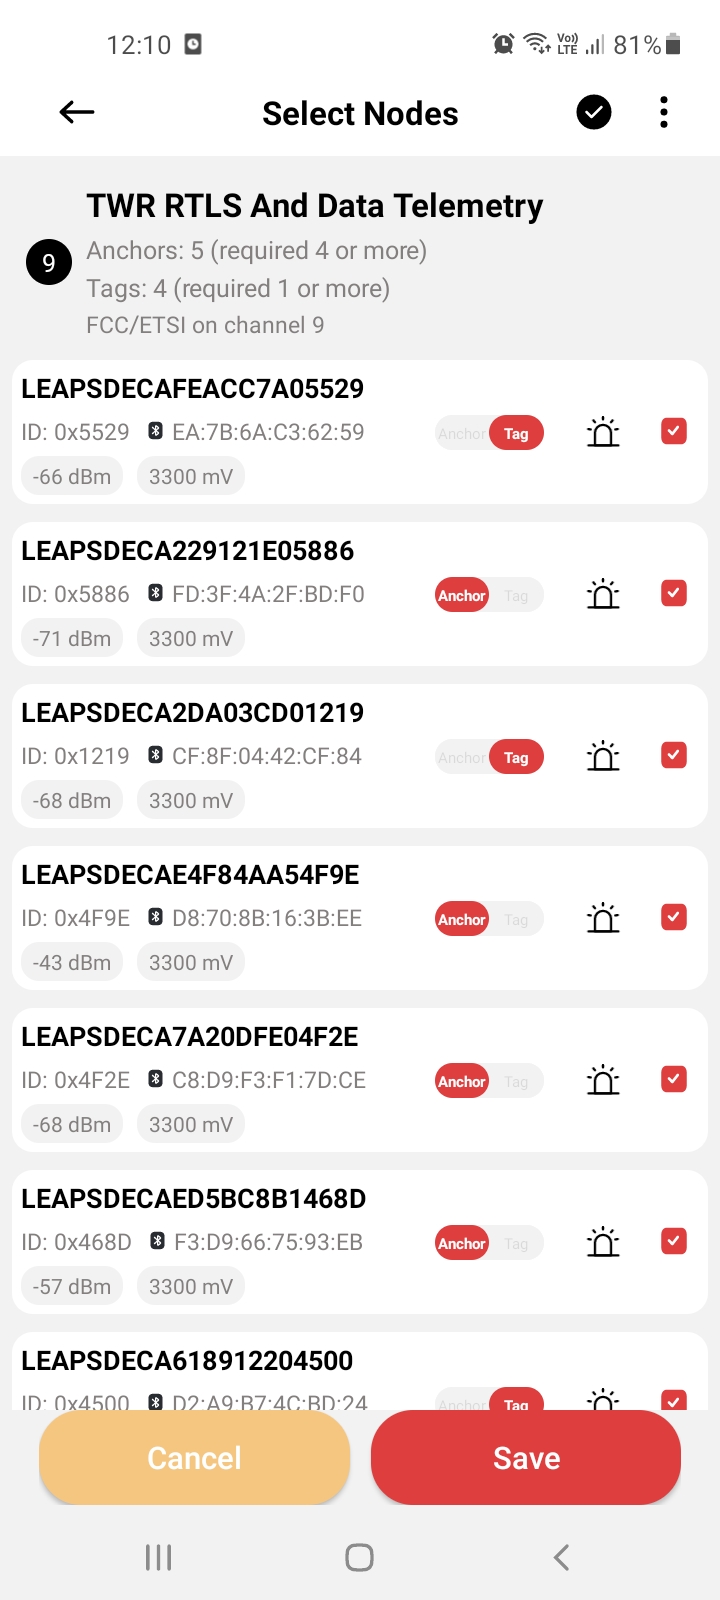
Example: TWR RTLS and Data Telemetry Demo
|
|
|
|
|
|

|
|
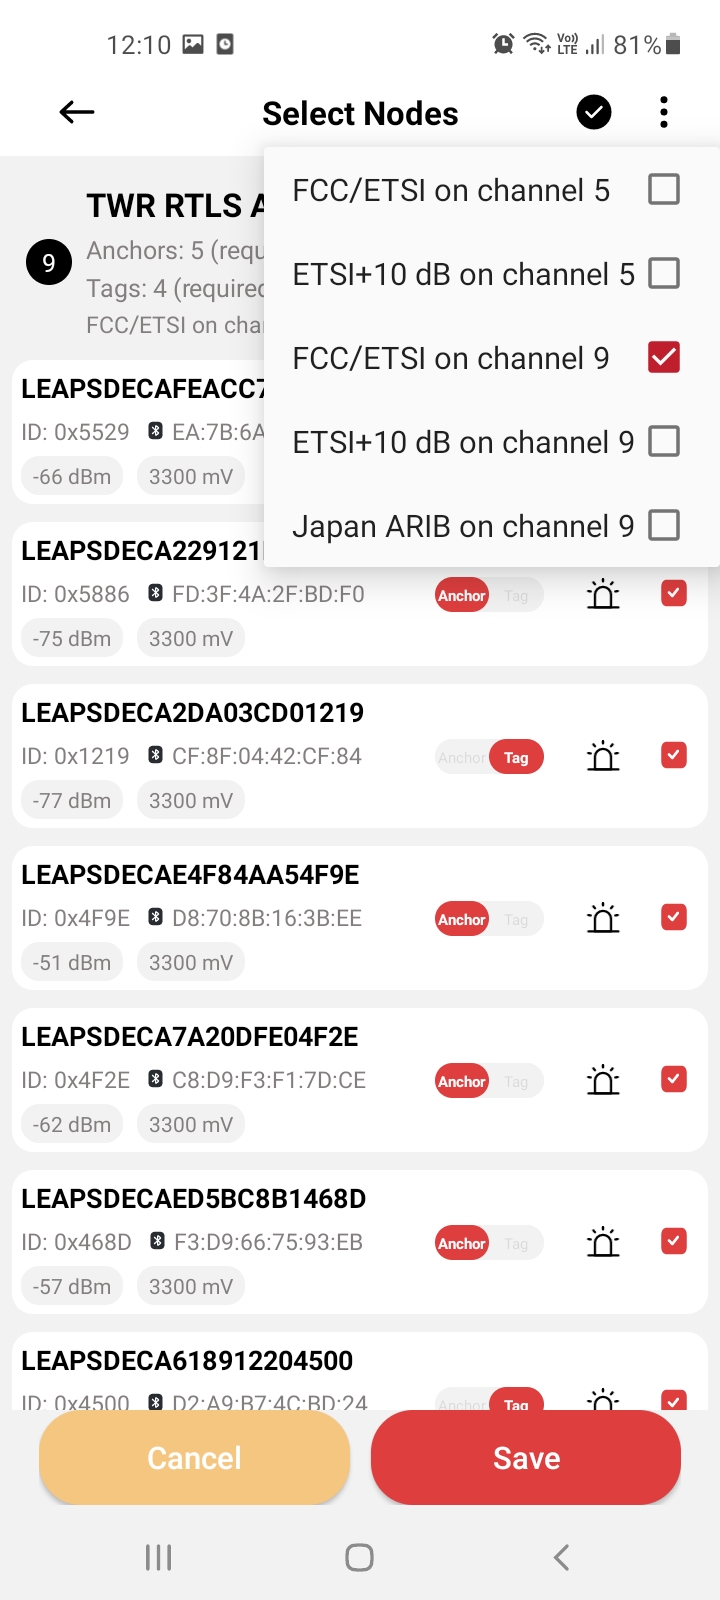
Configuration Information for +10dB, LNA/PA Settings
In demo, you’ll find detailed information about the +10dB Low Noise Amplifier (LNA) / Power Amplifier (PA) settings. This configuration is designed to optimize signal strength and quality for your specific application.
The configurations:
FCC/ETSI on channel 5ETSI+10 dB on channel 5FCC/ETSI on channel 9ETSI+10 dB on channel 9Japan ARIB on channel 9
Available on demos:
Infrastructure-less proximity Demo
Downlink TDoA RTLS Demo
High-Speed Downlink TDoA RTLS Demo
TWR RTLS and Data Telemetry Demo
How to configuration:
Navigate to the top right corner of the demo screen.
Click on the 3 dots icon (menu icon).
Select the corresponding configuration option to view or select settings.
|
|
Firmware Update over BLE
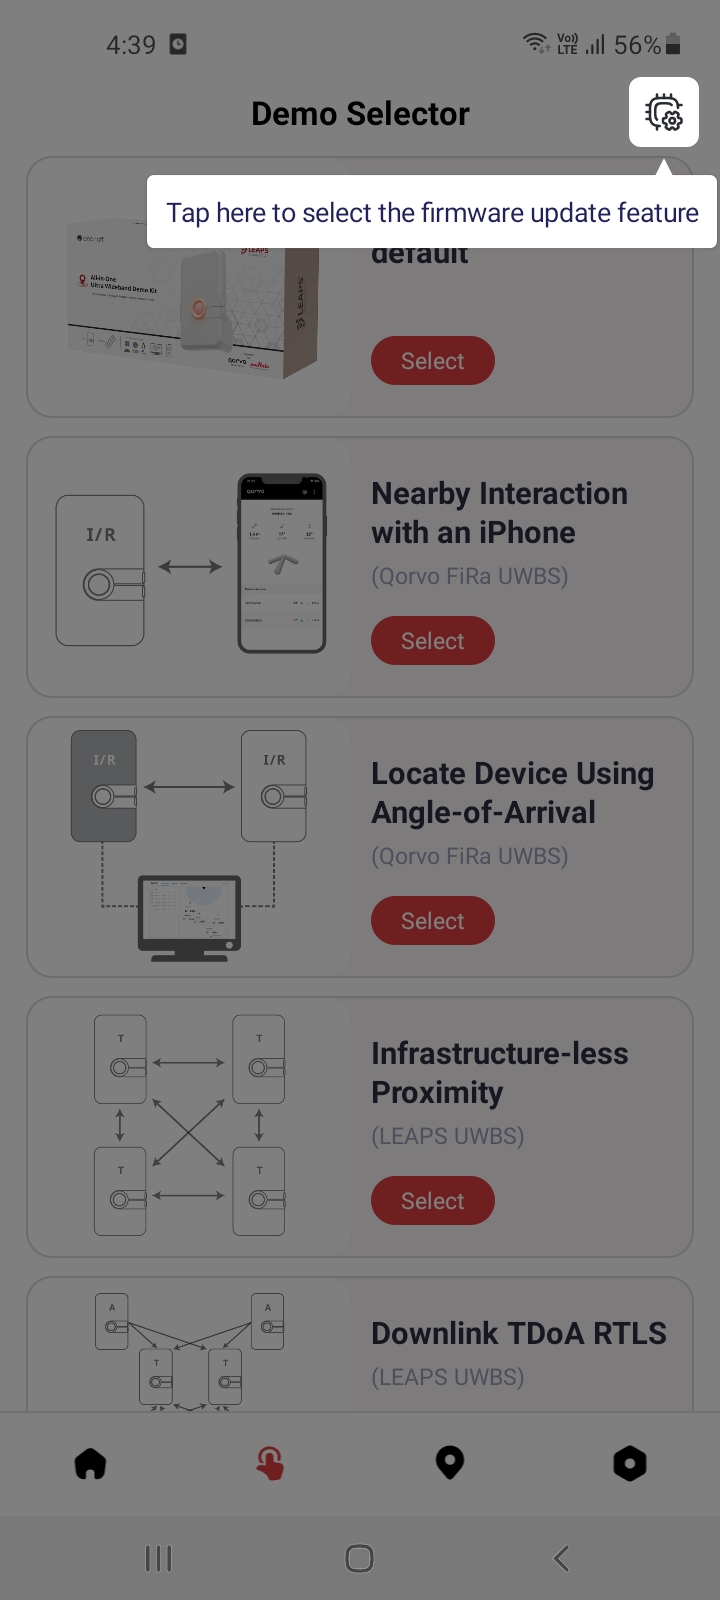
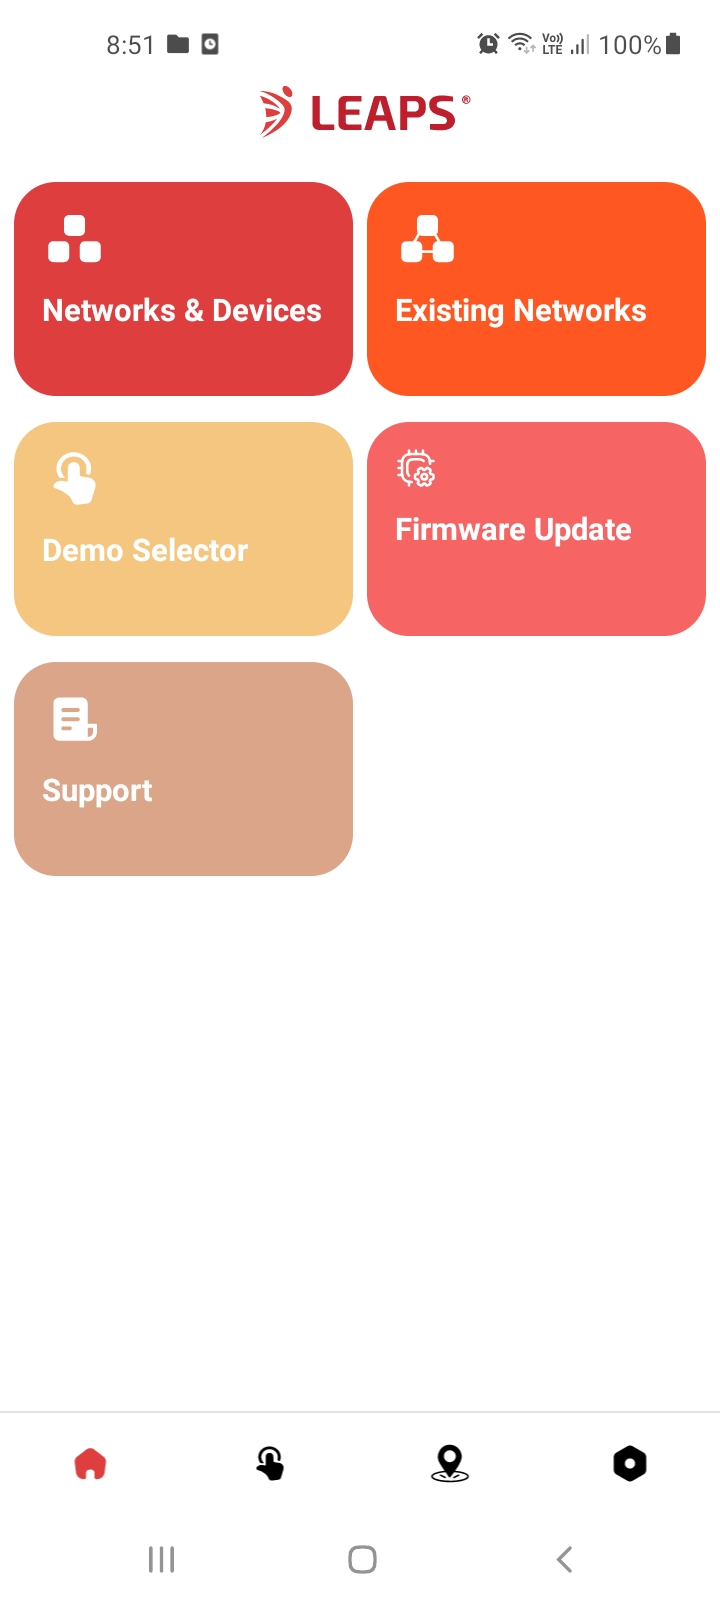
Navigate to the Demo Selector. Additionally, you can navigate to the created network to update the devices in the network.
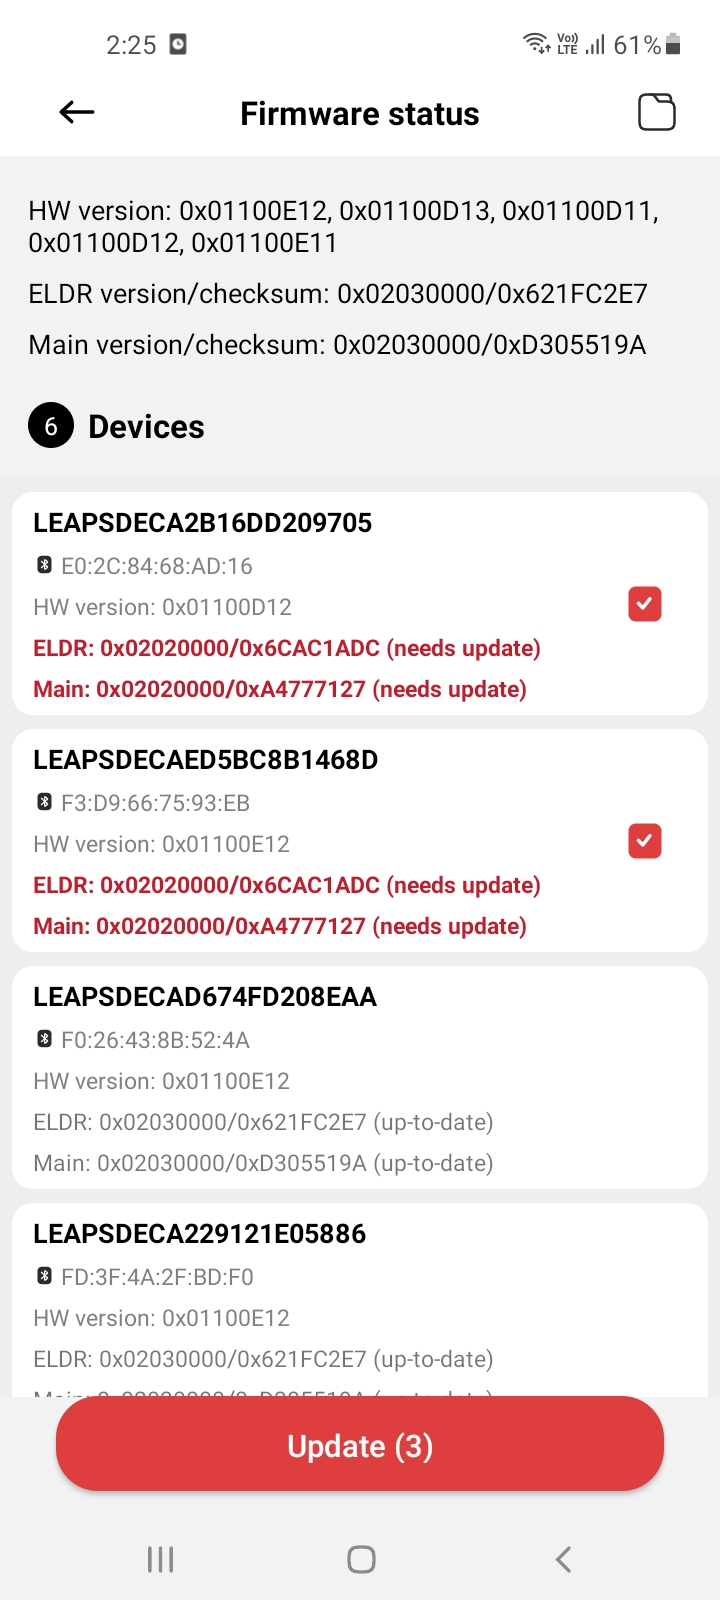
Access firmware status. Tap the options menu (represented as three vertical dots) within the application. Look for the Firmware status option and select it.
Choose the devices to update.
Note
The speed of firmware up over BLE, that is around 1.6kBps
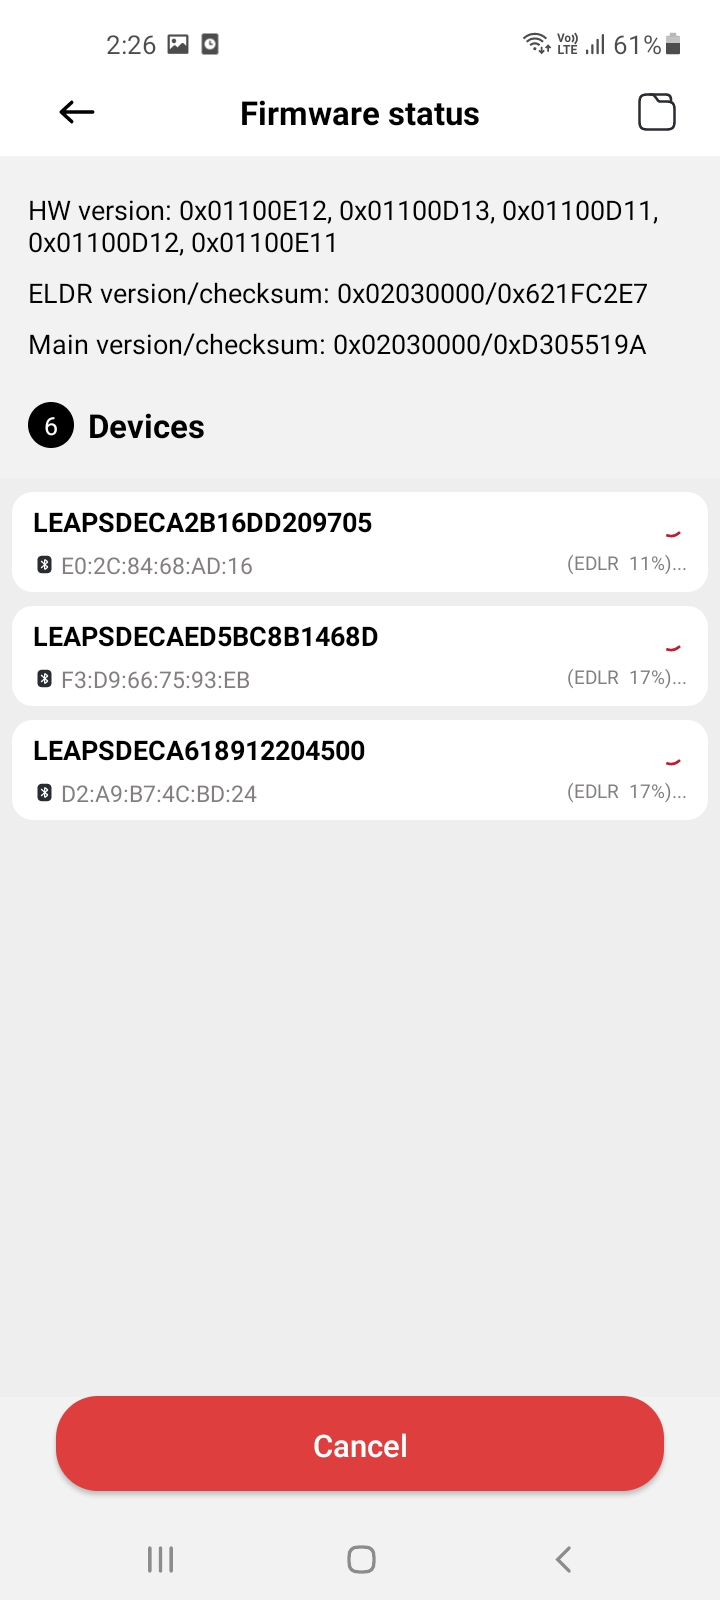
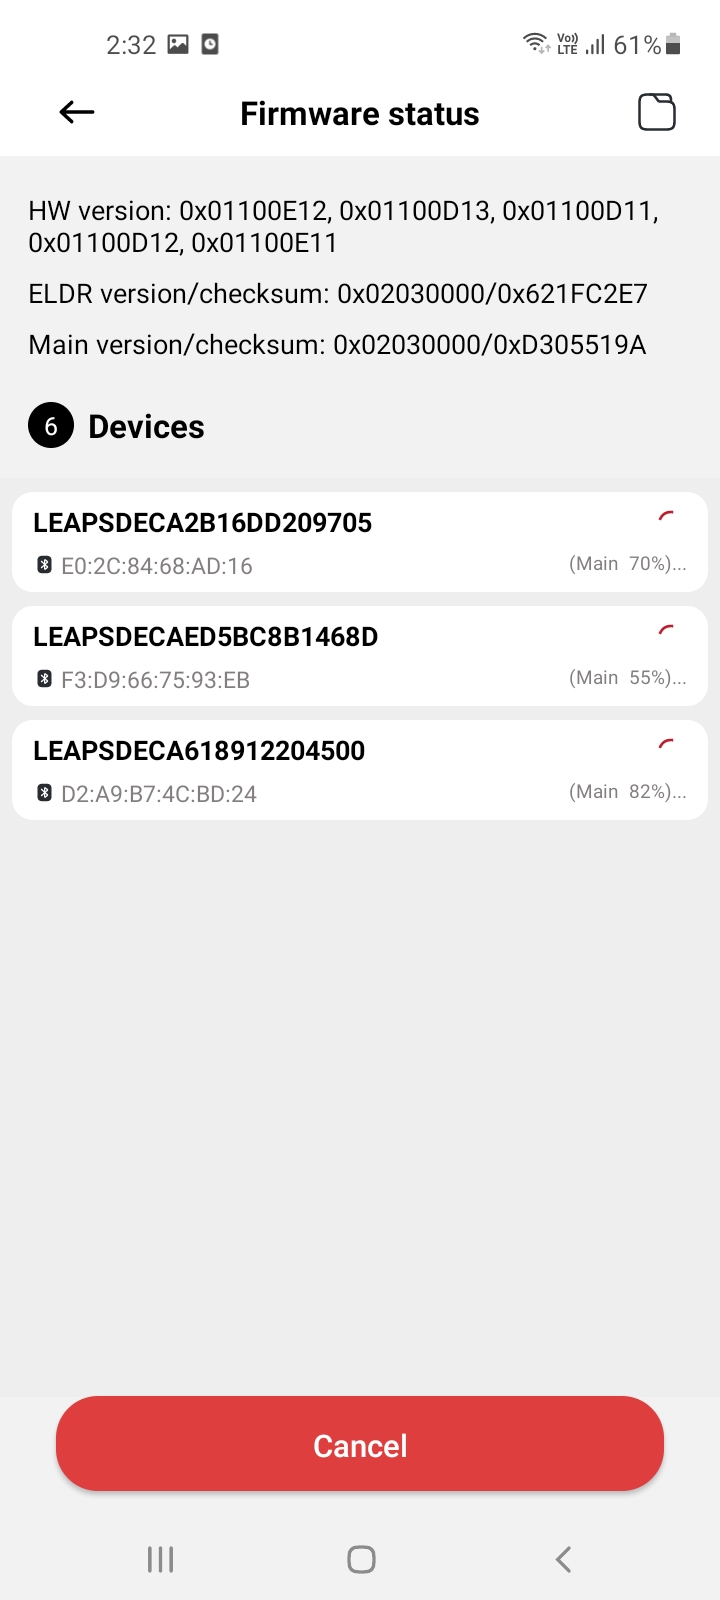
The app will provide visual indicators or progress bars to show how the update is proceeding. Be patient and let the update process run its course.
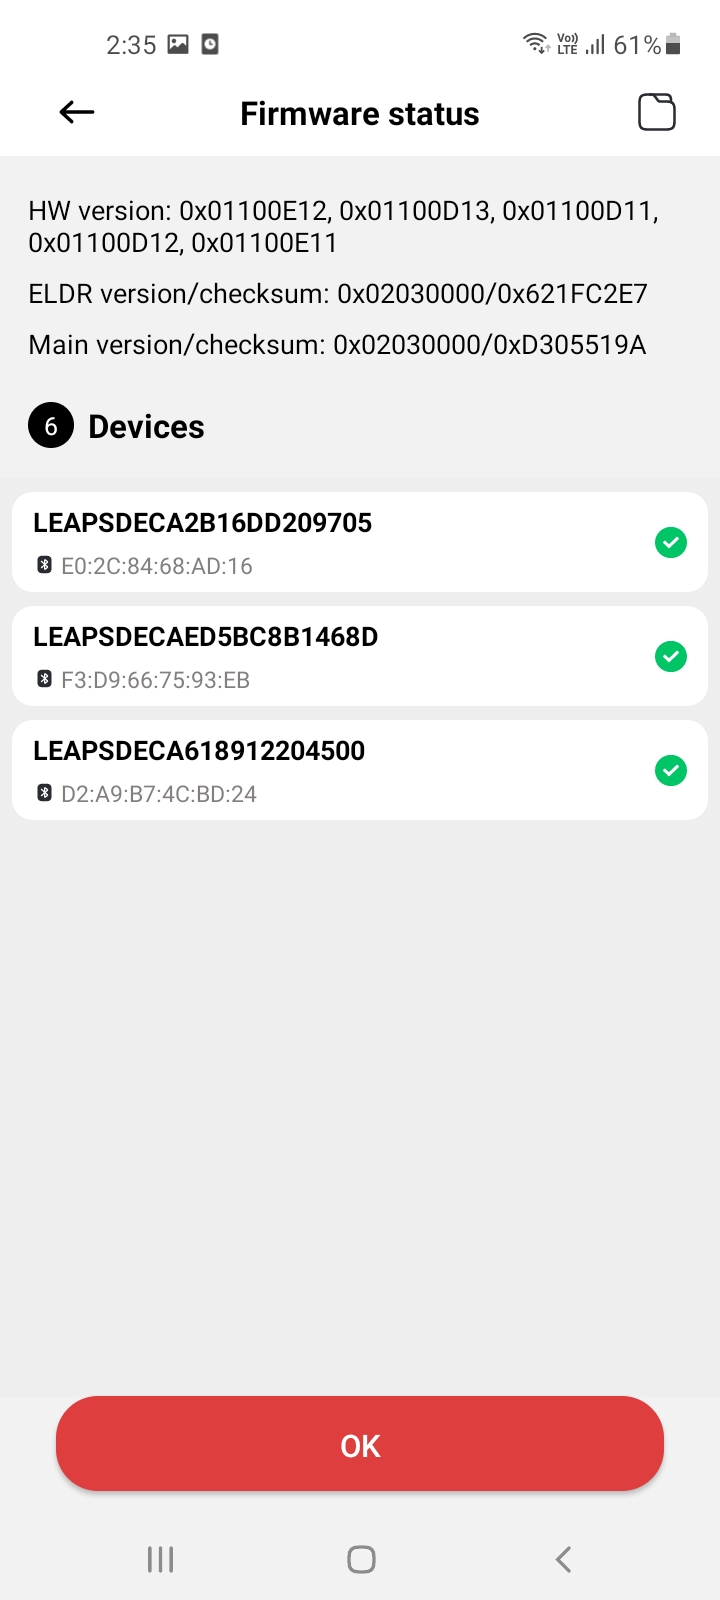
Once the update is complete, you will see the status is done. Additionally, the device will emit two beeps to indicate the update’s success. The board will automatically reset itself as part of the process.
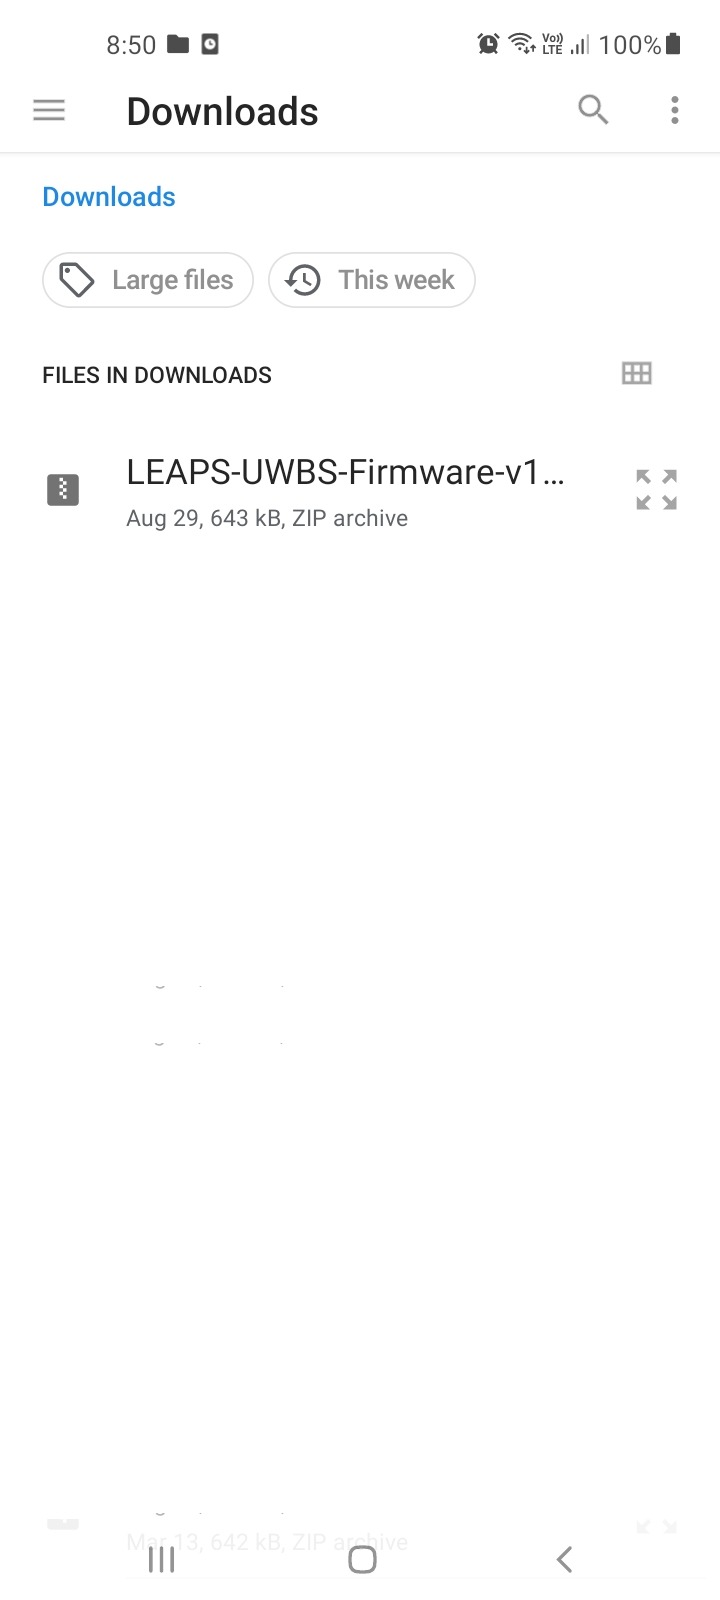
Download the LEAPS-UWBS-Firmware-v1.1.0-package.zip file to your PC. Use a program like WinZip or 7-Zip to extract the contents of the downloaded file.
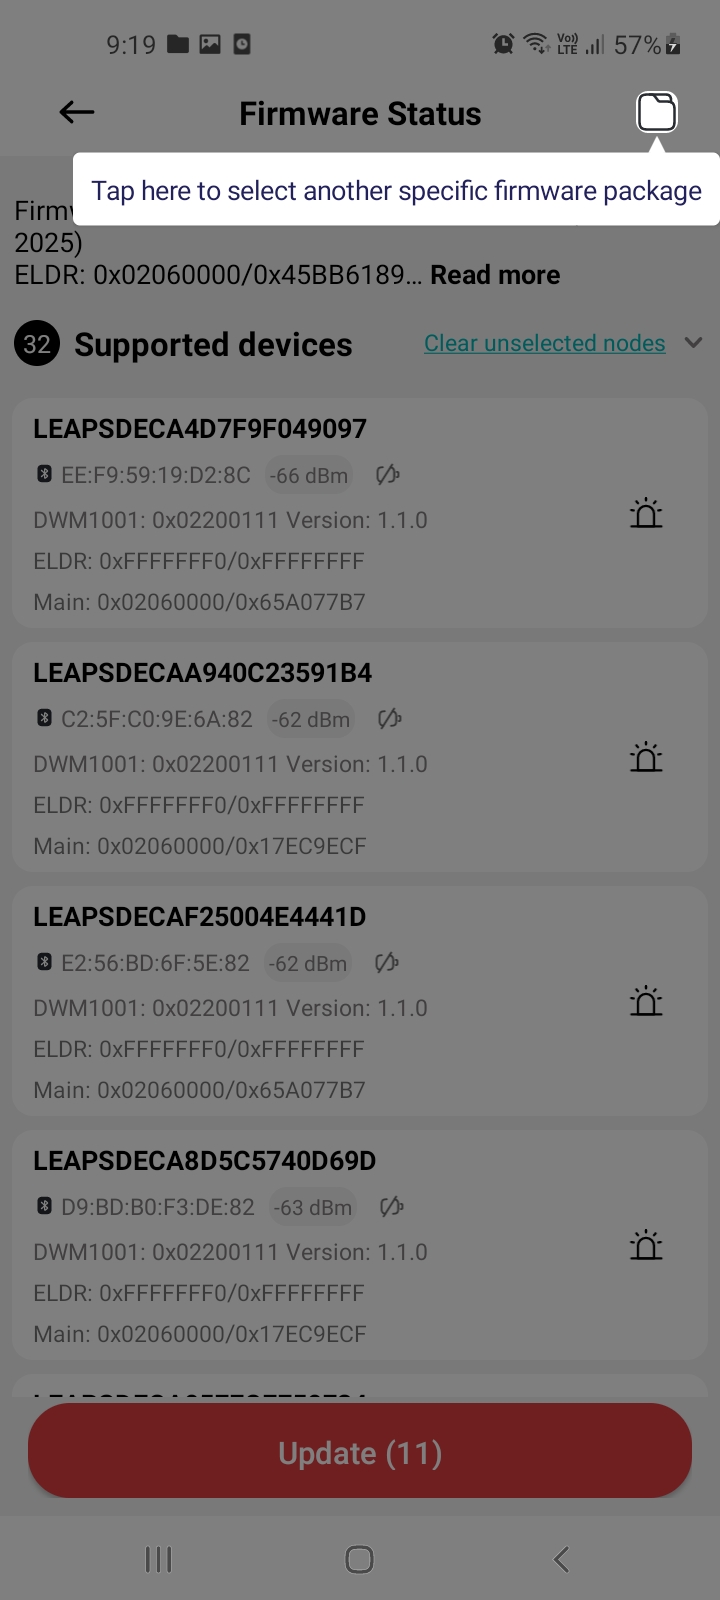
Open the LM and navigate to the Demo Selector. Additionally, you can navigate to the created network to update the devices in the network. Access firmware status. Tap the options menu (represented as three vertical dots) within the application. Look for the Firmware status option and select it.
In the top-right corner, click button to select the firmware Package.
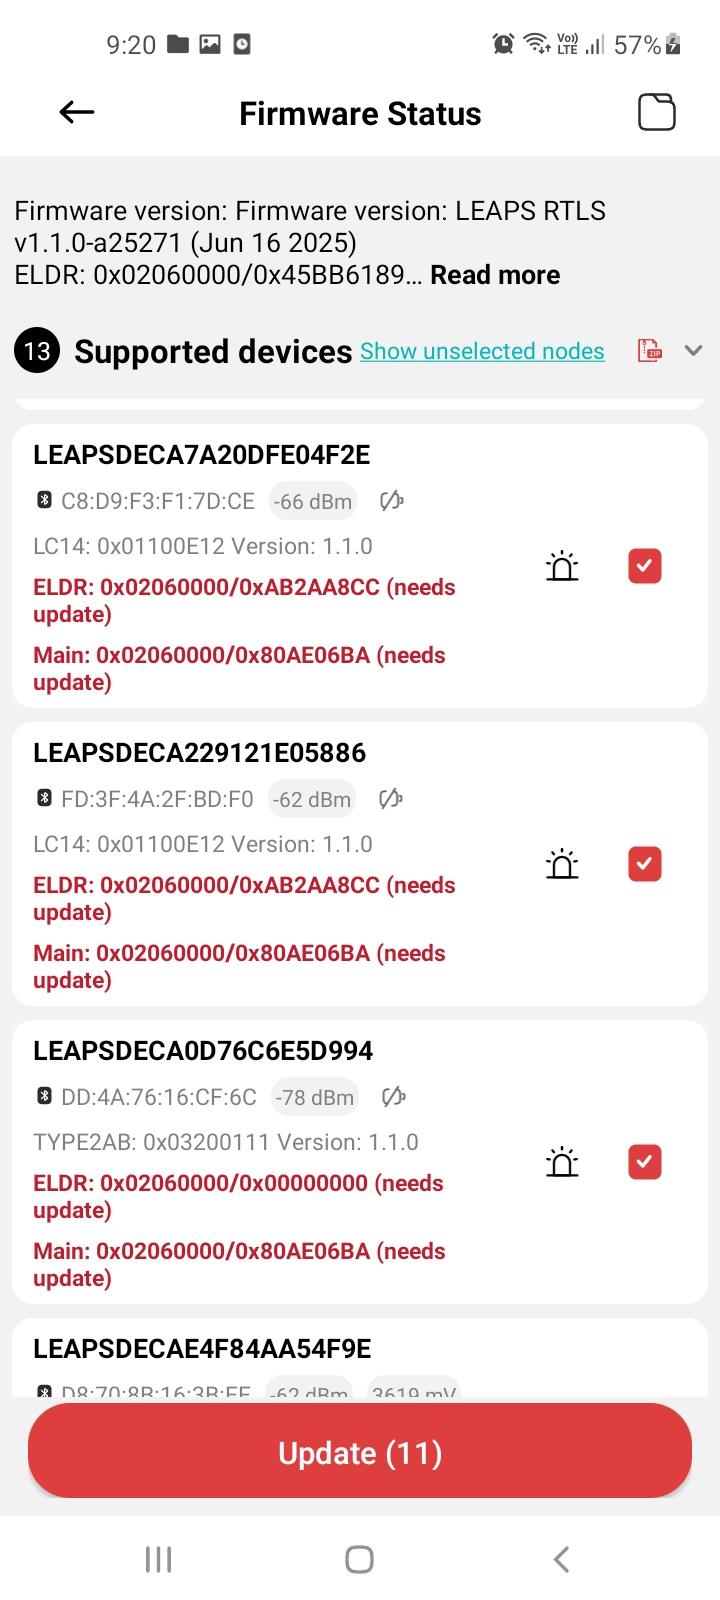
After successfully selecting the package, choose the devices to update.
The app will provide visual indicators or progress bars to show how the update is proceeding. Be patient and let the update process run its course.
Once the update is complete, you will see the status is done. Additionally, the device will emit two beeps to indicate the update’s success. The board will automatically reset itself as part of the process.
Auto-Positioning
1. Introduction
This guide will help you understand how to effectively use this tool on application.
The auto-positioning feature allows you to accurately position nodes based on selected anchors. Proper setup is crucial for optimal performance.
Introduction
Accessing auto-positioning
Selecting anchors
Configuring calculation modes
Starting measurements
Recalculating positions
Viewing and adjusting node positions on the Map
Saving configuration
FAQs
2. Accessing Auto-Positioning
To access the auto-positioning feature, follow one of these methods based on your network status:
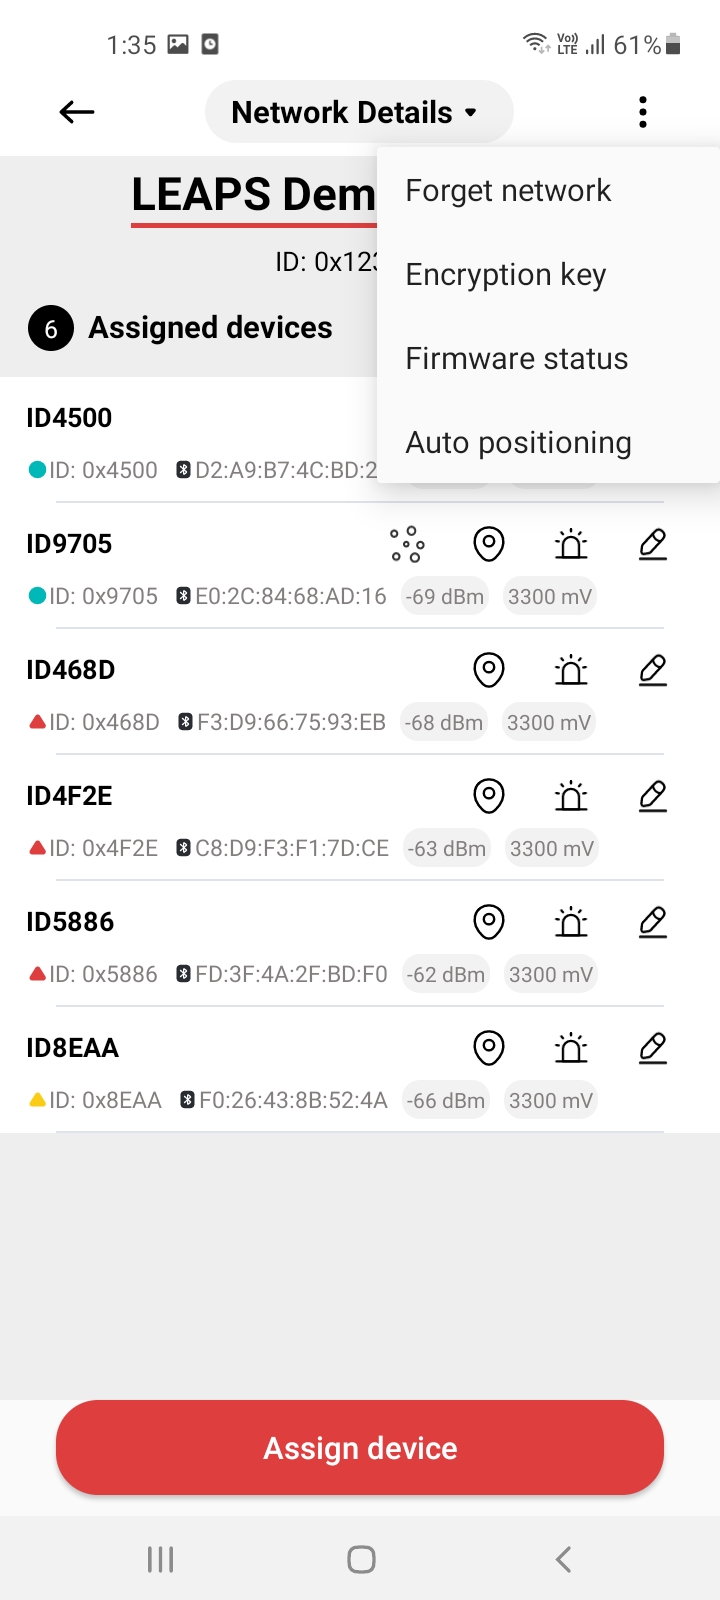
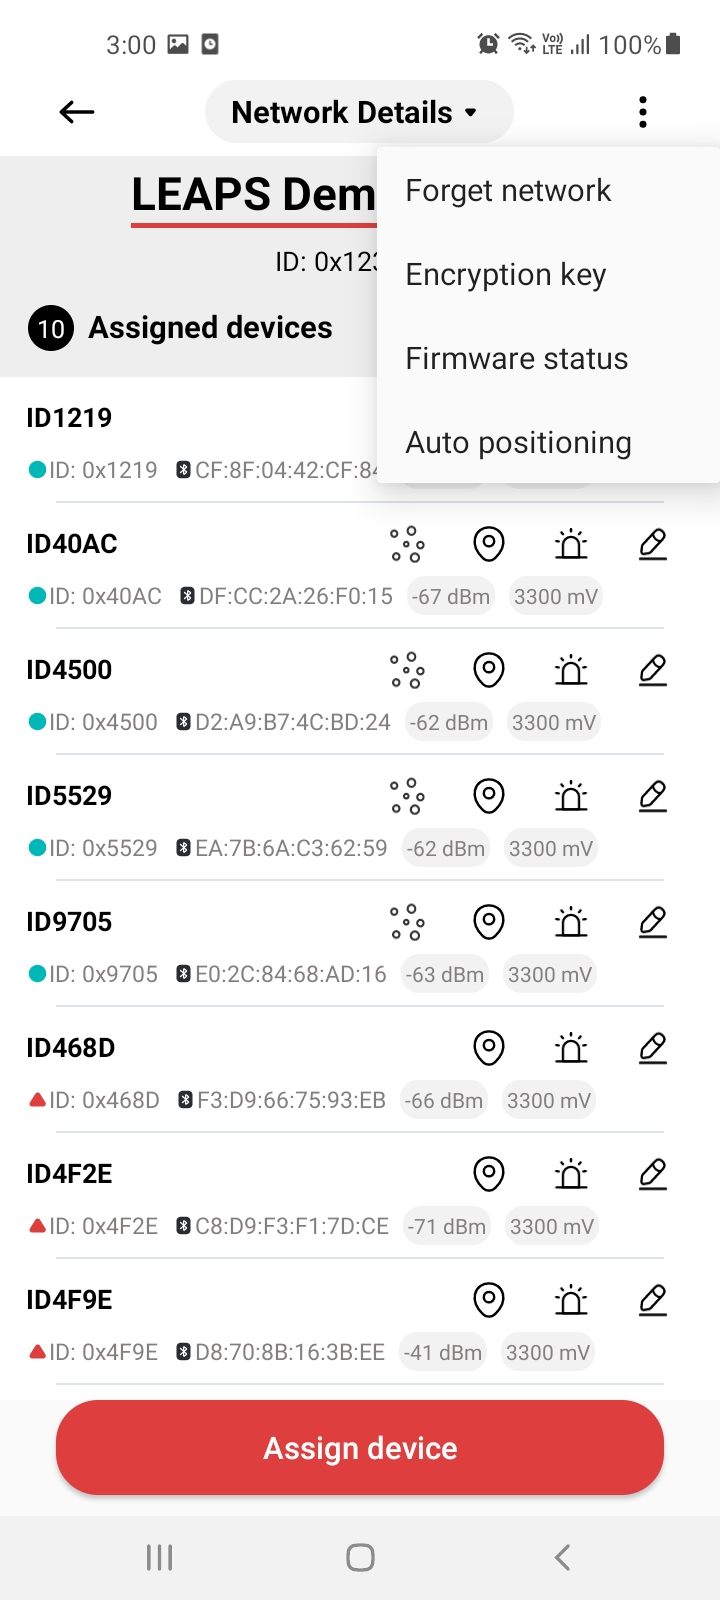
Menu access
Tap the menu icon: Locate and tap the menu icon in the
right cornerof the screen.Select the
Auto positioningfeature from the menu.
Select auto-positioning
Access
Demo Selector.Choose the
Auto positioningoption from there.
|
|
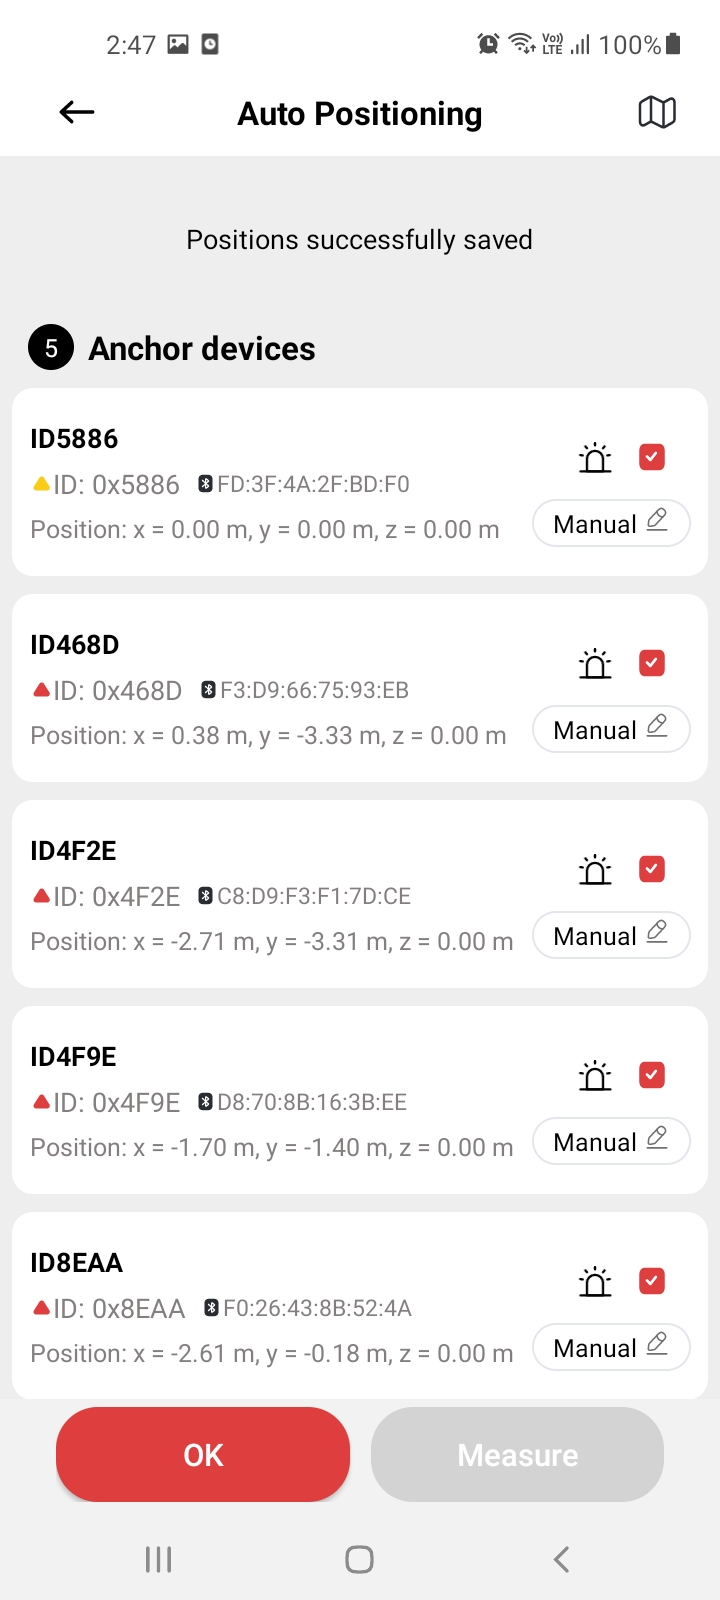
3. Selecting Anchors
The application will display a list of anchors.
Select anchors:
Tick the checkboxes next to at least
2 anchors.Ensure that
one anchoris designated as theinitiator.The anchors must
standand face each other for accurate positioning.
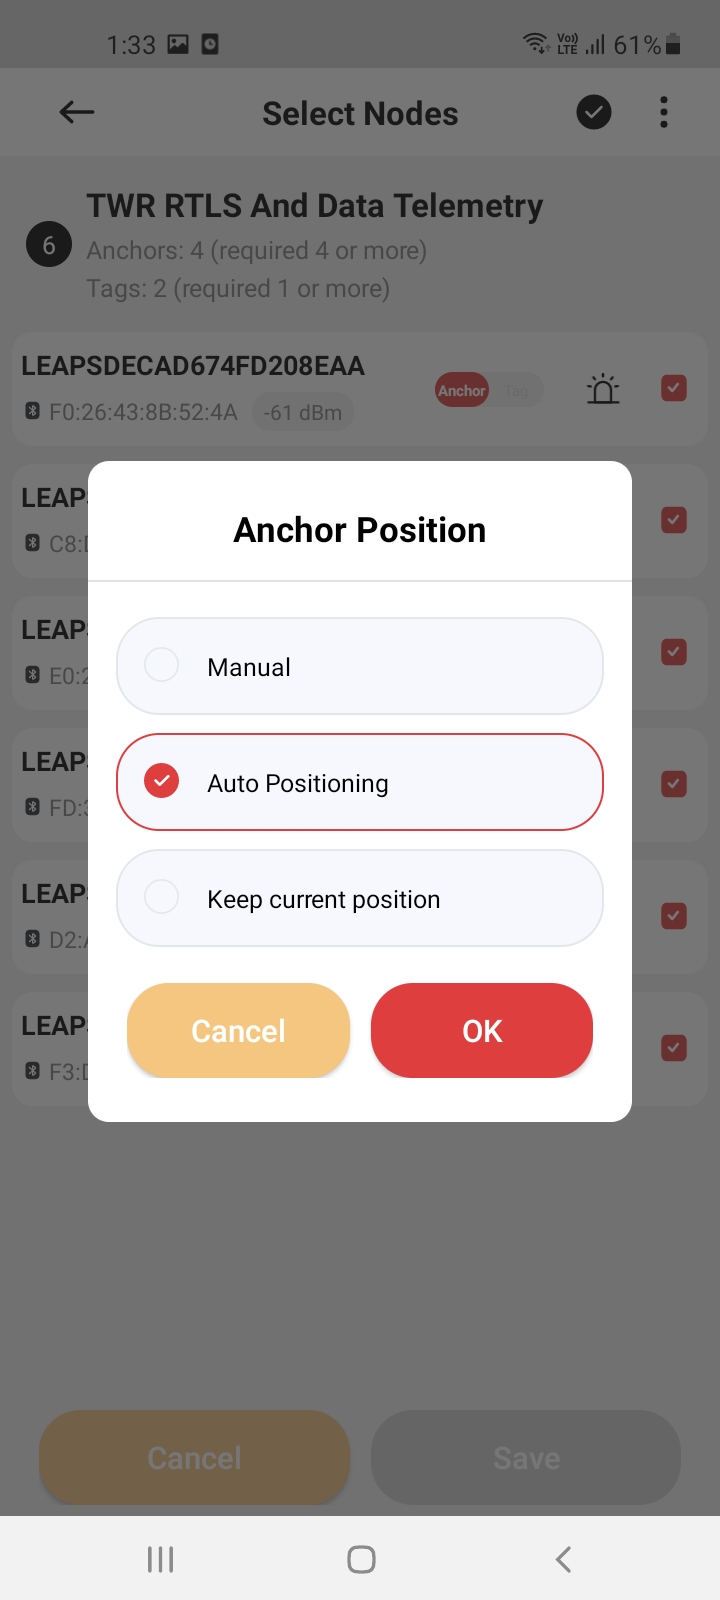
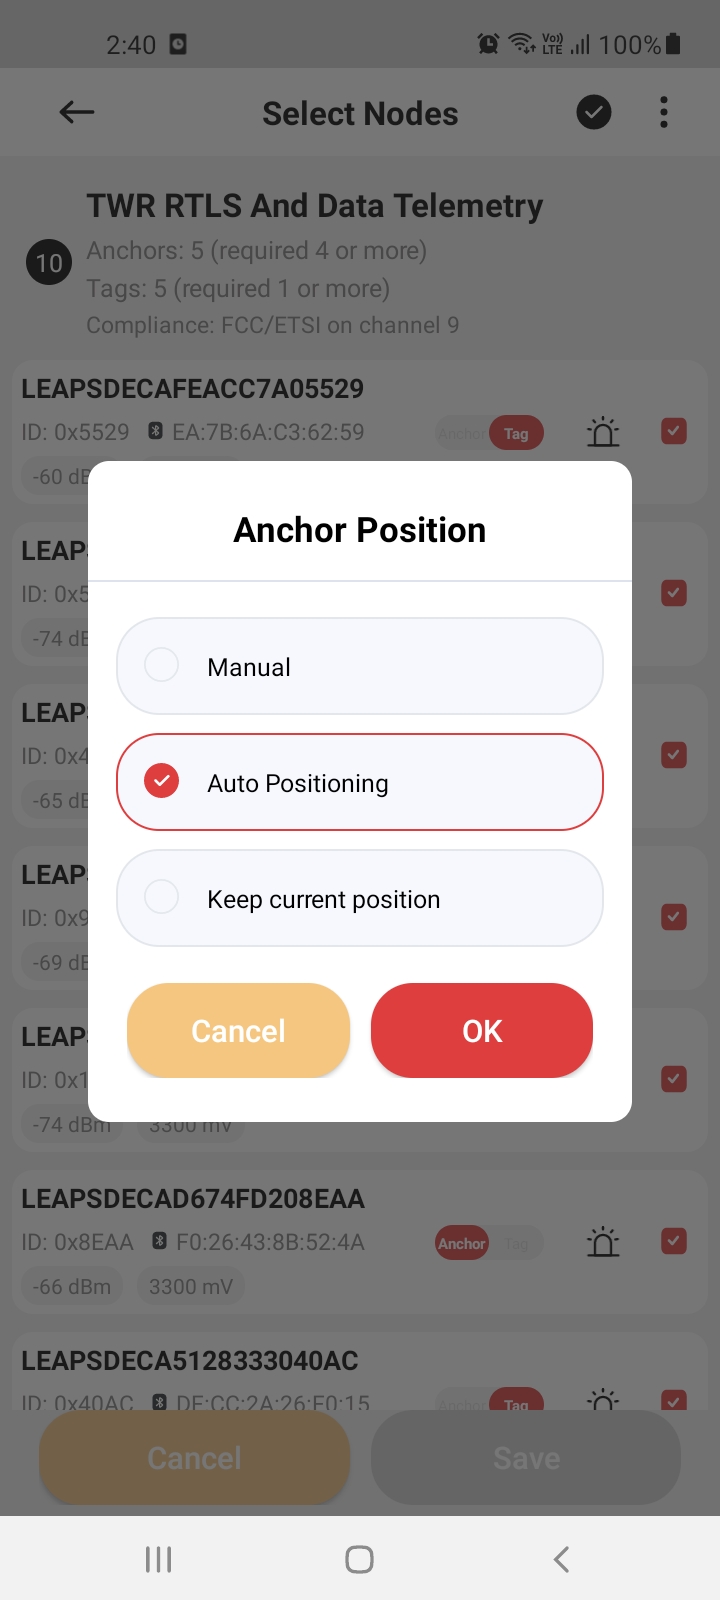
4. Configuring Calculation Modes (optional)
Calculated mode: If all configurations are set to
Calculatedthe application will automatically compute the node positions.Manual mode: If set to
Manualthe positions will remain mostly fixed until you manually adjust or recalculate them.
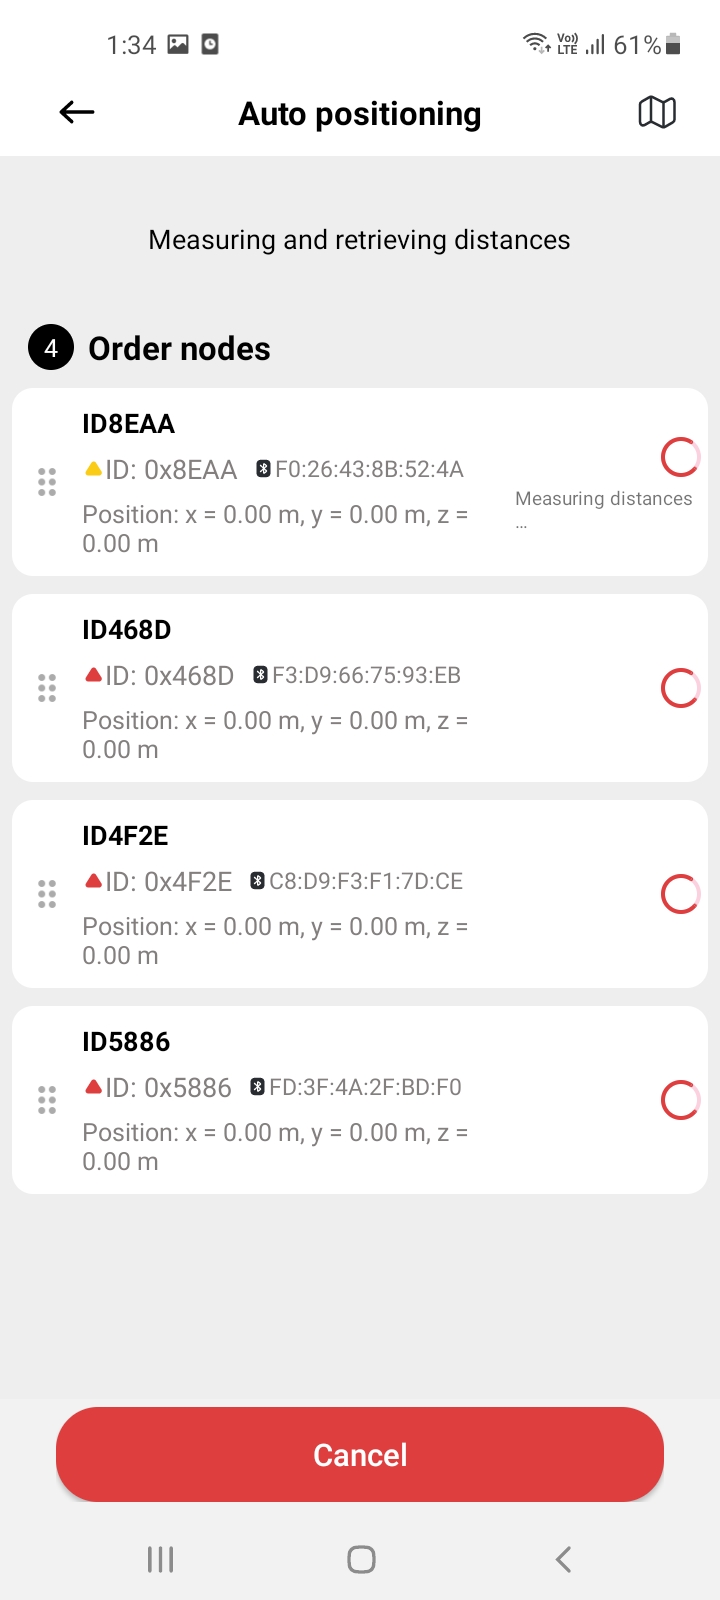
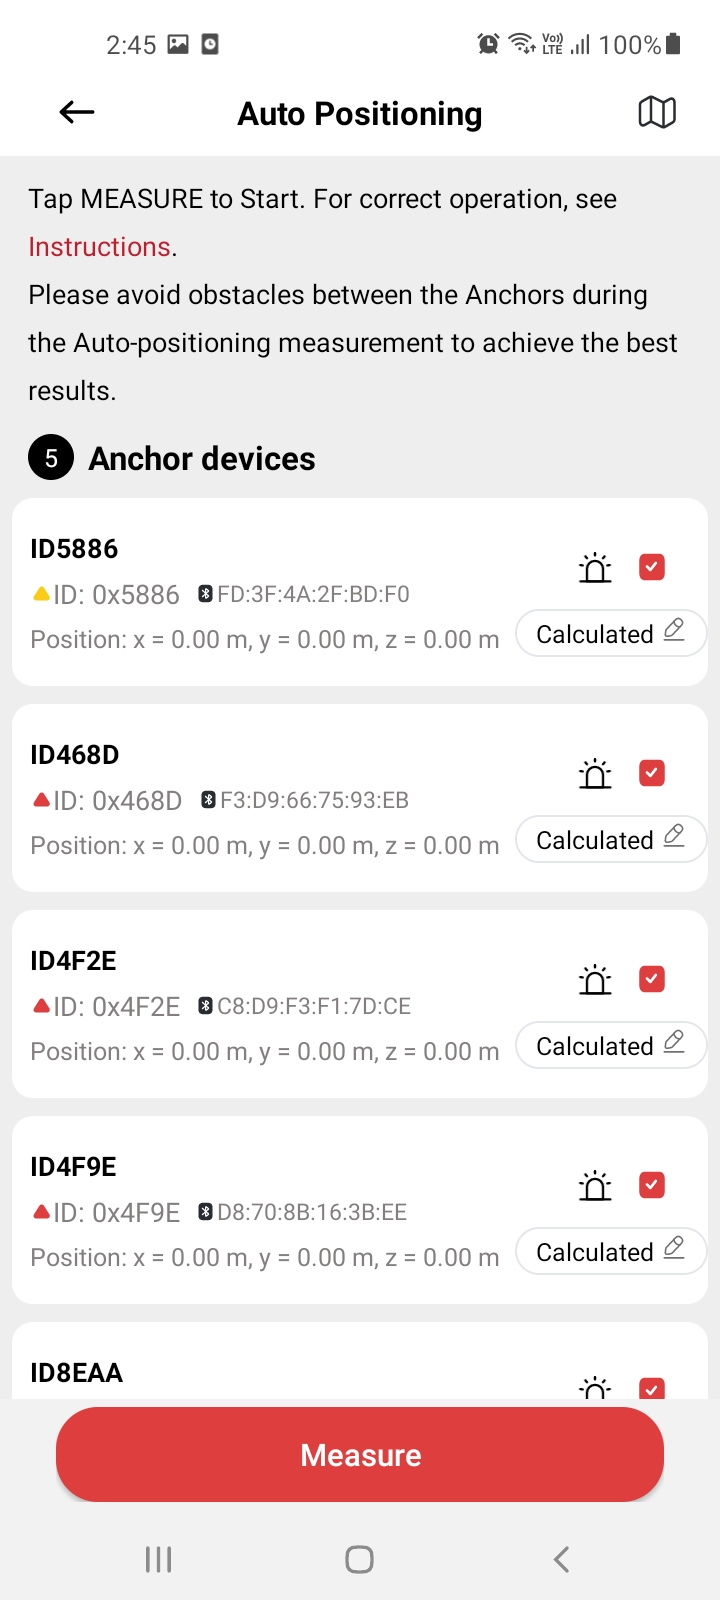
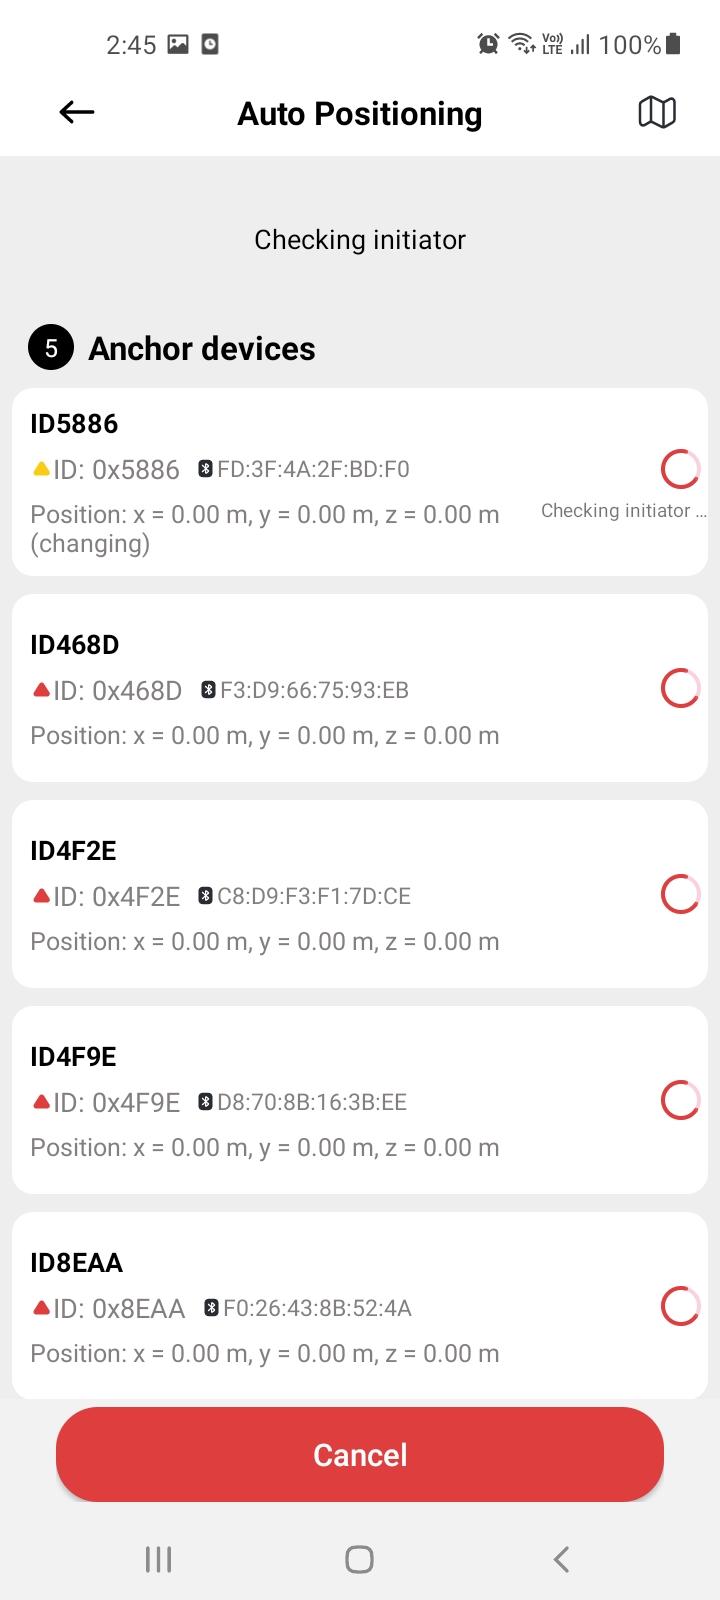
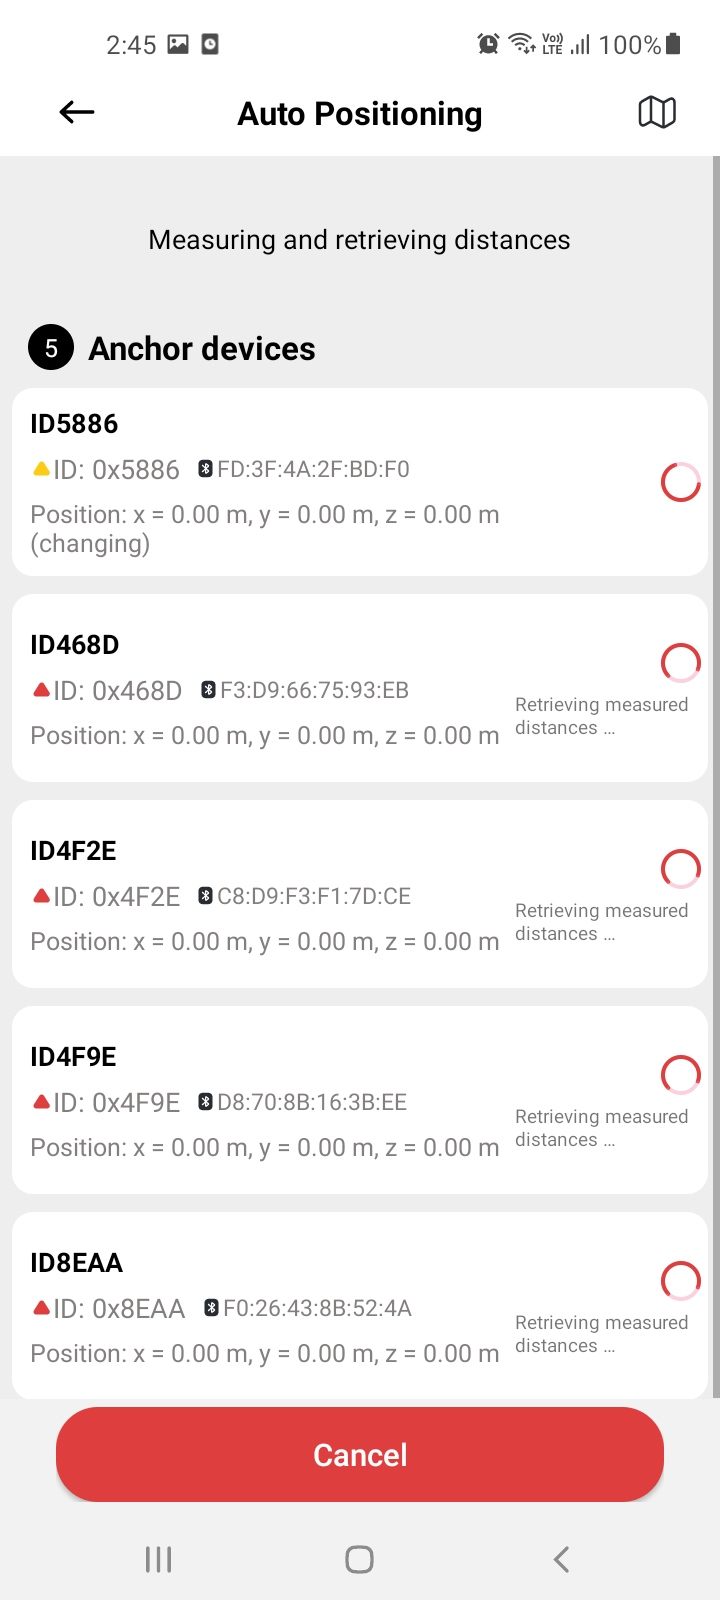
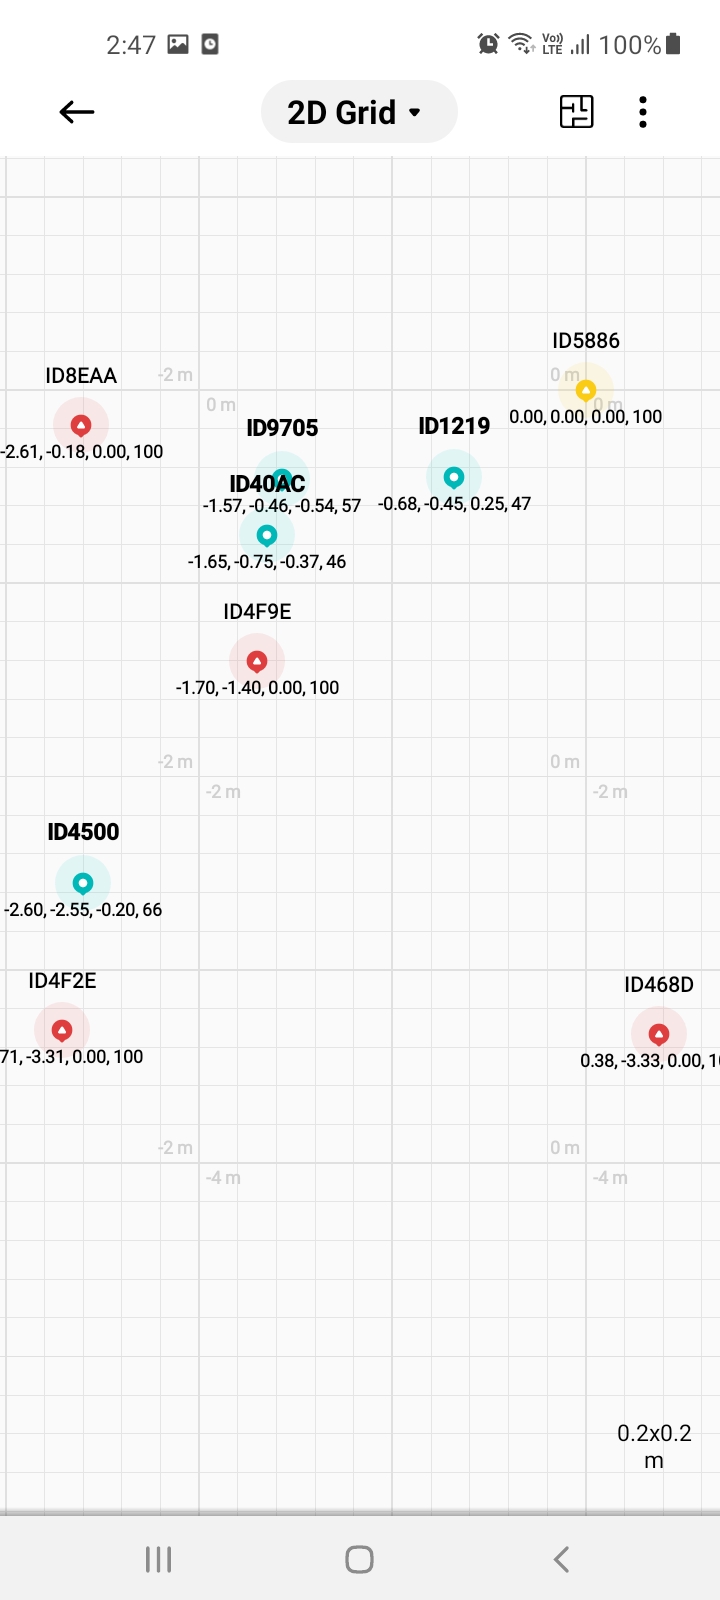
5. Starting Measurements
After selecting your anchors, click the Measure button to start the positioning process.
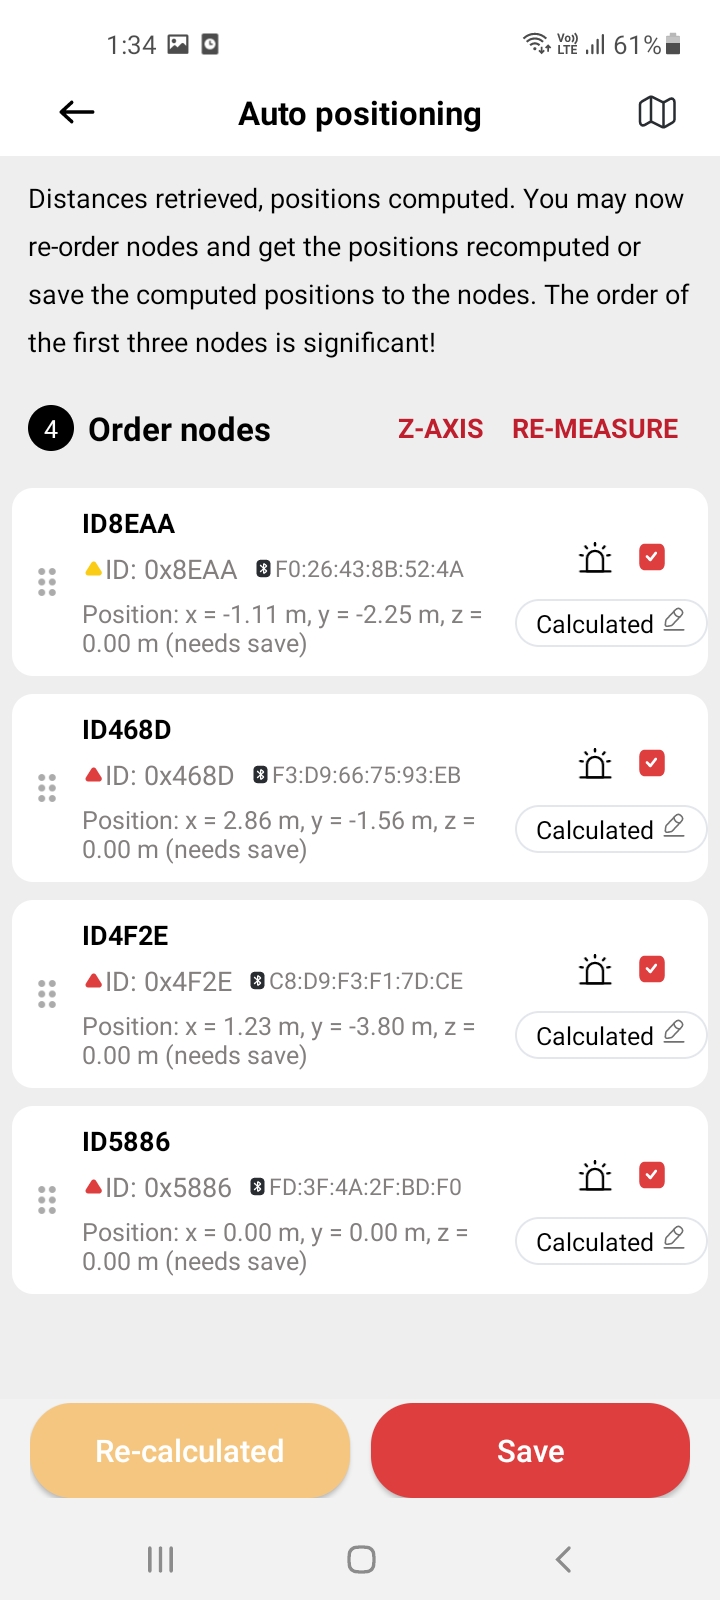
Wait for completion: Allow the process to finish; you will receive position information for the selected nodes.
|
|
|
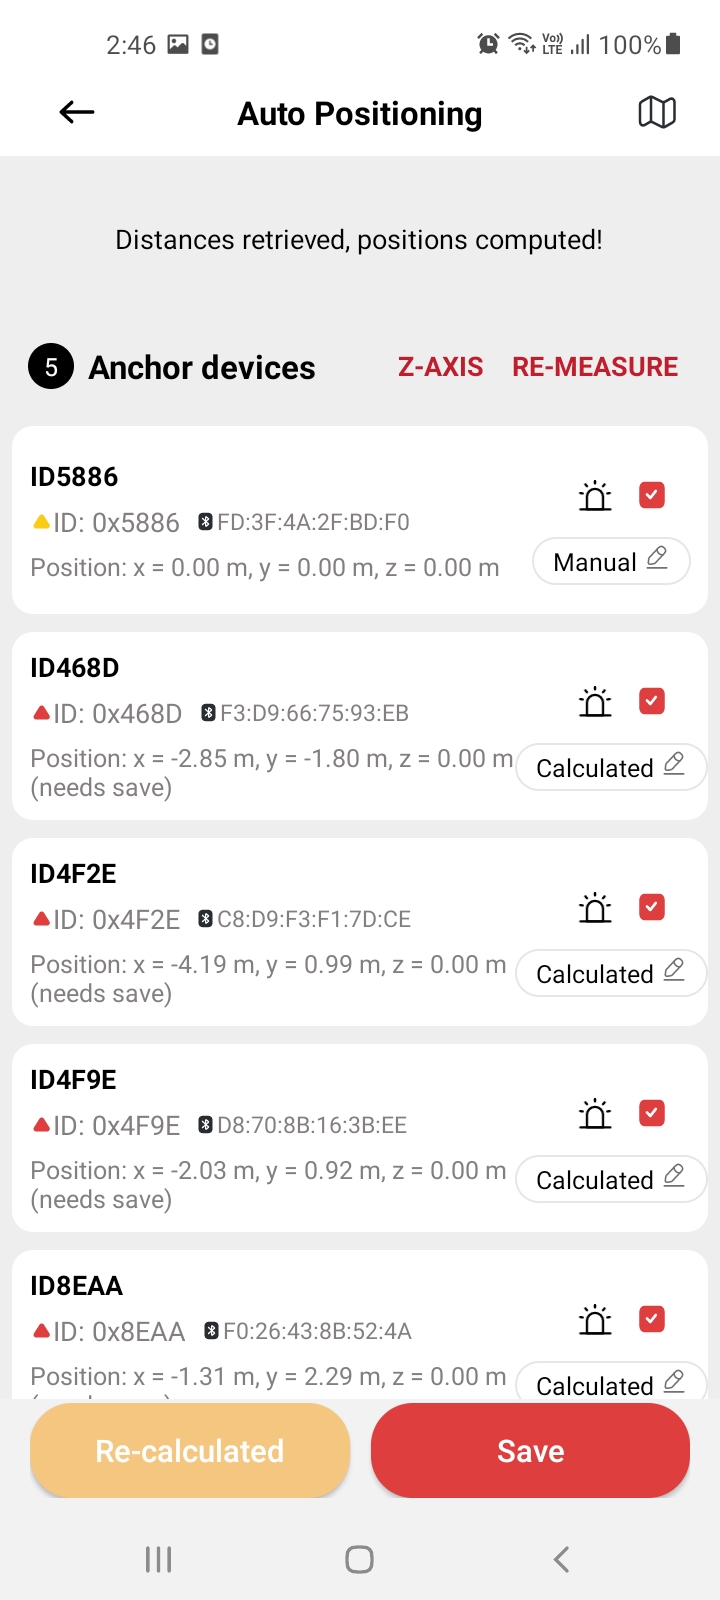
6. Recalculating Positions (optional)
If you need to make adjustments, simply press the
Recalculatebutton to redo the calculations.
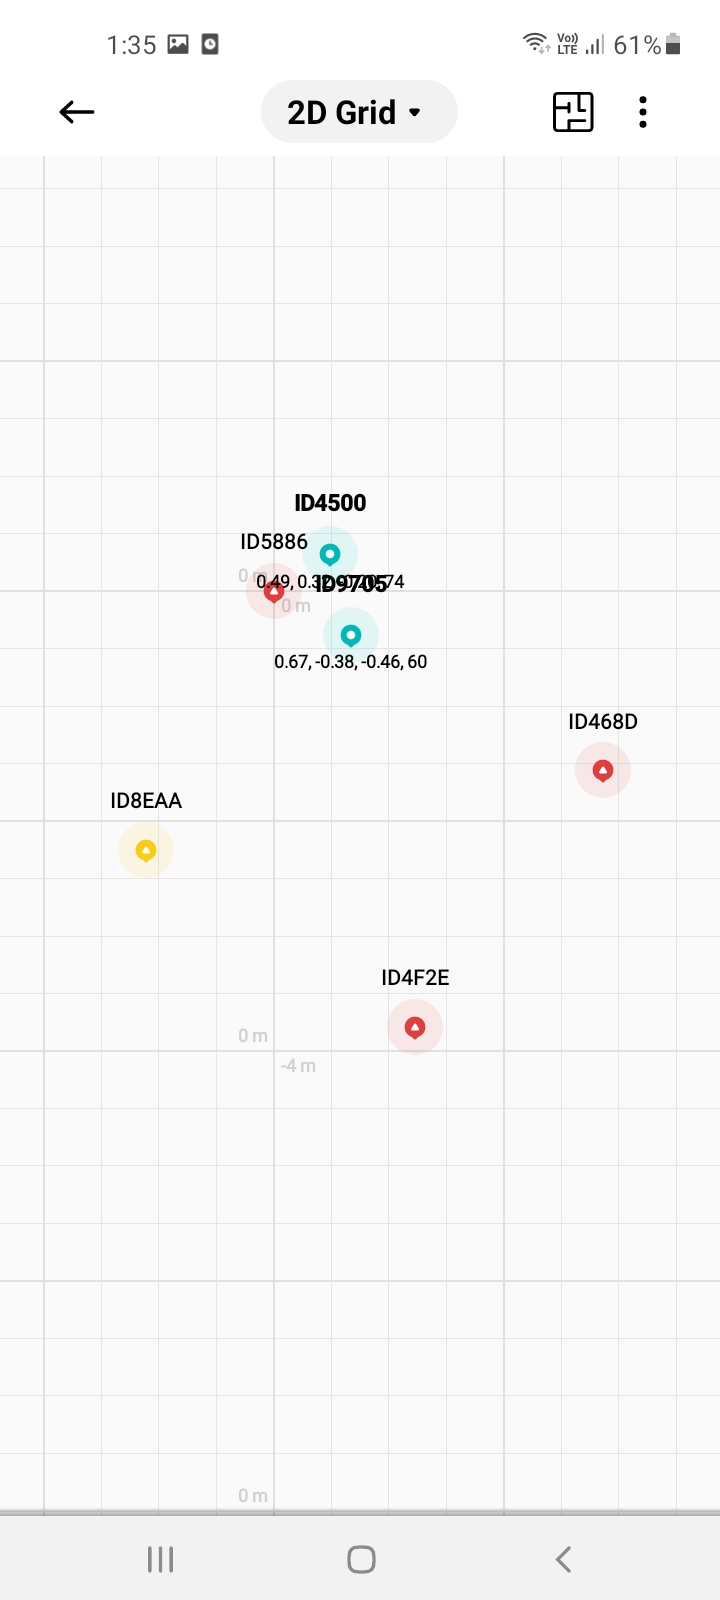
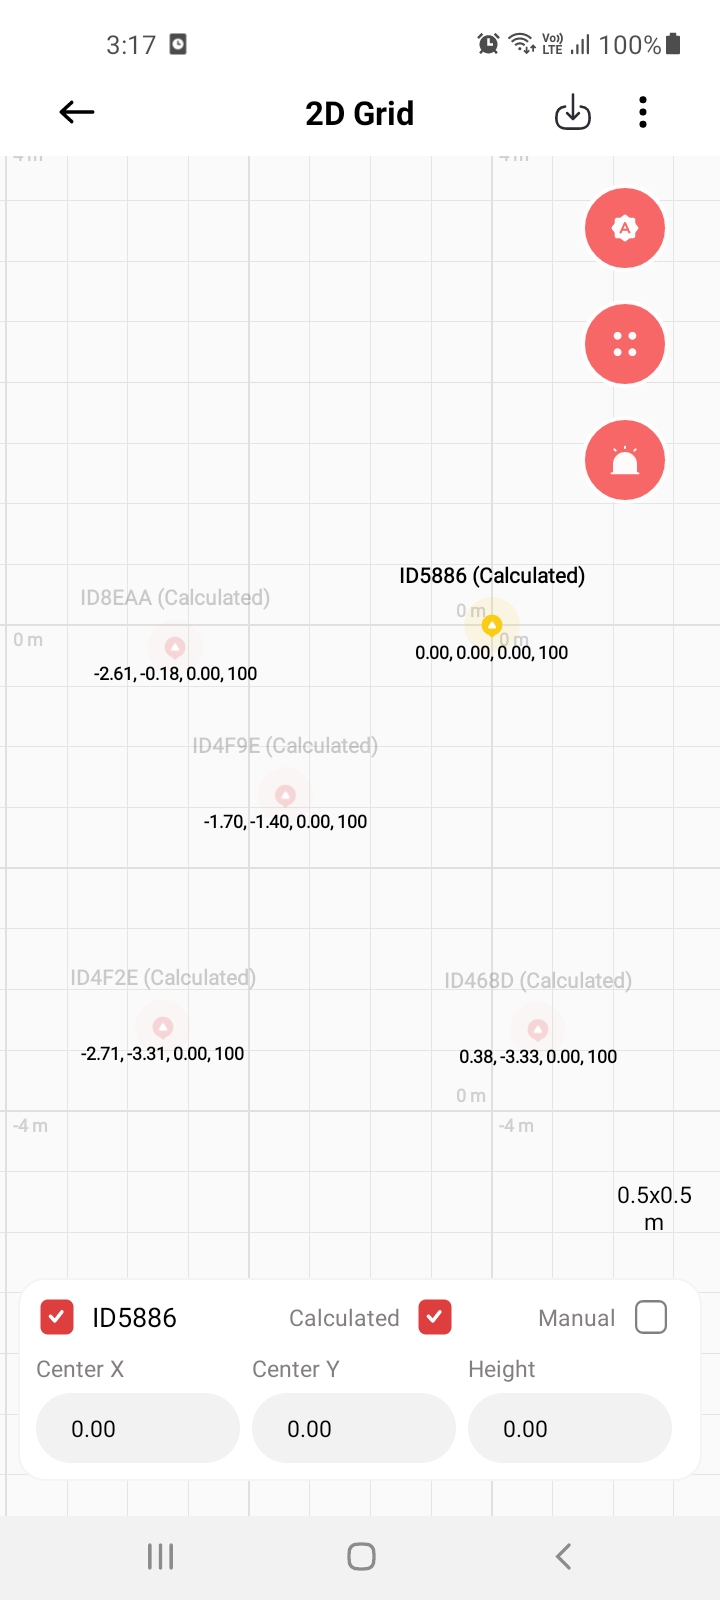
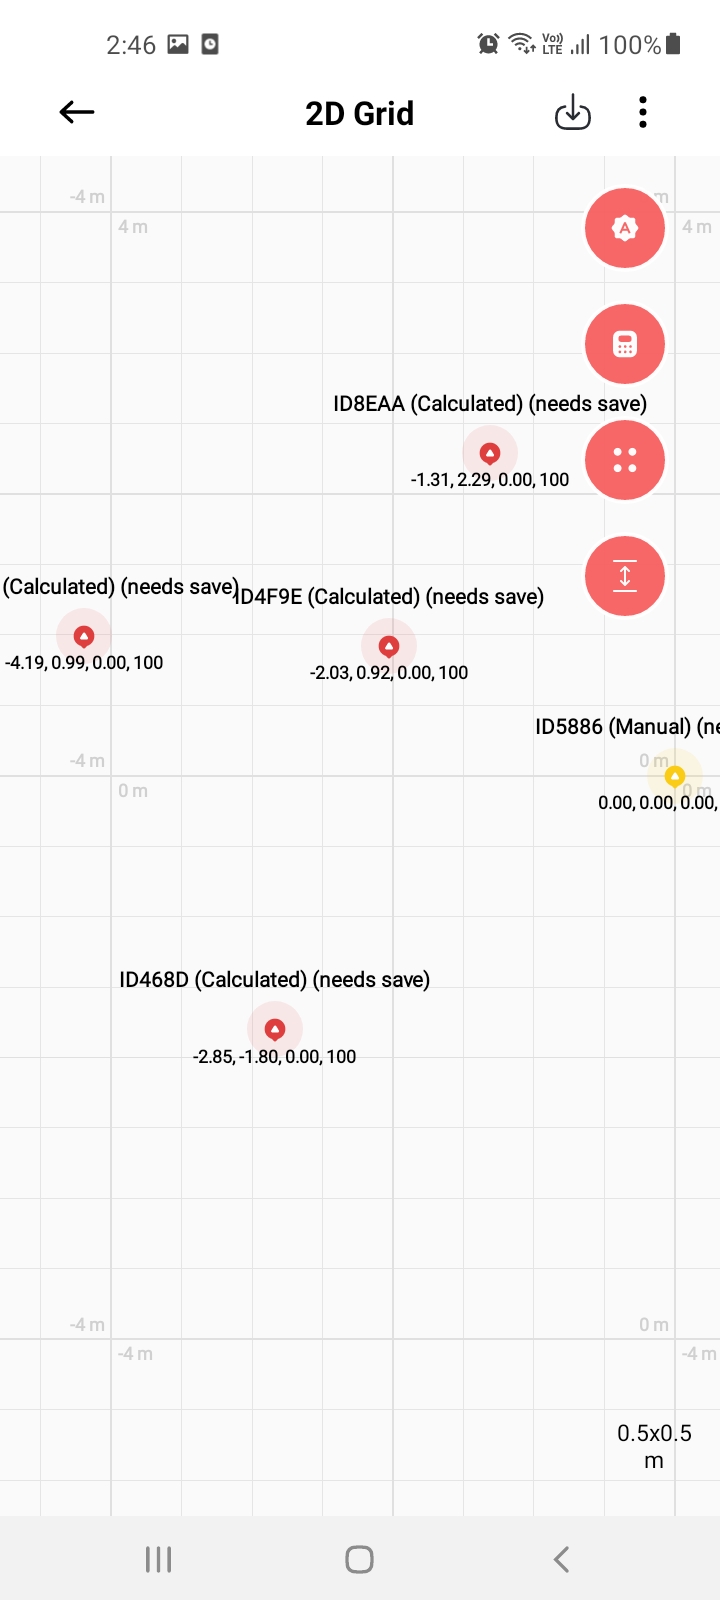
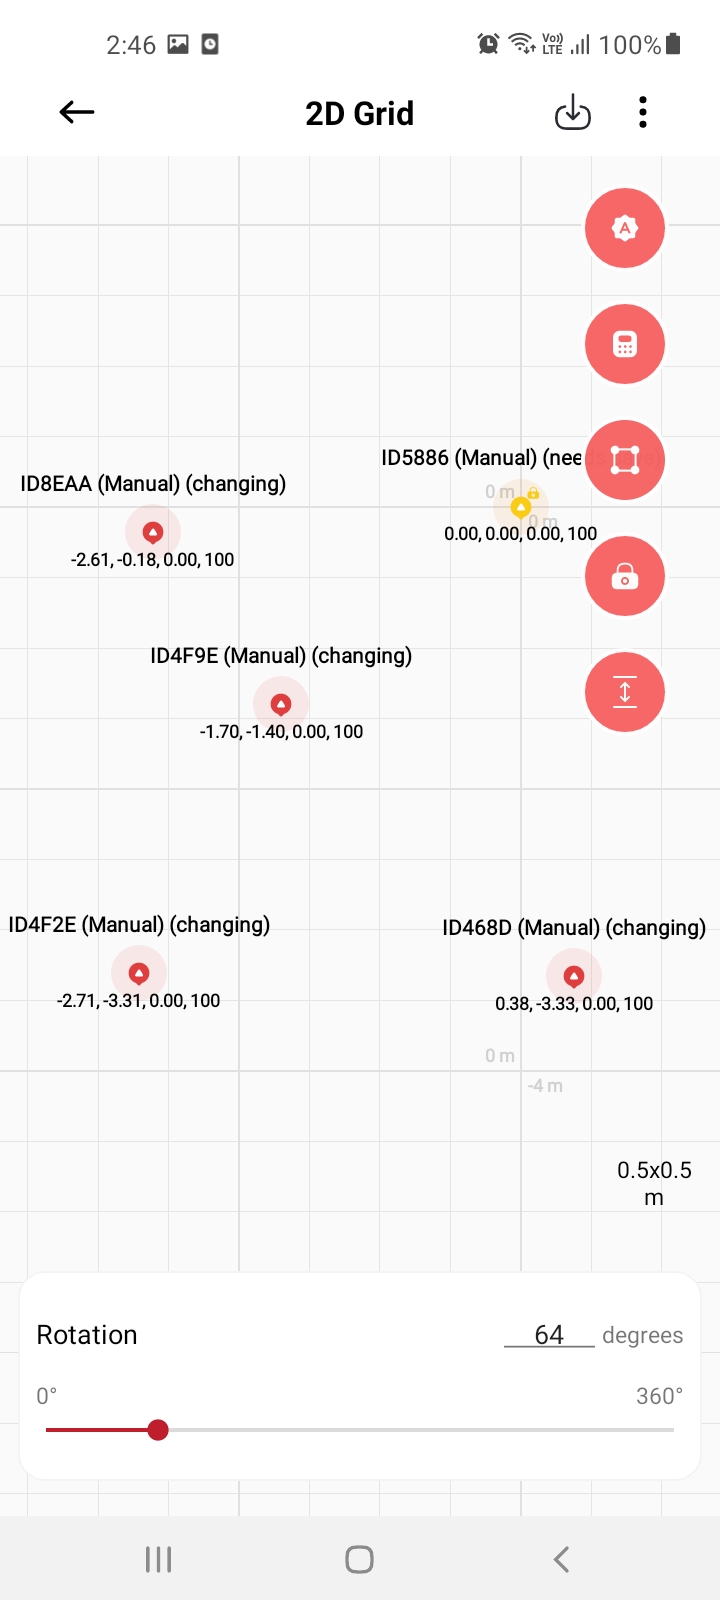
7. Viewing and Adjusting Node Positions on the 2D grid (optional)
Access the map:
Tap the map icon in the
top right cornerto view live positions of the nodes.
Adjust node positions:
Rotatenodes using the rotation feature.Set a
specific positionfor each node as needed.Press the
holdnode to move nodes freely to any desired location.You can also perform auto positioning or recalculate from this interface.
|
|
|
8. Saving Configuration
Once you are satisfied with the adjustments, press the
Savebutton or save icon located in thetop toolbarof the 2D grid.
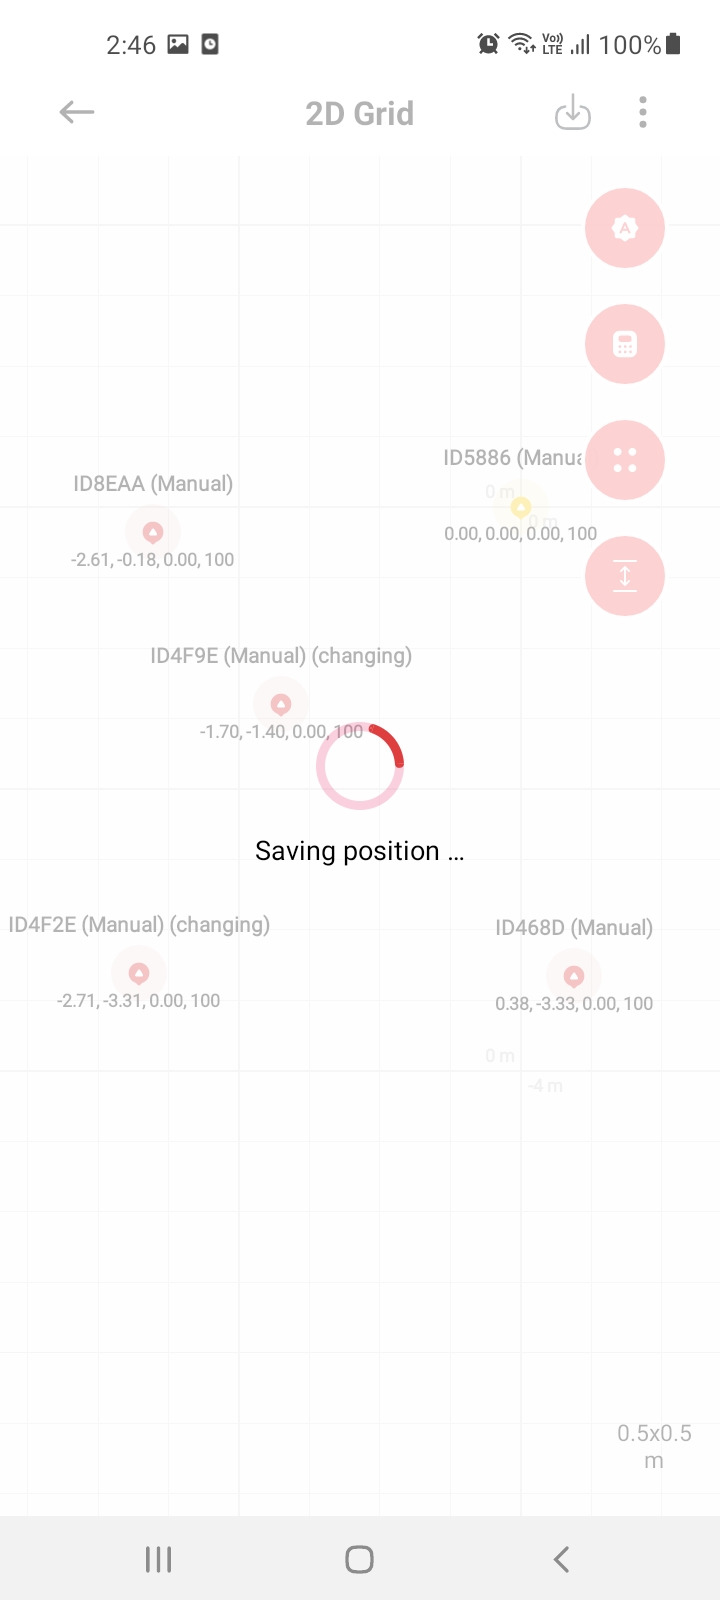
Back to the 2D grid to continue working on your network setup.
FAQs
- Q: What if no anchors appear on the list?A: Ensure your network is active, and the anchors are properly configured in the environment.
- Q: Can I use a single anchor for positioning?A: No, you must select at least two anchors for accurate results.
Troubleshooting
Always ensure the BLE connection is stable and the device is within coverage range.