PANS PRO Manager
This page outlines the essential steps for using the PANS PRO Manager tool, specifically designed for Android devices. It guides users through the configuration, setup, and management of Ultra-wideband devices, ensuring seamless integration and operation within the PANS PRO RTLS system.
Key Features
Allowing management and visualization of the devices for the whole network.
The communication with the devices are done via the BLE with support for up to 6 concurrent connections to maintain connection reliability.
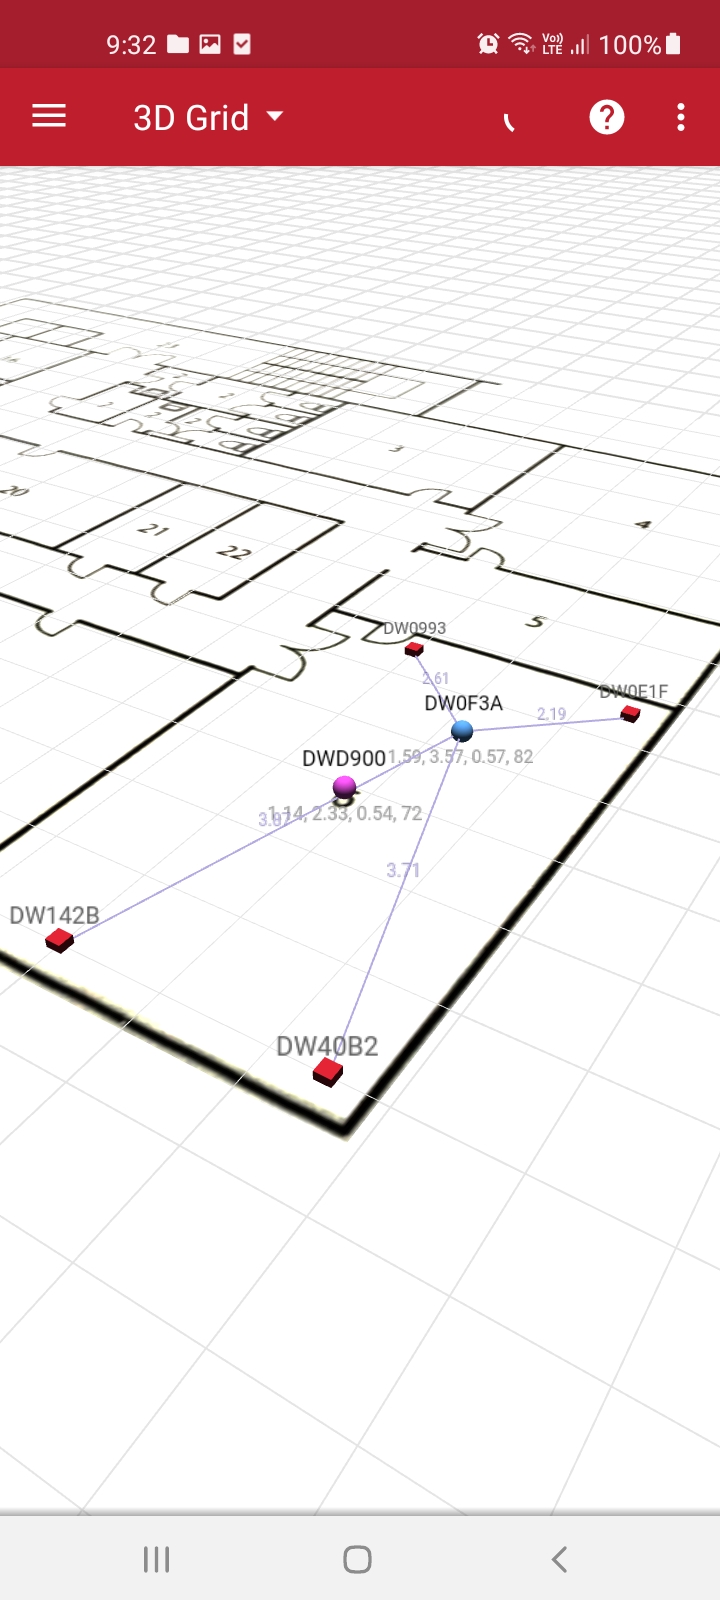
The Grid in 2D and 3D provides real-time position updates and visualization of the devices in the network.
Other useful features include Anchors Auto-Positioning, Firmware Update over BLE, User Management, and Position Logging.
System Environment
The PANS PRO Manager has been developed based on the Android API level 24 and subsequent versions. Refer to apilevels
Minimum android version: Android 7 (API 24)
Minimum memory: 100 MB (free disk space)
Minimum Bluetooth version: 4.2 (recommended 5.0 or newer)
Recommendation for a android device : Google Pixel 7 (equivalent devices)
Instruction
To get started, please download the PANS PRO Manager application (available in the Google Play)
Getting started
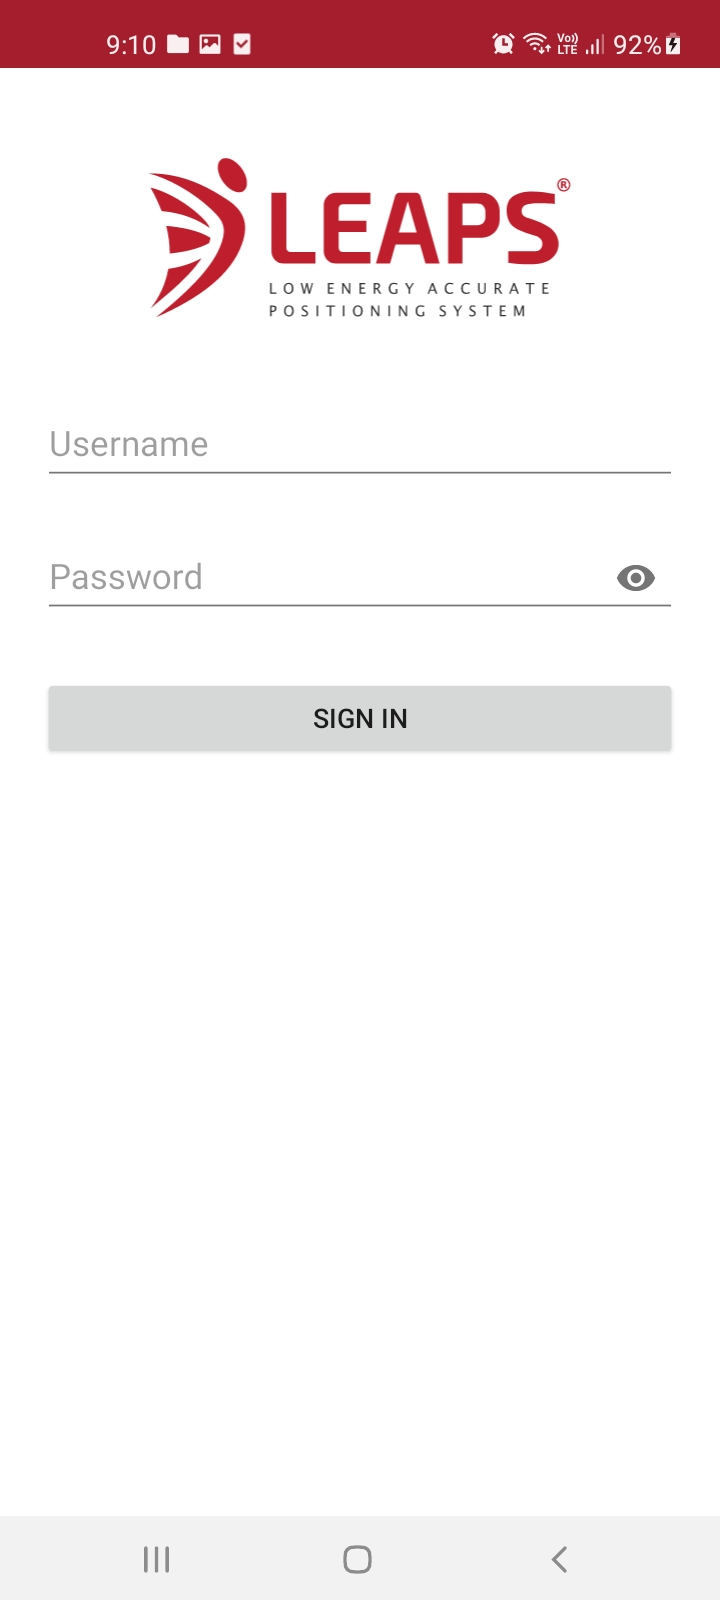
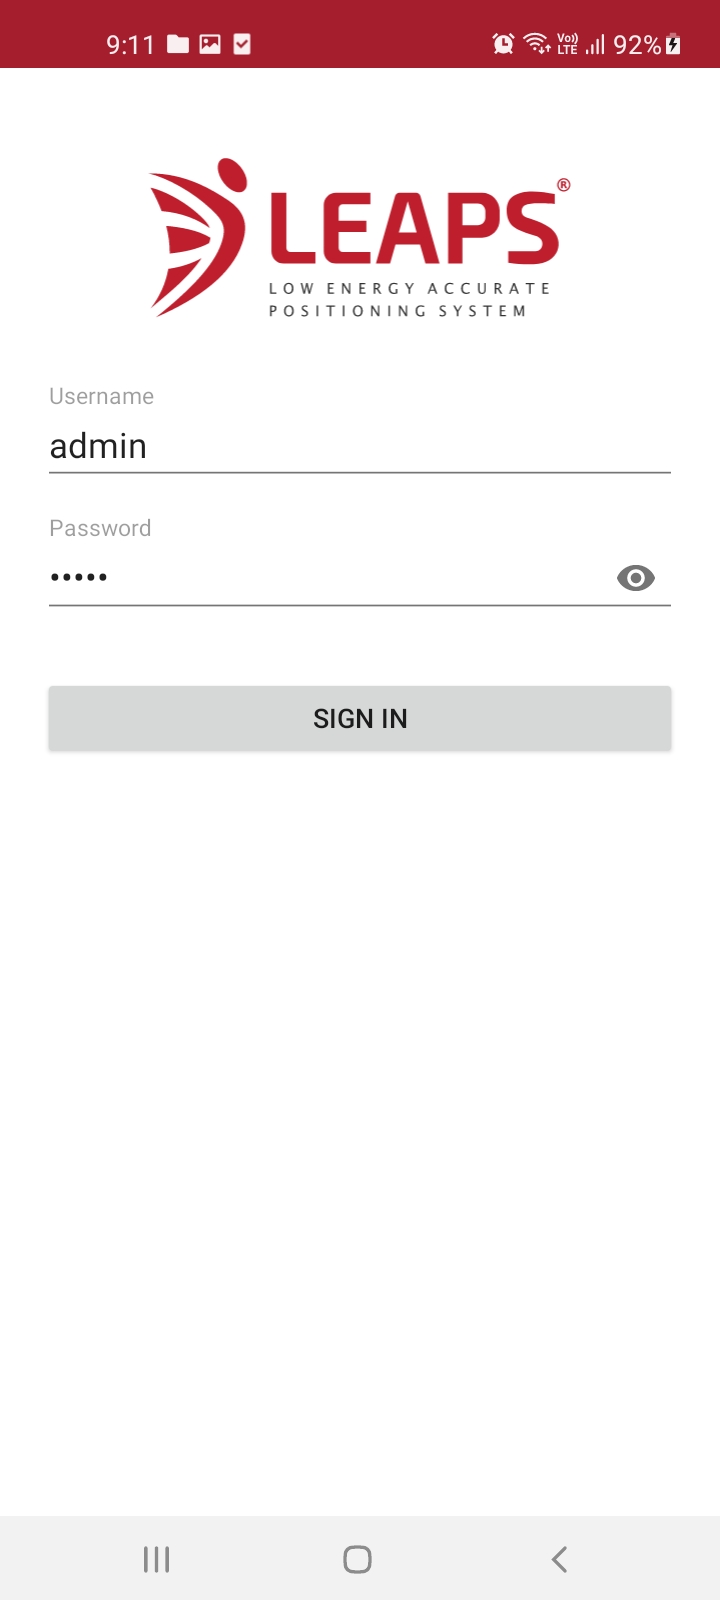
To begin using the PANS PRO Manager, a login is required. By default, the username is admin and the password is admin, provided that user management settings are enabled.
Devices Discovery
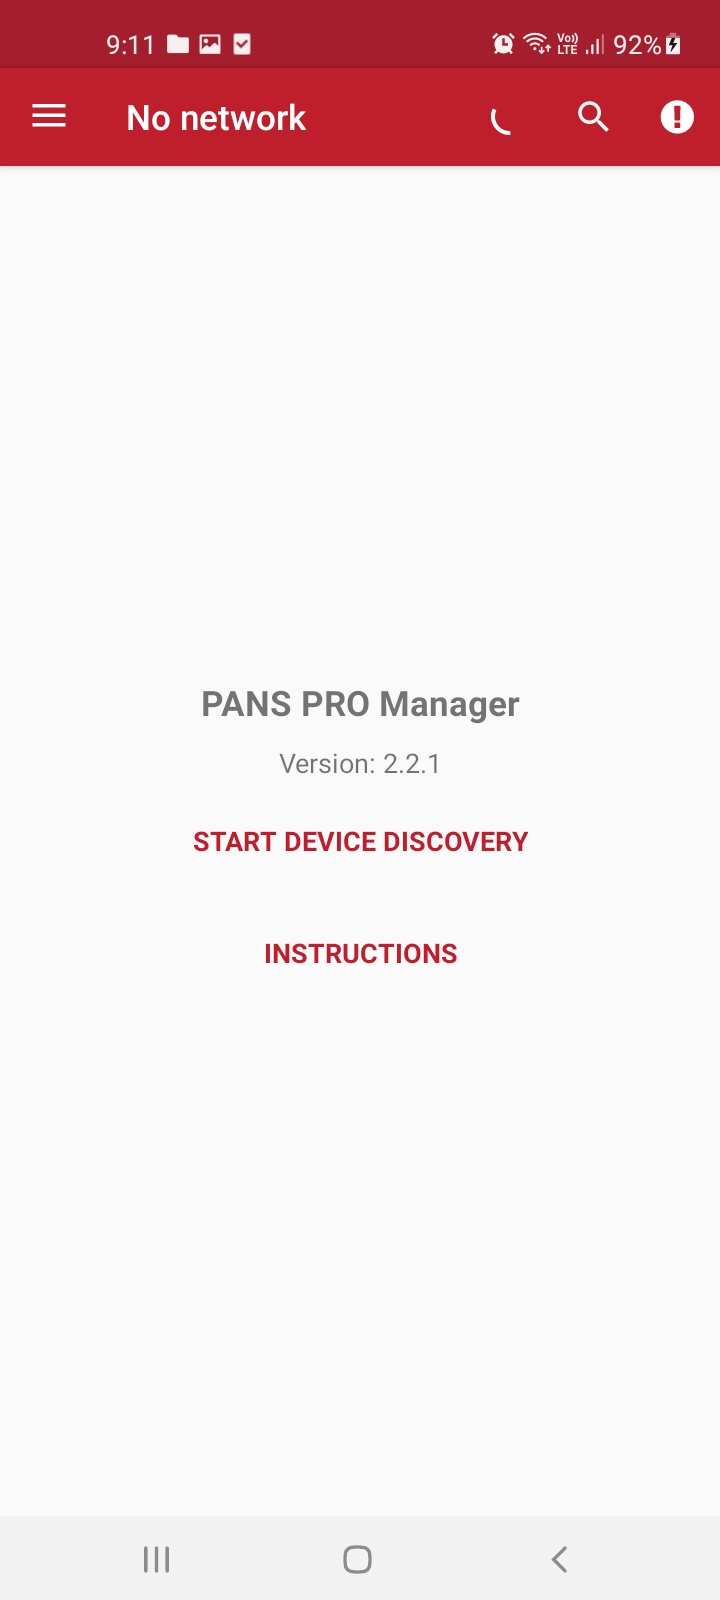
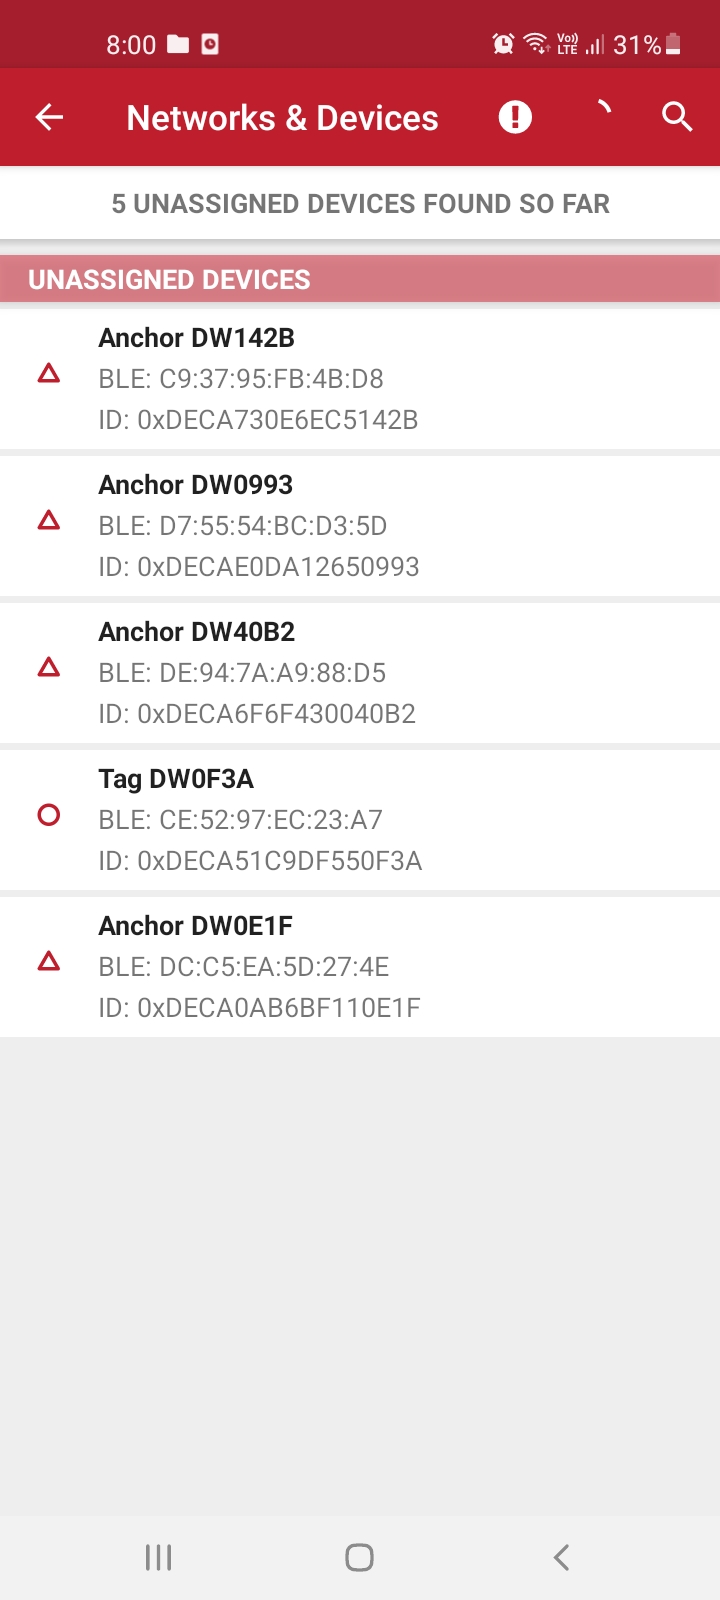
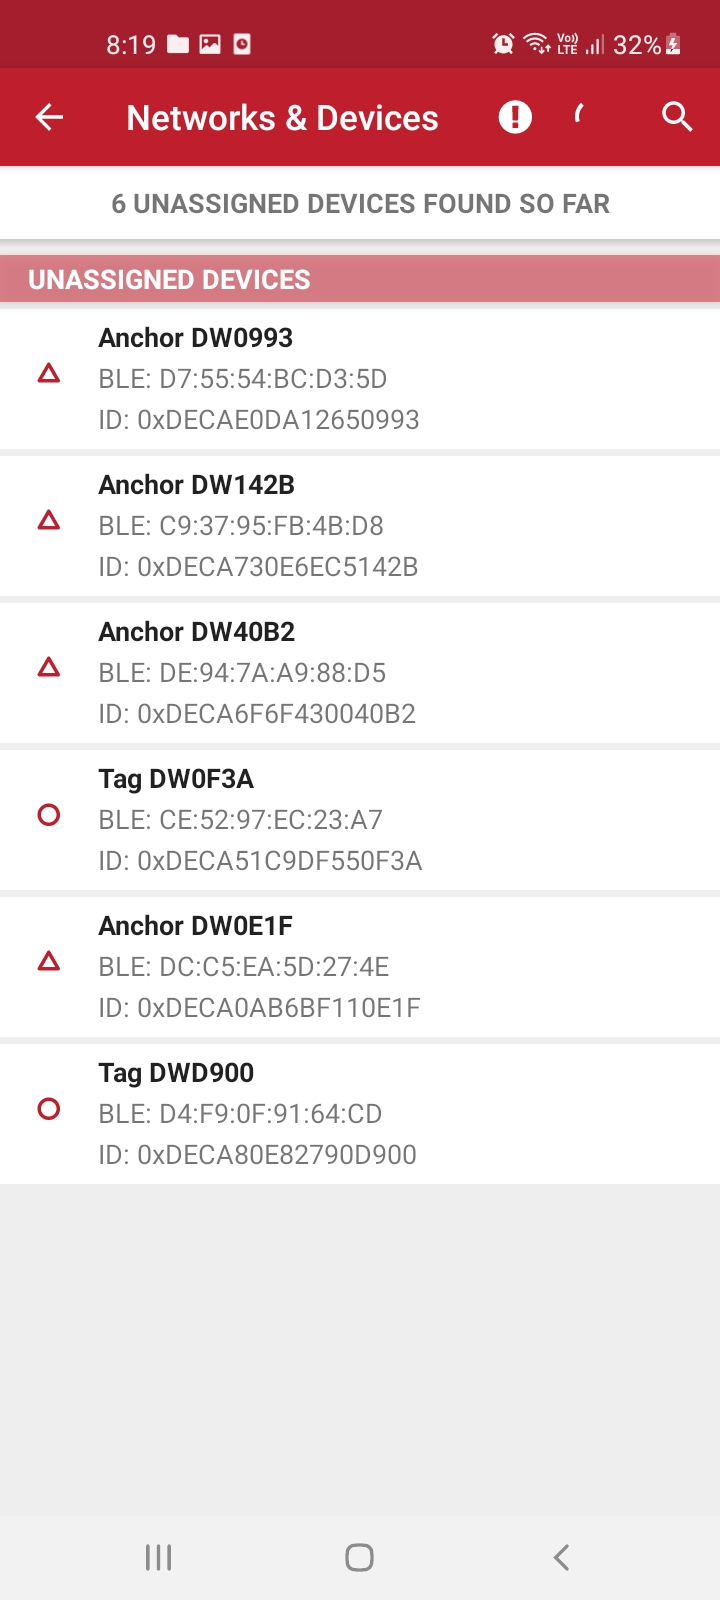
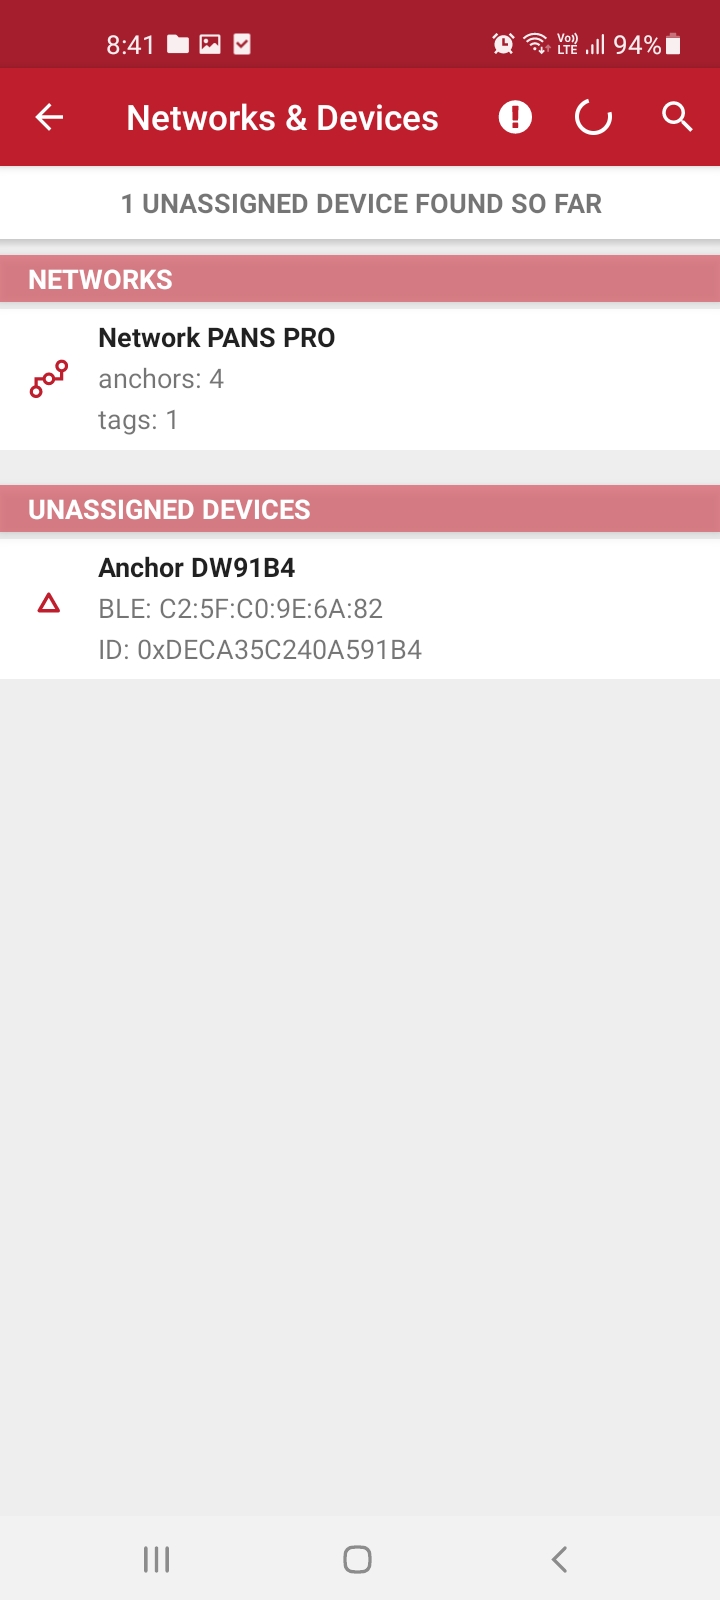
After successfully logging in, the home page will appear as shown in the left image. To quickly detect available network and devices in the area, initiate the Start Device Discovery function from the home page. Wait for the discovery and scanning process to finish. The discovered network and devices will be listed as shown in the right image.
Network Configuration
Creating a Network
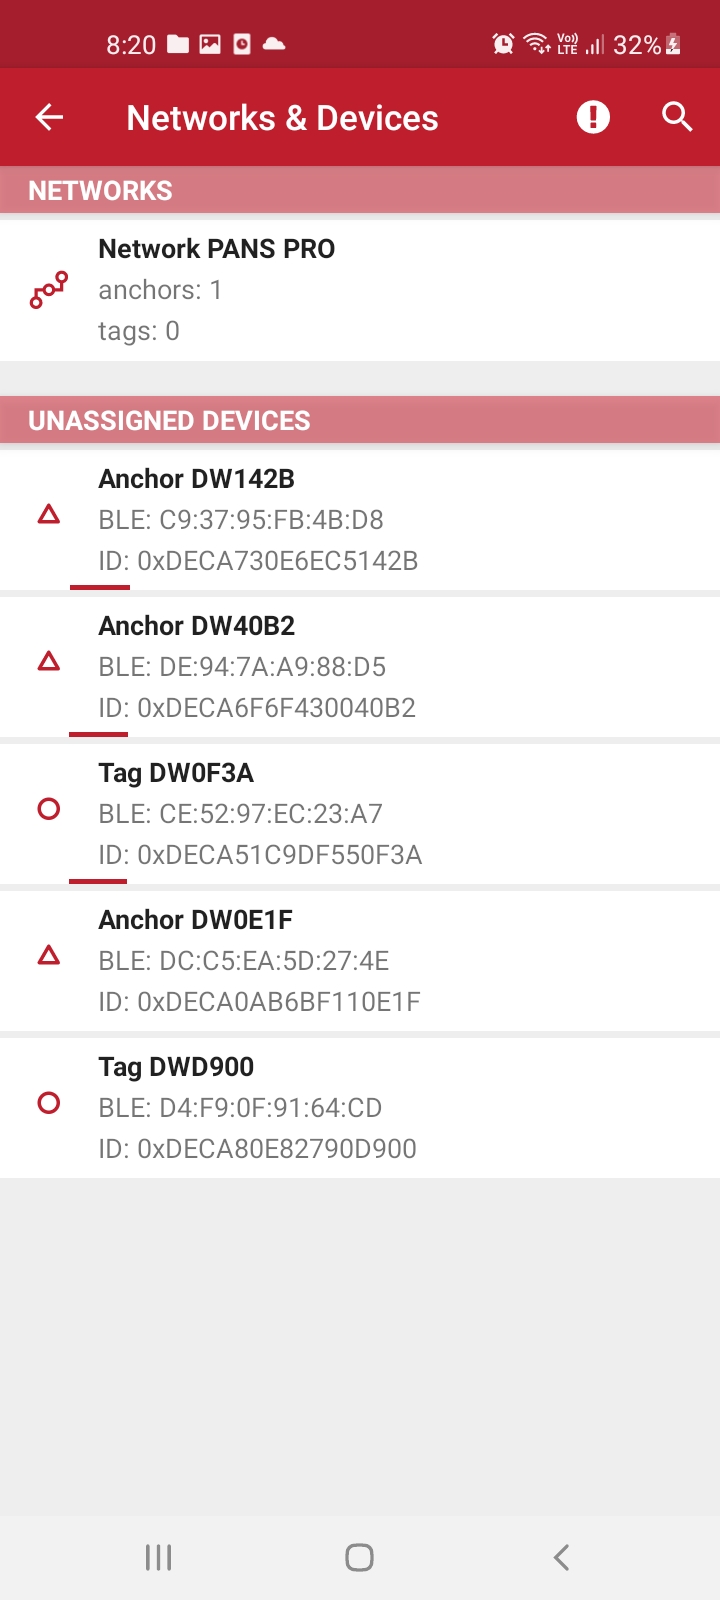
Choose the device you’d like to set up a network with.
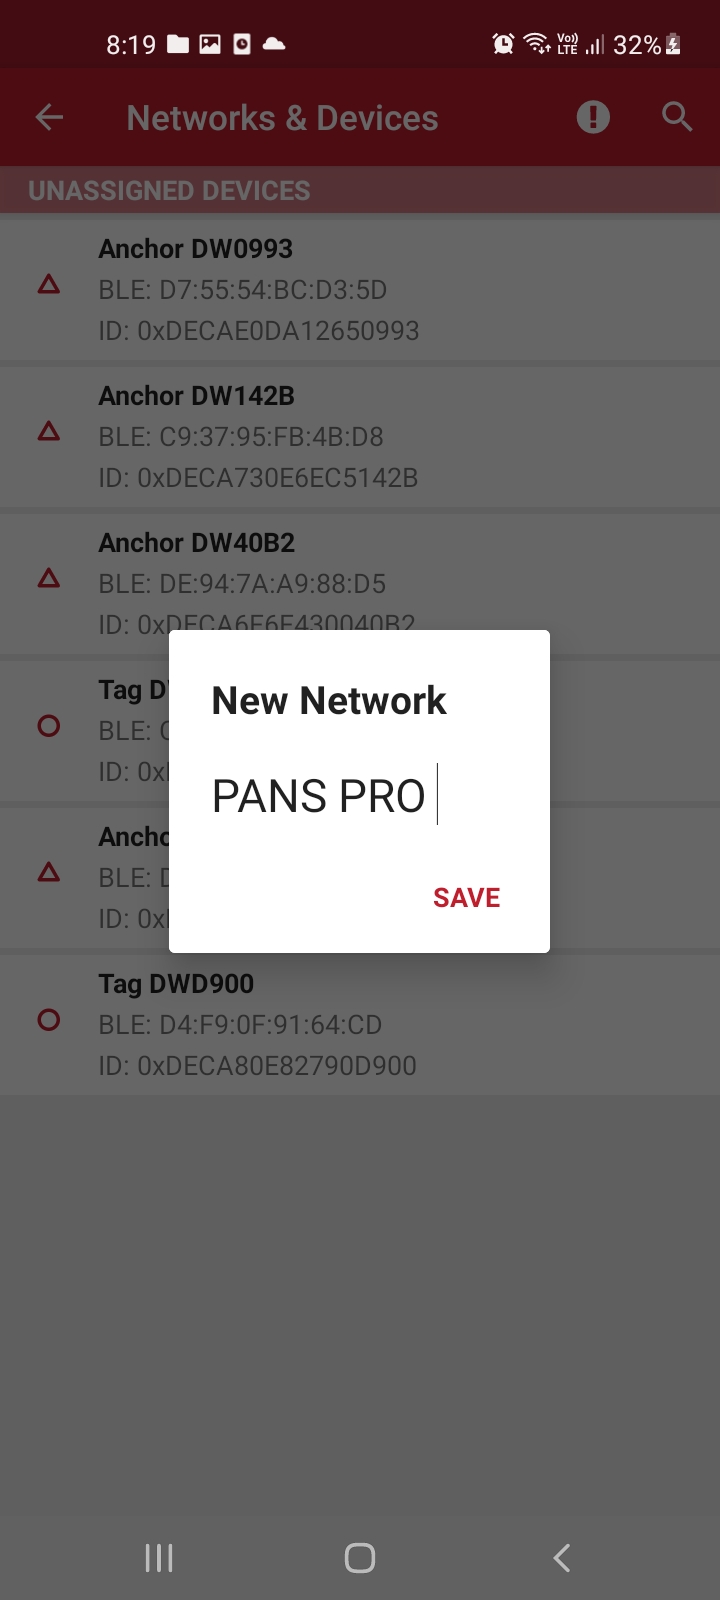
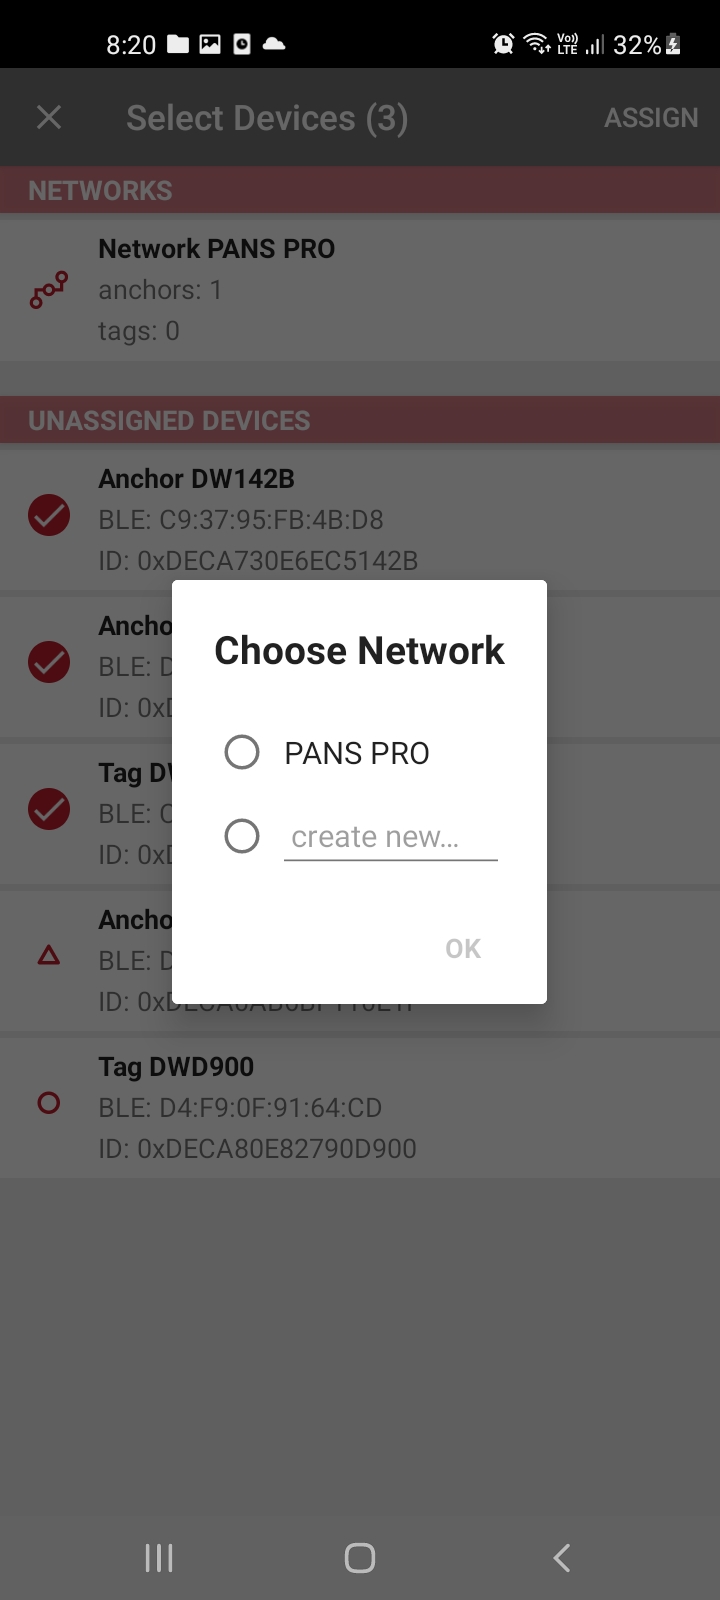
A dialog box will pop up prompting you to input the network name.
Type in your desired network name.
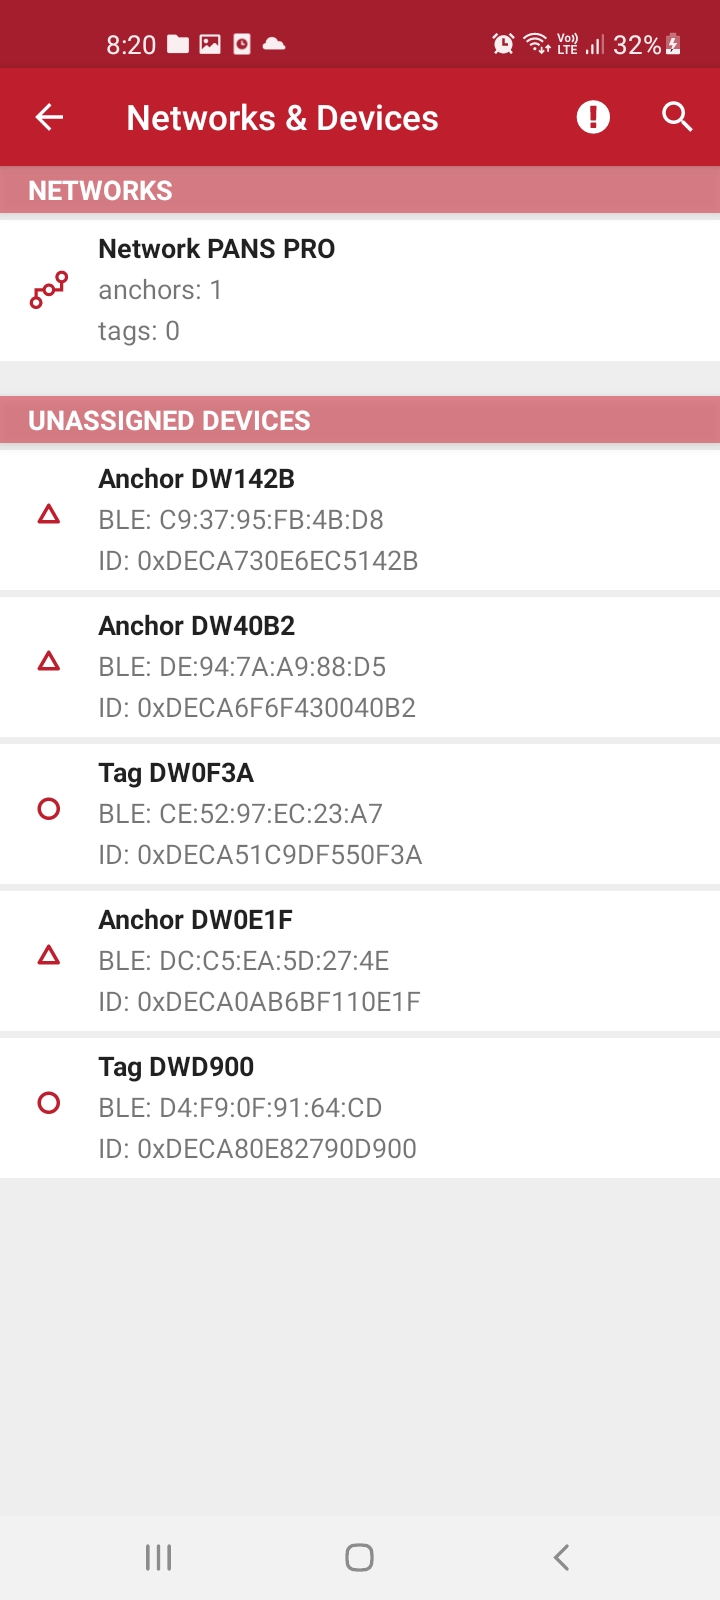
The application will then create the network.
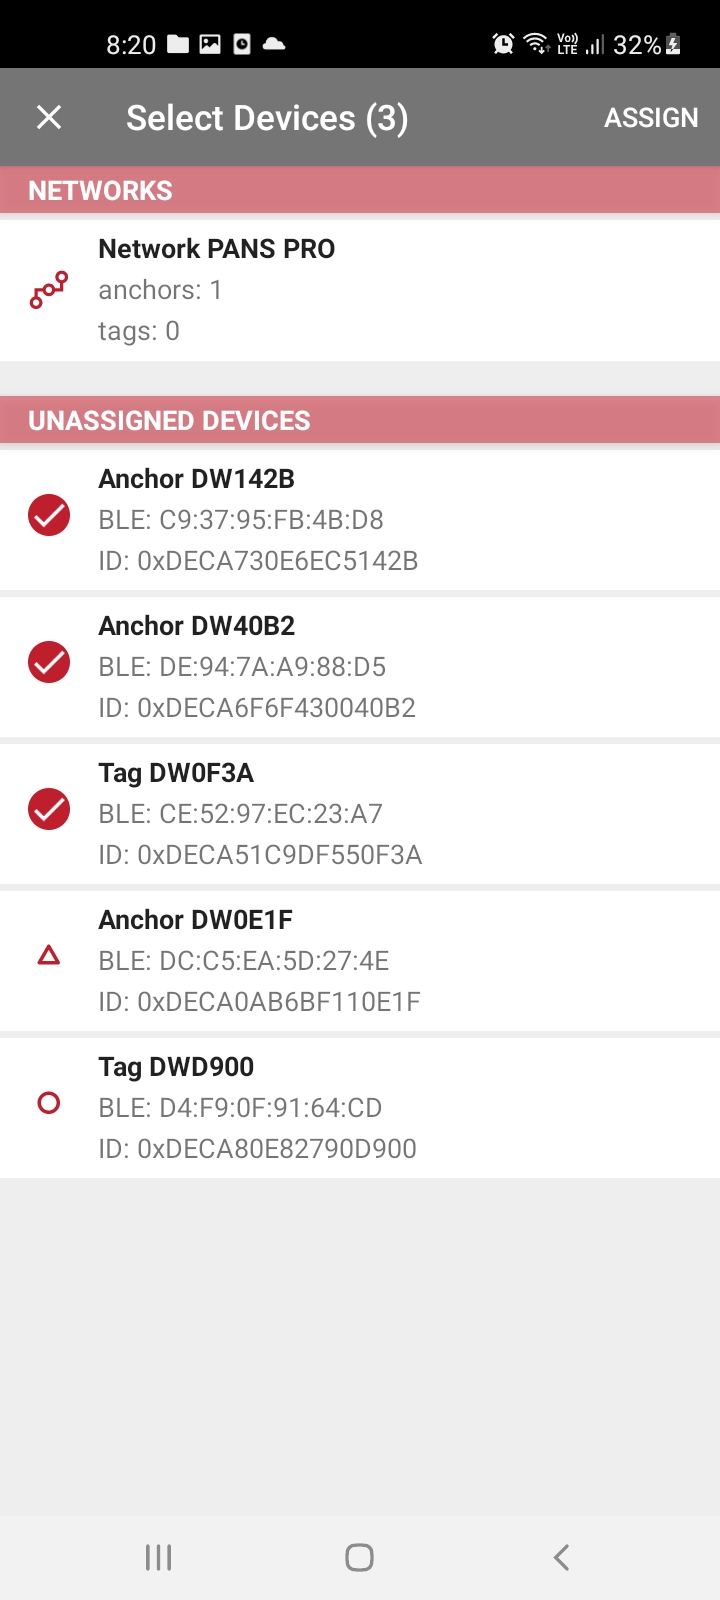
Assigning Multiple Devices
To add several devices to the network, press and hold on the device in the list.
Then the application will assign multiple devices.
If the network is already available, please choose it.
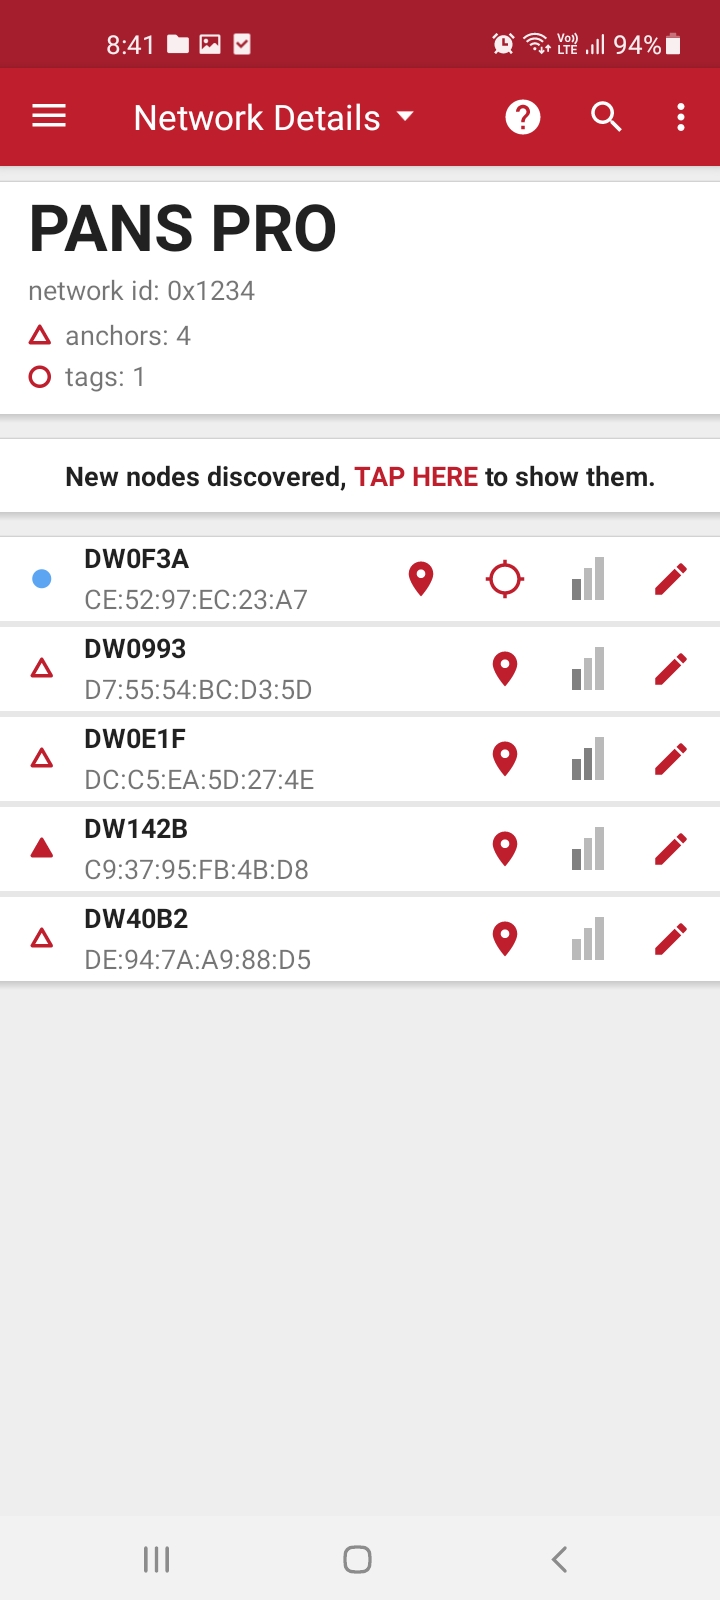
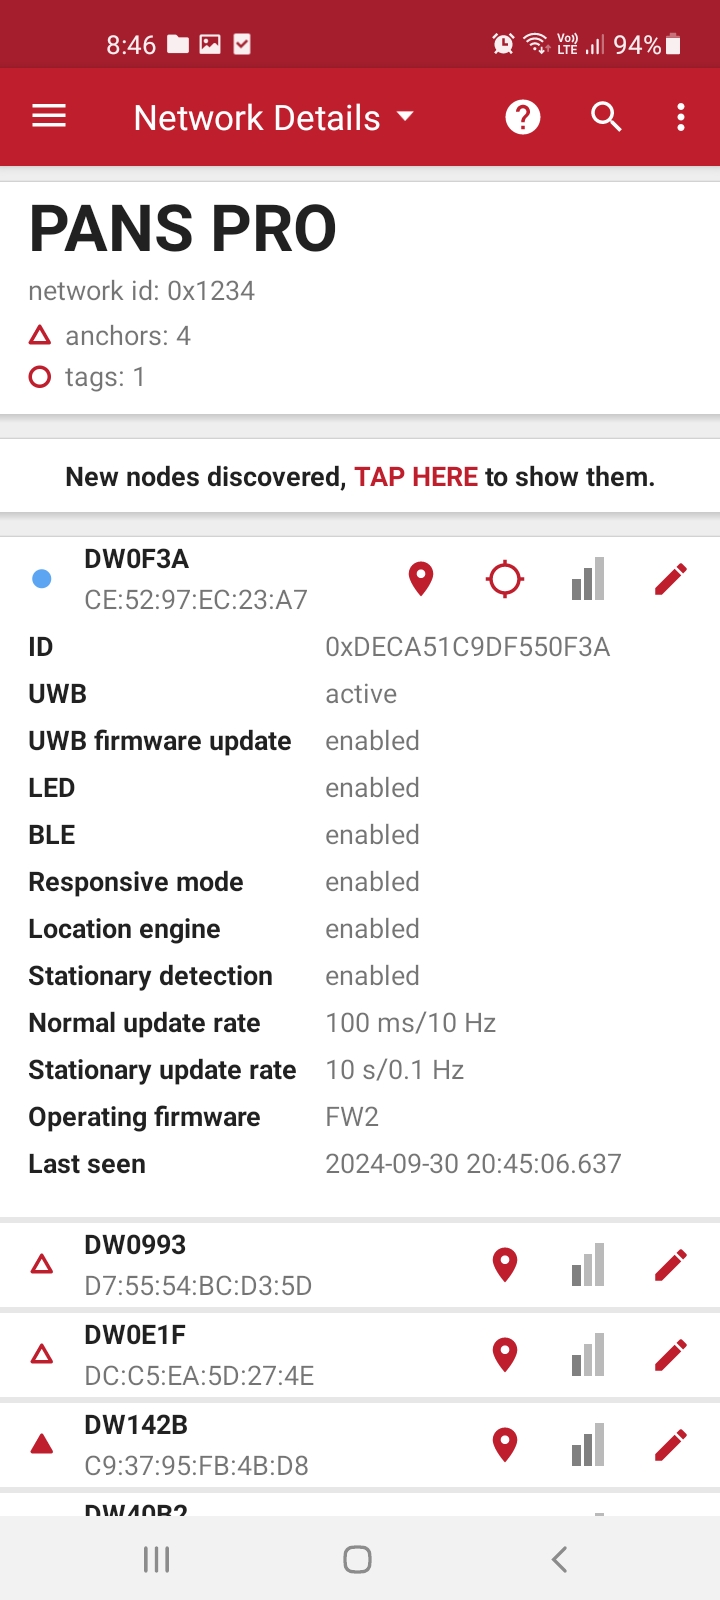
To view detailed information about the chosen device, click on the device. Detailed info will be displayed below.
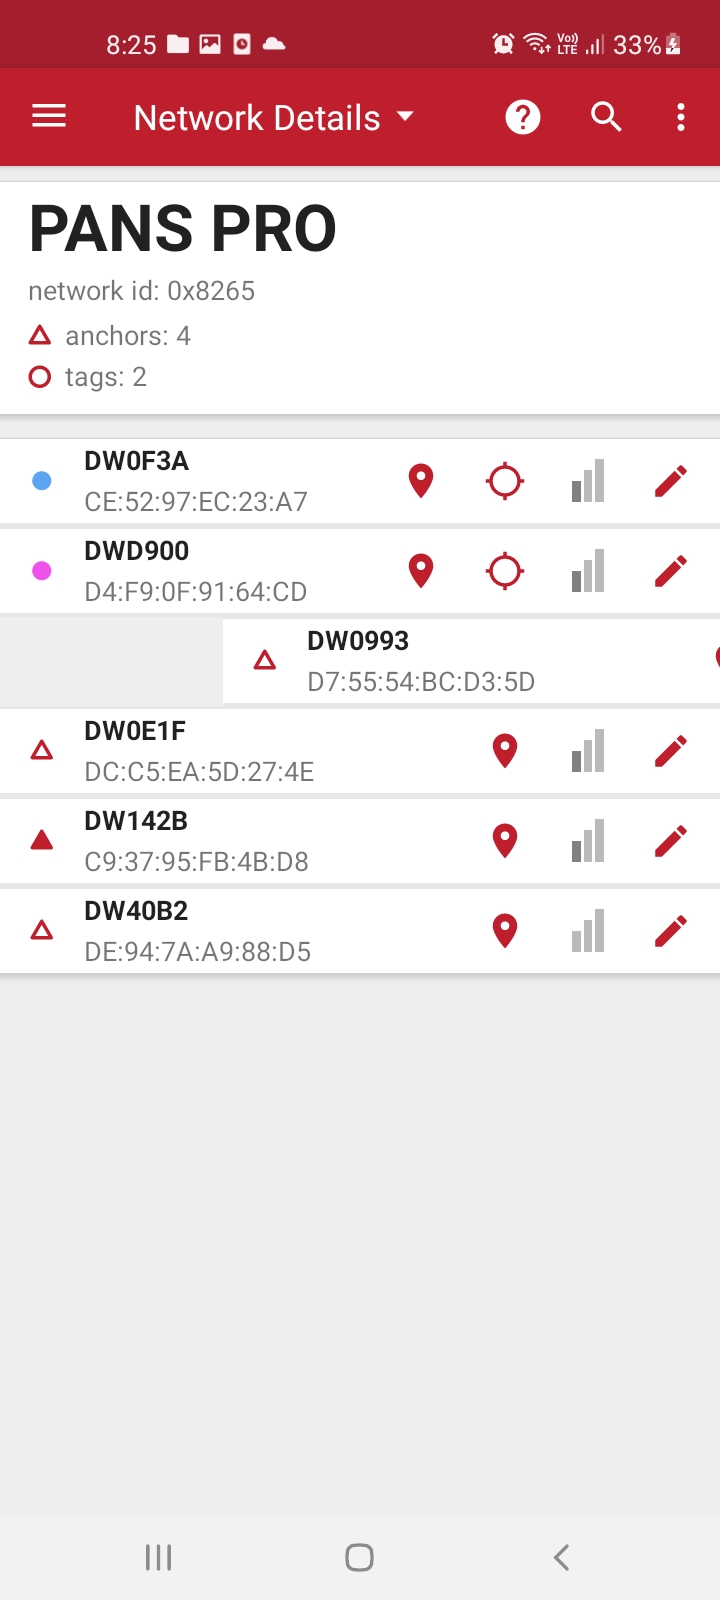
To remove a device from the network, swipe the device to the right.
Device Configuration
To configure a node, you need to assign the node to a specific network in advance.
Select the network with the specified node to view network details.
Swipe the screen to scan, making sure there is a connection signal from the application to the device.
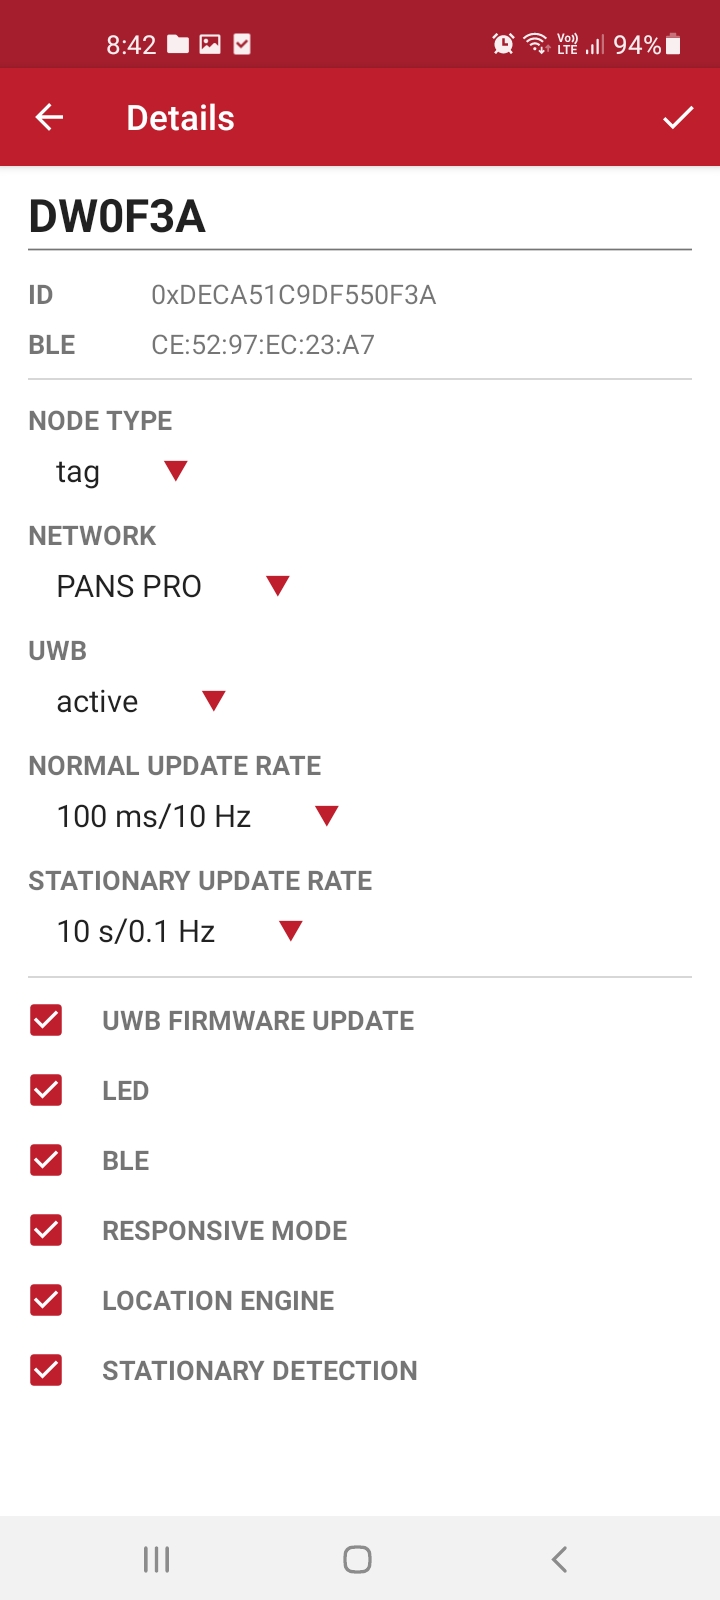
If the pencil icon is available, you can select it to configure the node.
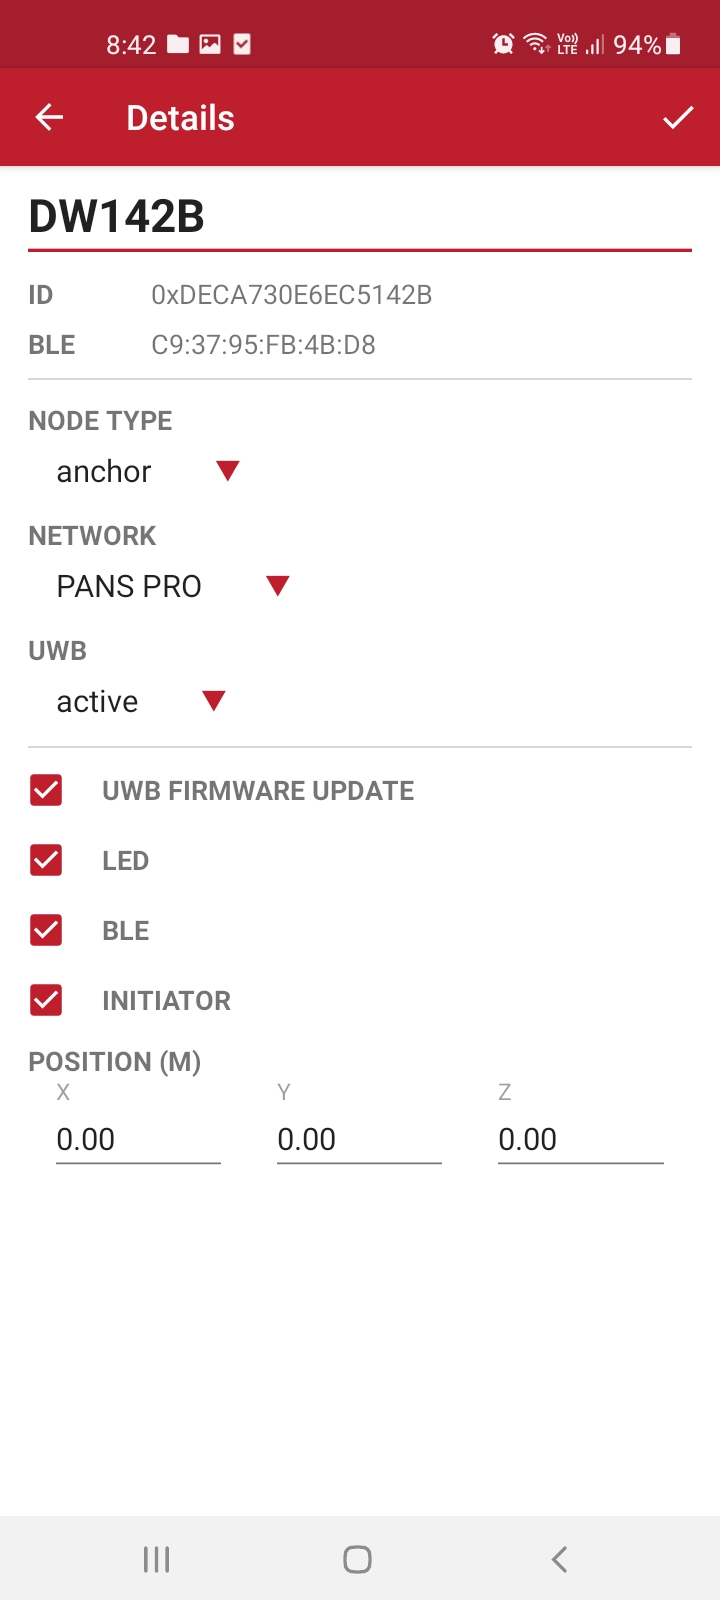
The following two examples illustrate the configurations:
The left device represents a tag node, where the NORMAL UPDATE RATE and STATIONARY UPDATE RATE parameters are configurable.
The right device represents an anchor node, where the POSITION (M) parameter is configurable.
Network Visualization
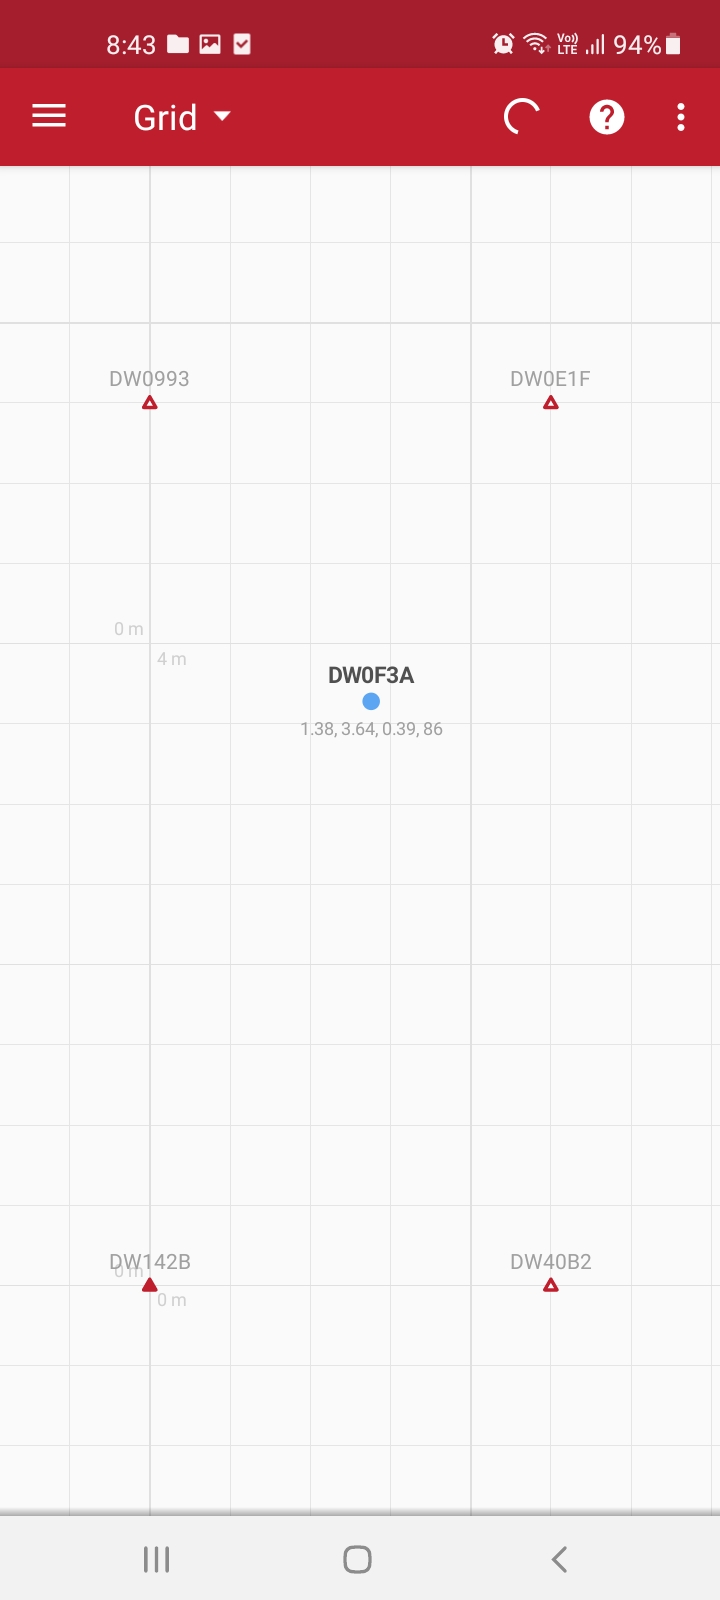
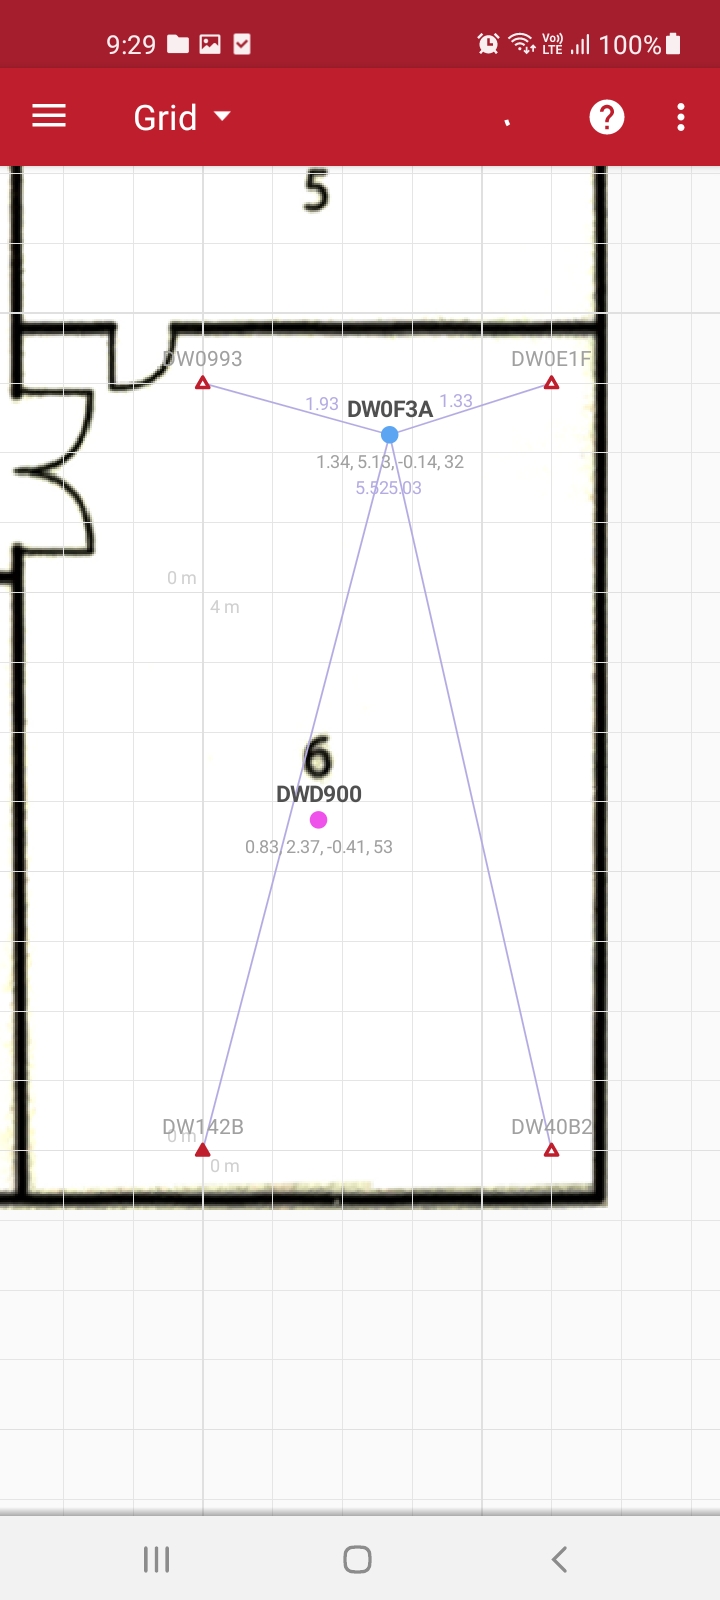
The primary feature of the PANS PRO Manager tool is its capability to visualize the network’s accurate positions. The following example illustrates the network representation in 2D mode.
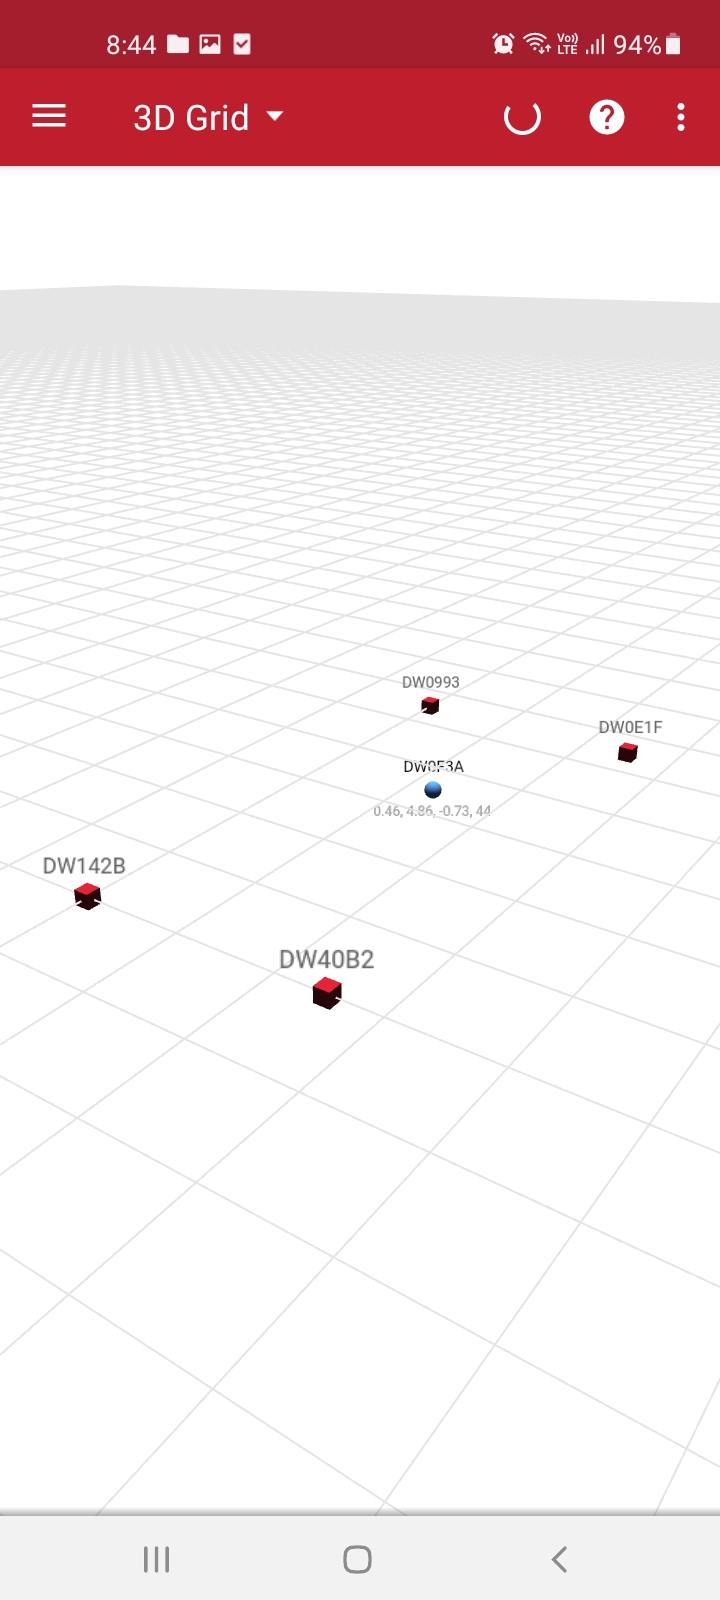
To display the network in 3D, the following example illustrates the network representation in 3D mode.
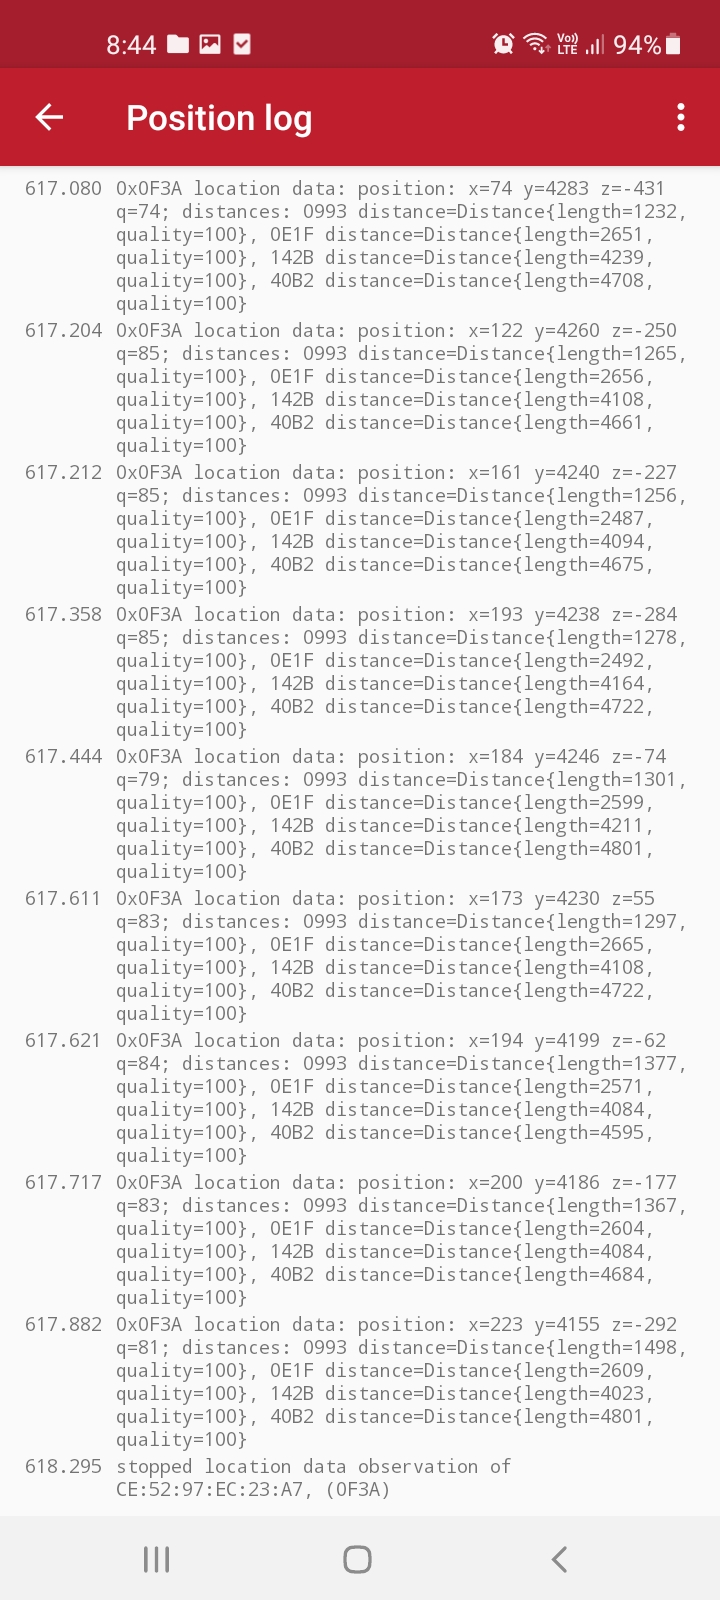
Position Logs
To display the details of each device in the network along with their static data, the following example illustrates a device and its corresponding position.
Auto-Positioning
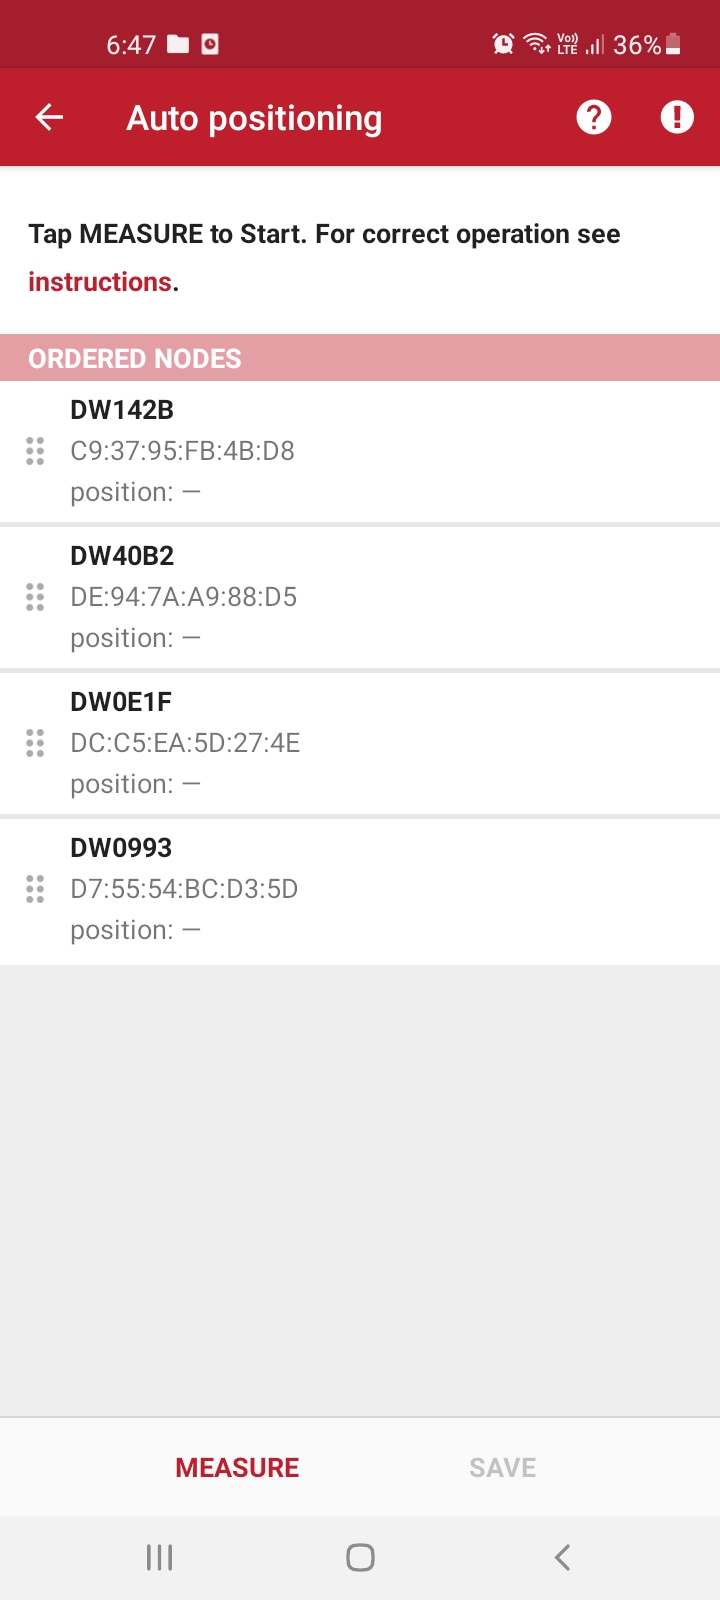
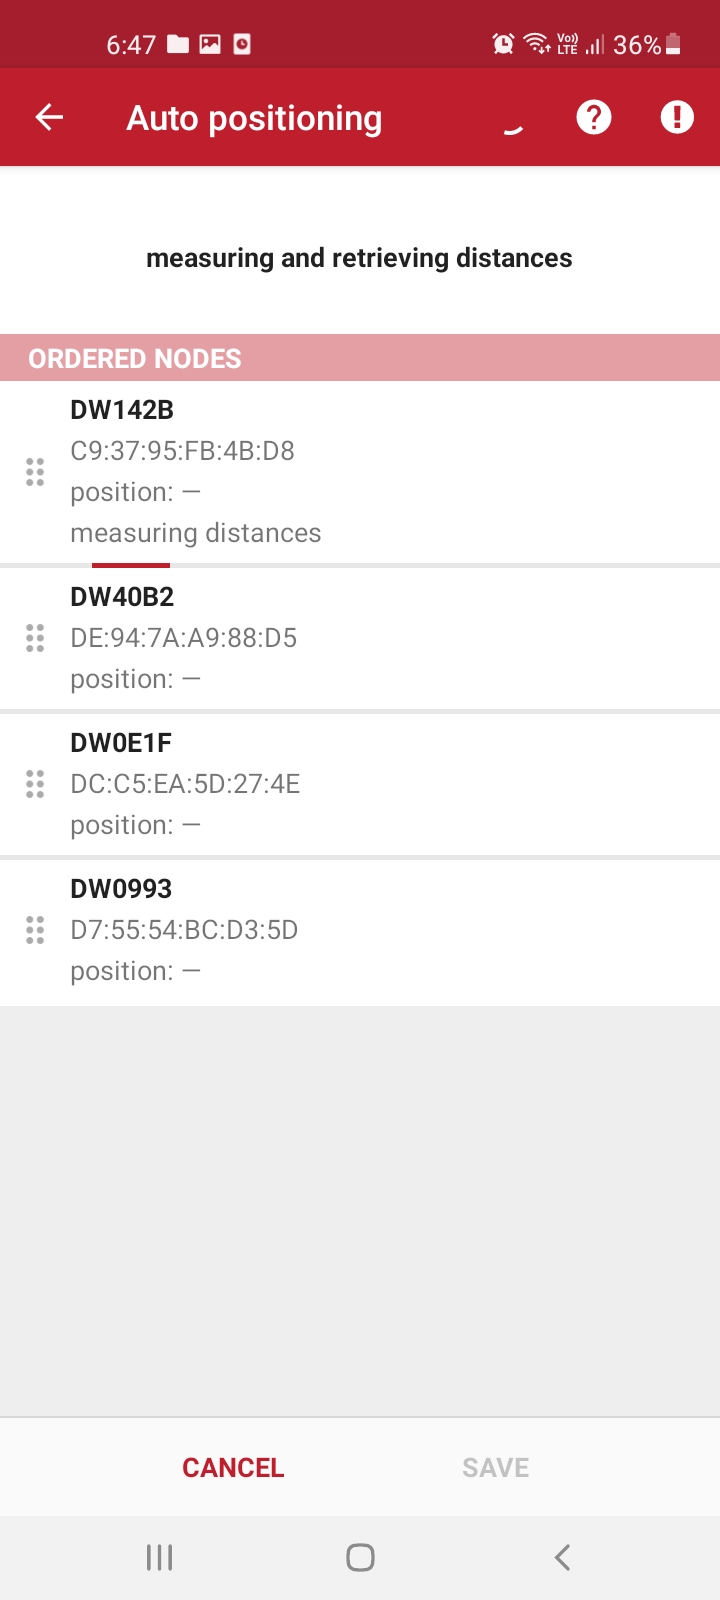
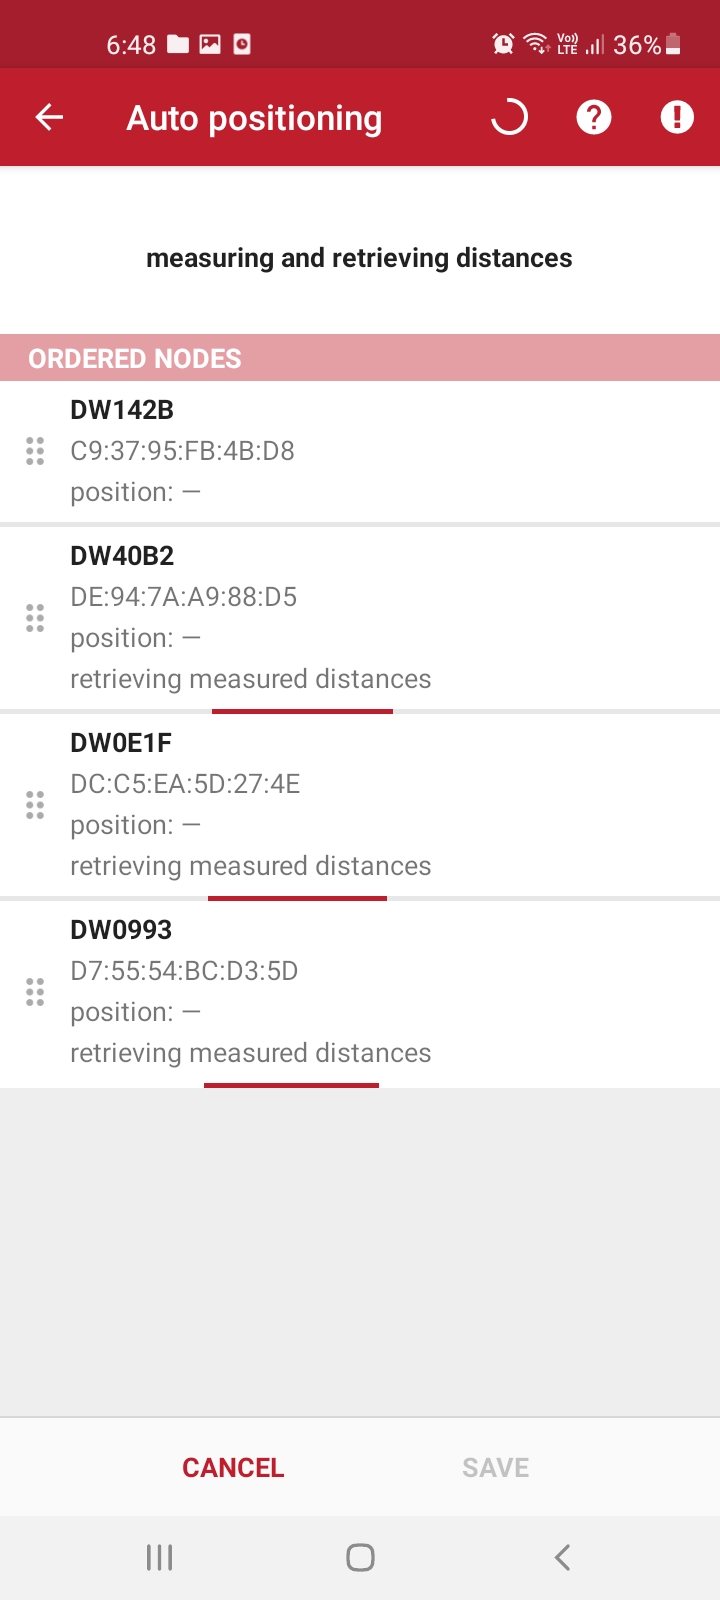
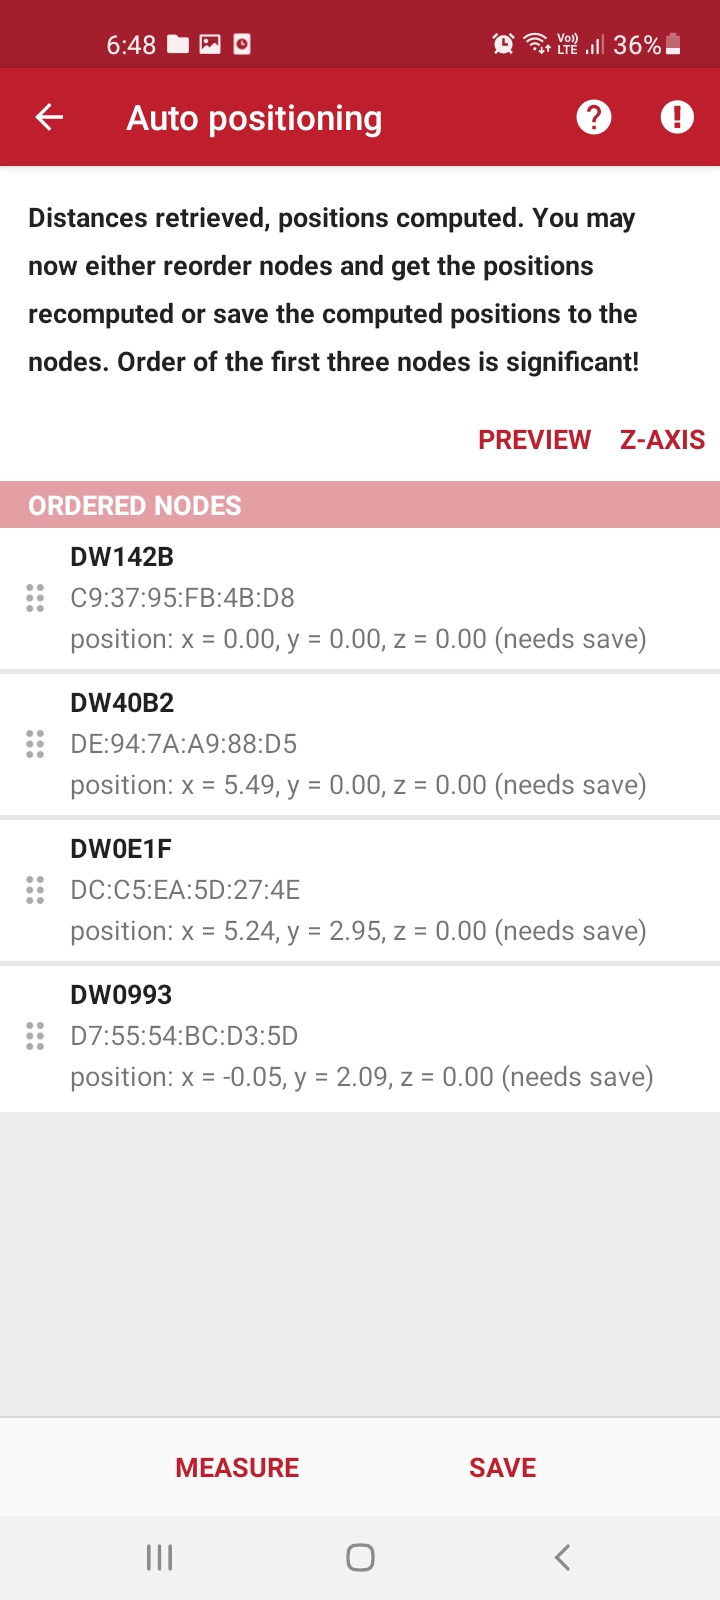
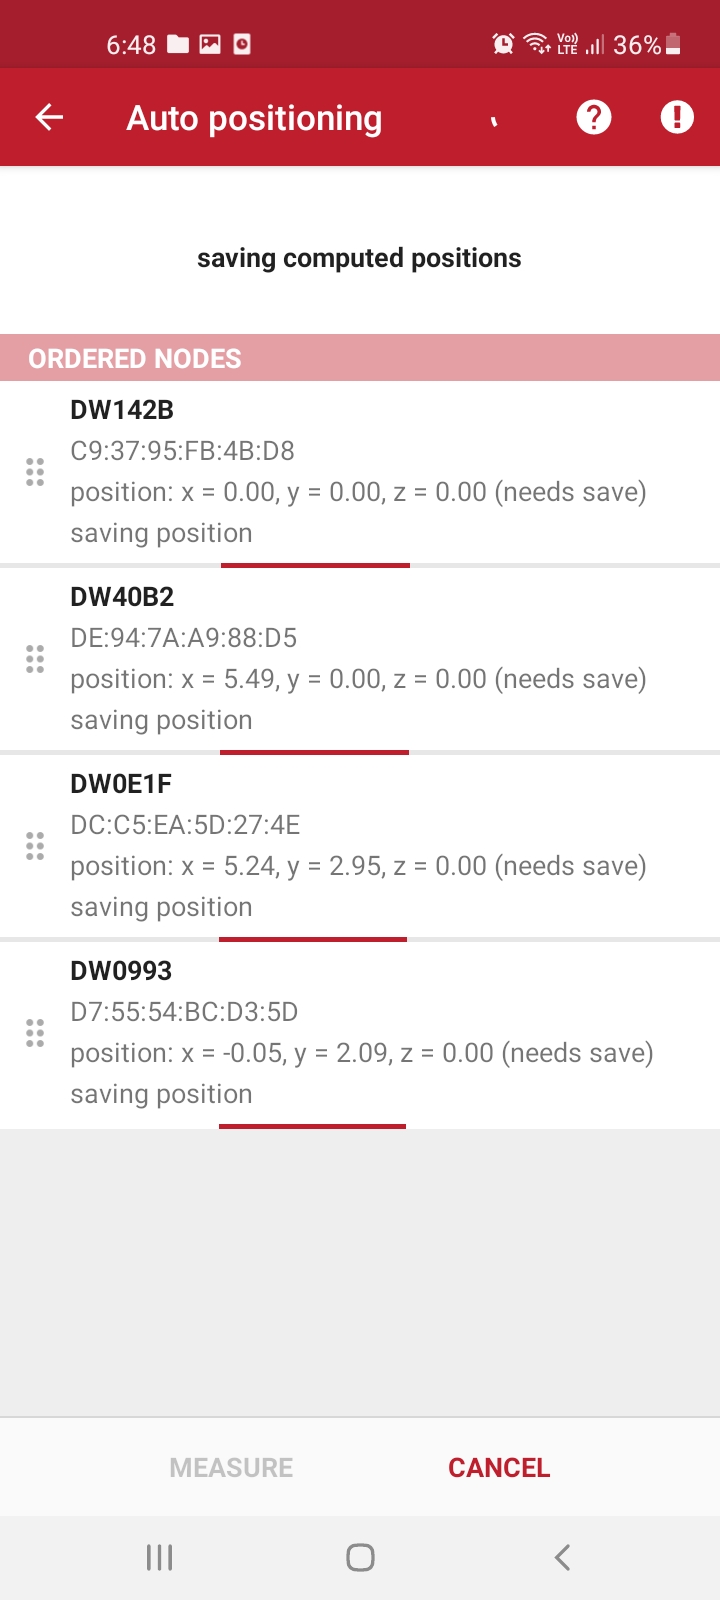
Another key feature, Auto-Positioning, assists users in quickly initializing the network automatically.
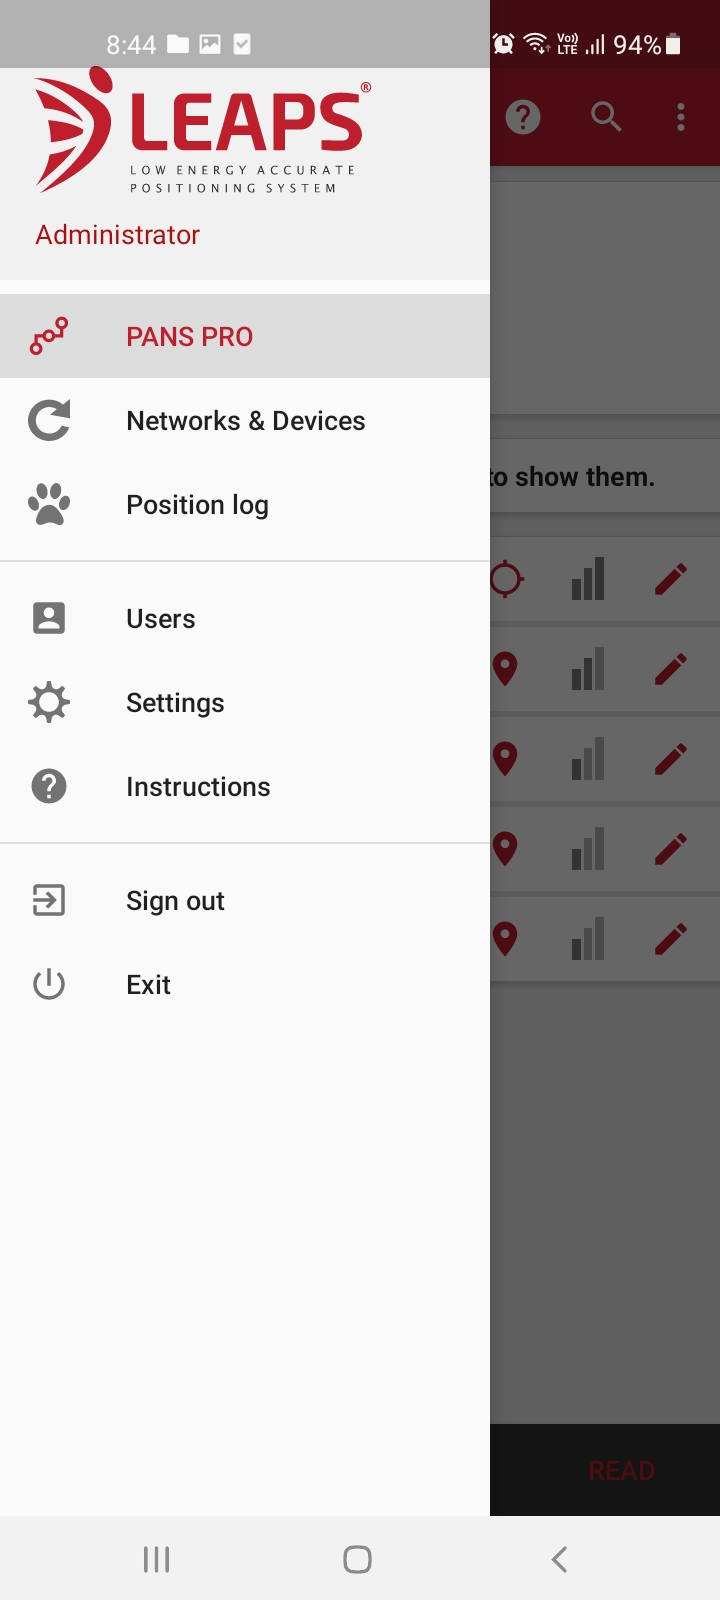
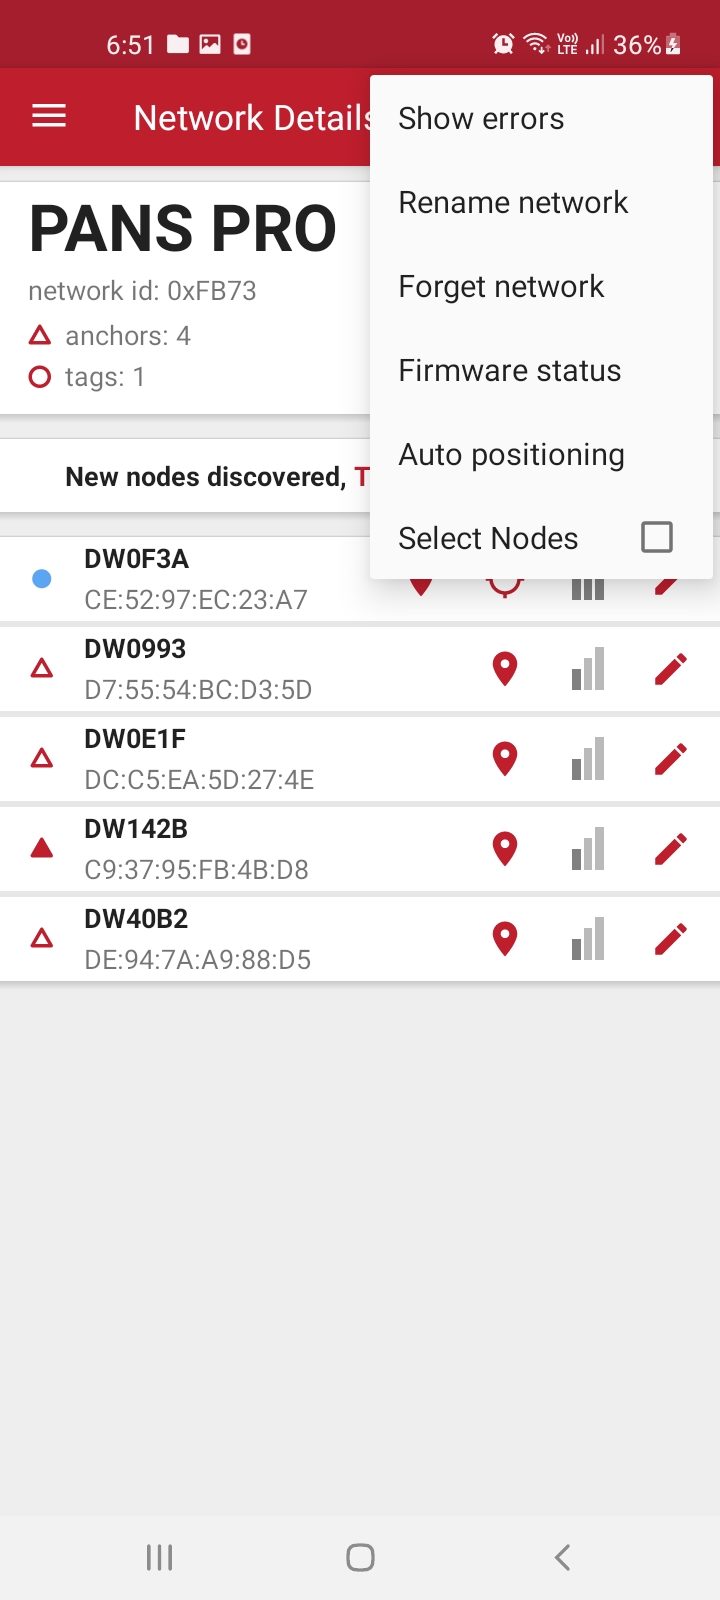
Access Auto positioning. Tap the options menu (represented as three vertical dots) within the application.
The following example illustrates the results after completing the Auto-Positioning process.
Wait for completion; you will receive position information for the nodes. Then press SAVE to save the results.
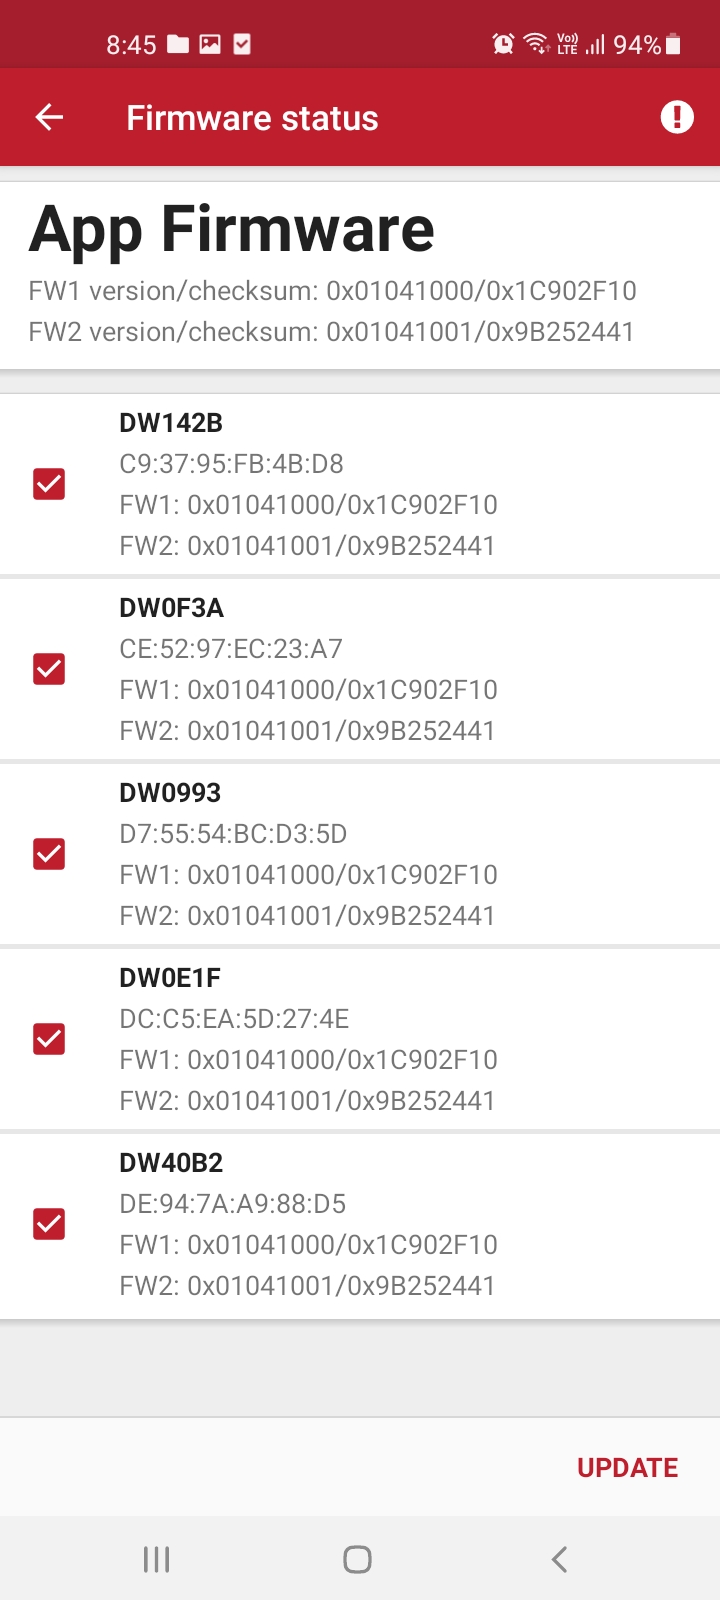
Firmware Update over BLE
Access firmware status. Tap the options menu (represented as three vertical dots) within the application. Look for the Firmware status option and select it.
Choose the devices to update.
Troubleshooting
Always ensure the BLE connection is stable, and the device is within coverage range.

