无基础设施的邻近性演示
准备设置
LEAPS Manager 应用程序已安装。
至少两个 LC14 或 LC13 设备。
用于为设备供电的电池或USB-C电缆。
可选:电脑上安装的Putty,Teraterm, minicom或你最喜欢的终端应用程序
For users, the recommended starting point is either the latest release.
设置时间: 少于 2 分钟
概览
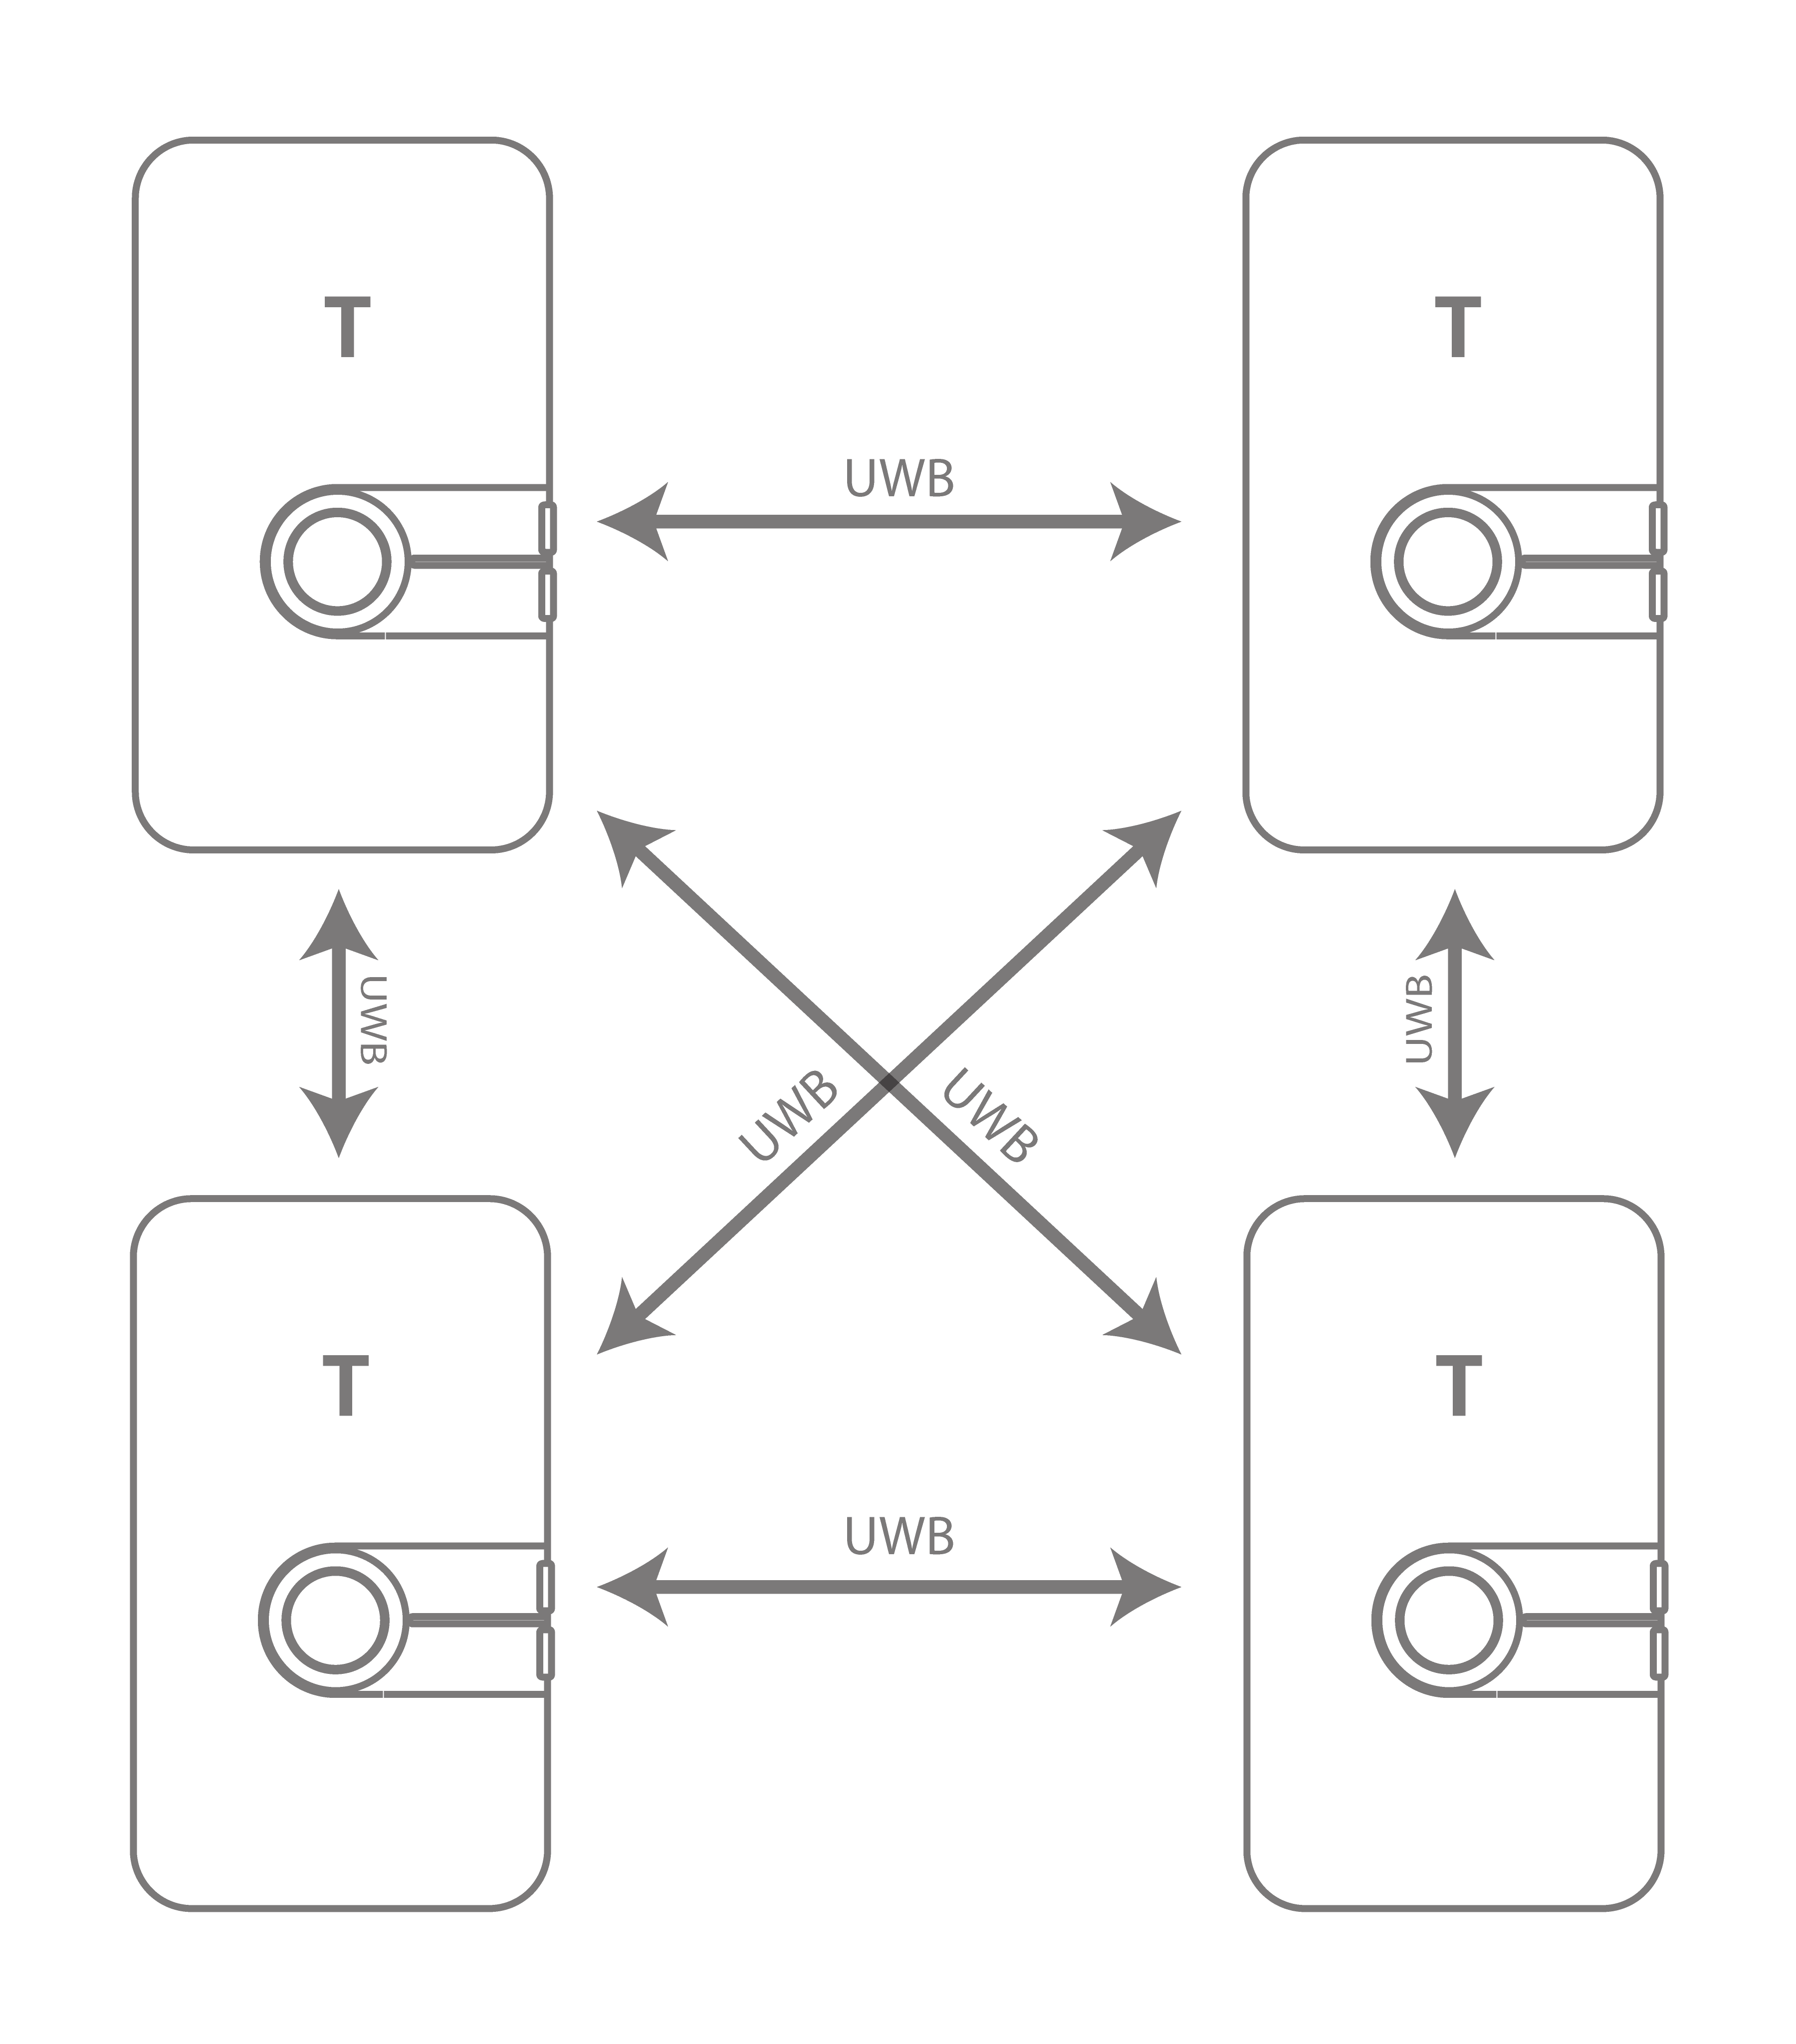
此演示基于 双向测距 (TWR) 测量技术,展示了无基础设施的节点间近距离检测。 当节点非常接近时,每个节点都会触发警报。 警报使用 LED, 触觉马达或蜂鸣器,阈值可配置。
典型应用:避免碰撞, 社会距离, 蜂群协调。
设置说明
启动 ON 设备。
这些设备将作为独立标签运行,使用Bluetooth发现周围的设备,并使用 UWB 测量与被发现设备的距离。
使用 LEAPS Manager 中的演示选择器进行配置:
2.1。 打开LEAPS Manager,从主页面选择 演示选择器。
2.2。 选择 无基础架构的近似性。
2.3. 通过Bluetooth发现的设备列表会出现在列表中. 如果需要,向下滑动以更新列表。
2.4。 选择用于演示的设备。 上方的 nodes 表示演示所需的设备数量。
2.5. 按下 SAVE 键,将设备配置为 LEAPS RTLS 模式, Tag-Mesh 网络配置文件。
2.6. 请目测设备启动时 RED LED 是否闪烁。
设备配置为 无基础设施的邻近性演示。
By default, when the devices come within
2.5 metersof each other, an alarm will activate (indicated by a RED LED and buzzer). The intensity of the alarm will increase as the devices get closer.初始时,设备会发出低强度的蜂鸣声,并闪烁红色 LED 灯。 你可以使用上(Button B)和下(Button A)键来调整哔哔声的音量,振动也会启用。
In the demonstration outlined below, the device has two proximity thresholds: the first threshold is set at
0.2 meters, and the second at0.5 meters.
请参阅 LEAPS Manager,了解如何使用应用程序来配置和可视化节点和网络的更多细节。
高级设置
准备好进行高级设置!我们将利用终端的强大功能,帮助你像专业人士一样配置你的设备。 只需按照以下步骤,你就能完成所有设置。
使用 USB-C 数据线将设备的 USB-C Data Port 1 或 USB-C Data Port 2 连接到 PC。
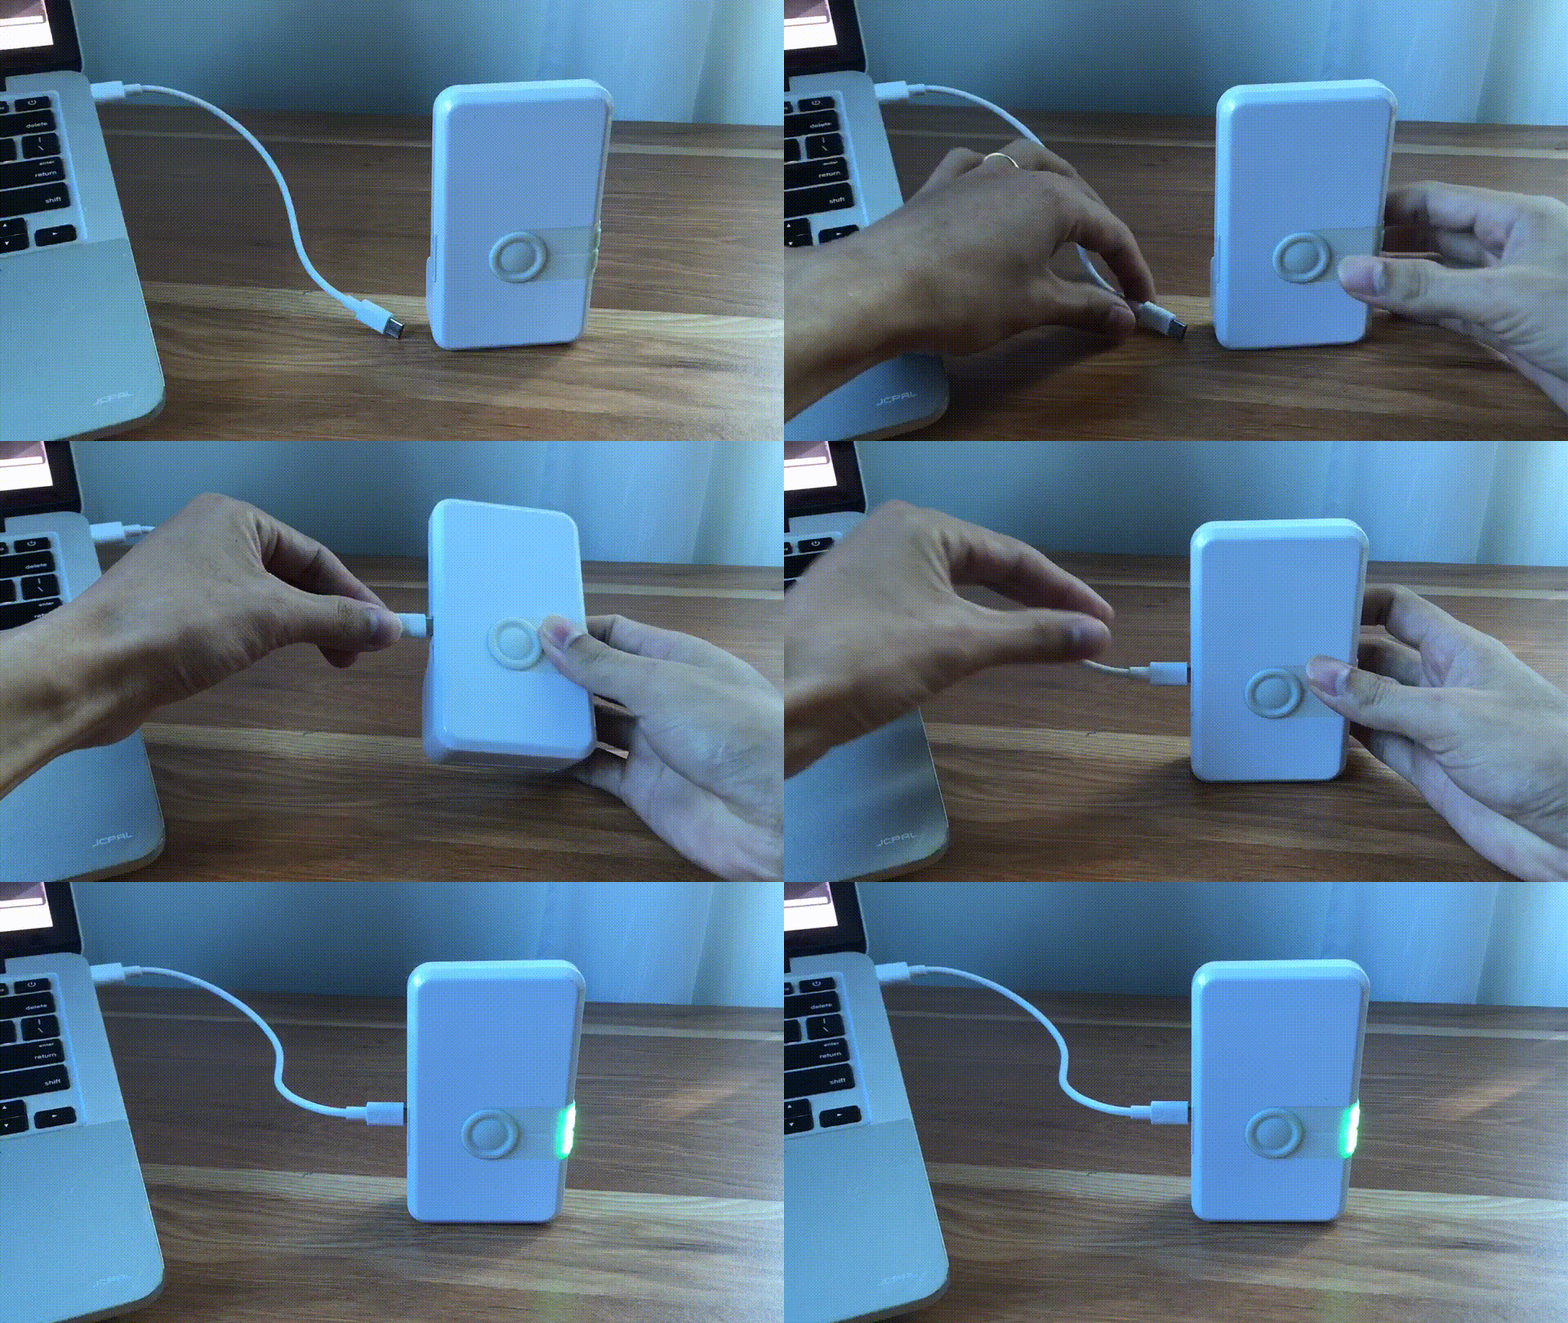
使用你想要的终端应用程序,如 Putty, Teraterm, Minicom 或你喜欢的终端应用程序,连接到串行端口. 我们需要将波特率设置为 115200。
例如在 Ubuntu (Linux) 上使用 Minicom:
minicom -b 115200 -D /dev/ttyACM0
在 shell 控制台按下 双输入 访问命令行控制系统
例如,在 Ubuntu (Linux) 上打开 /dev/ttyACM0 并按下 双击回车键:
leaps@leaps:~$ minicom -b 115200 -D /dev/ttyACM0

  Low Energy Accurate Positioning System

  Copyright :  2016-2025 LEAPS
  License   :  Please visit https://www.leapslabs.com/leaps-rtls-license
  Compiled  :  Oct 15 2026 09:42:20 (v1.2.1-4f9295)

  Help      :  ? or help

  FOR DEMO PURPOSE ONLY, NOT FOR SALE.
  DEVICE RUNTIME IS LIMITED TO 48 HOURS. RESET THE DEVICE TO RECOVER IT.

  leaps>
按以下步骤配置每个设备:
Optional: Reset devices to default, run the
frstcommand.$ leaps> frst frst okMonitor and wait for the device to reset successfully. Then press double enter to access the command line control system.
Use the
niscommand to configure all devices in a network.$ leaps> nis 0x1234 nis: ok
Use the
nps 4command to configure profile 4 (support Tag Mesh Proximity) for each device.$ leaps> nps 4 nps: ok
Use the
nmtcommand to update tag mode.$ leaps> nmtThen monitor and wait for the device to configure successfully. Then press double enter to access the command line control system.
Use the
si(System Information) command to verify configurations such as mode, profile and network.leaps> si [000007.700 INF] release: LEAPS RTLS v1.2.1-4f9295 (fira) [000007.701 INF] sys: main main_ver=x02070101 cfg_ver=x01040000 batt=full:4005mV:NoCharger board=LC14_B prod=LC14_B pwr_cnt=0 rst_cnt=2 [000007.701 INF] uwb: ch9 prf64 plen128 pac8 txcode11 rxcode11 baud6800 phrmodeext phrratestd sfdtypeieee4a sfdto129 stsmodeoff stslen64 pdoamodem0 [000007.701 INF] uwb: tx_pwr=x34/xC6C6C6C6 sts:shr:phr:data=22.6:22.6:22.6:22.6[dB] cpl=FCC/ETSI pgcnt=232 temp=25 [000007.702 INF] uwb: lna=1 pa=0 rf1=1 rf2=0 xtaltrim=32 tx_delay=16425 rx_delay=16425 [000007.706 INF] uwb: panid=x1234 panid_mask=xFFFF zone=255 addr=xDECA2DA03CD01219 [000007.715 INF] mode: tn (act,twr,np,le) [000007.749 INF] uwbmac: connected prof=4 (manual) [000007.749 INF] uwbmac: bh disconnected [000007.749 INF] cfg: sync=0 fwup=1 ble=1 leds=1 le=1 lp=0 uab=1 stat_det=1 (sens=2) mode=0 upd_rate_norm=1 upd_rate_stat=50 label=ID1219 [000007.749 INF] enc: off [000007.750 INF] ble: addr=CF:8F:04:42:CF:84 leaps>
mode: tn
panid=x1234
prof=4
请目测设备启动时 RED LED 是否闪烁。
配置设备后,它会通过 BLE 扫描所有设备。 如果设备在允许的距离内,它会自动重新激活 UWB 并测量彼此的距离。
Use the
lncommand to show all devices. This can be used with all UDK devices.
注解
在这个例子中,我们将配置 2 个标签。
$ leaps> ln
[000087.176 INF] TN: cnt=2 size=100
[000087.176 INF]   0) id=1424 dist=2.64,x5F
[000087.177 INF]   1) id=1219 dist=0.00,x18
[000087.177 INF
$ leaps> ln
[000229.981 INF] TN: cnt=2 size=100
[000229.981 INF]   0) id=1424 dist=0.00,x00
[000229.982 INF]   1) id=1219 dist=2.67,x9D
[000229.982 INF]
在 无基础设施的邻近性演示 中。
By default, when the devices come within
2.5 metersof each other, an alarm will activate (indicated by a RED LED and buzzer). The intensity of the alarm will increase as the devices get closer.初始时,设备会发出低强度的蜂鸣声,并闪烁红色 LED 灯。 你可以使用上(Button B)和下(Button A)键来调整哔哔声的音量,振动也会启用。
Users can view and configure this distance through 2 commands:
dacgcommand and,dacscommand.For example, to view and configure 2 thresholds
0.2 metersand,0.5 meters.Run the following command:
查看:
$ leaps> dacg
dacg: thold_1=200 thold_2=500 mincon=2 minnocon=2 opt=7
配置:
$ leaps> dacs 200 500 2 2 7
dacs: ok
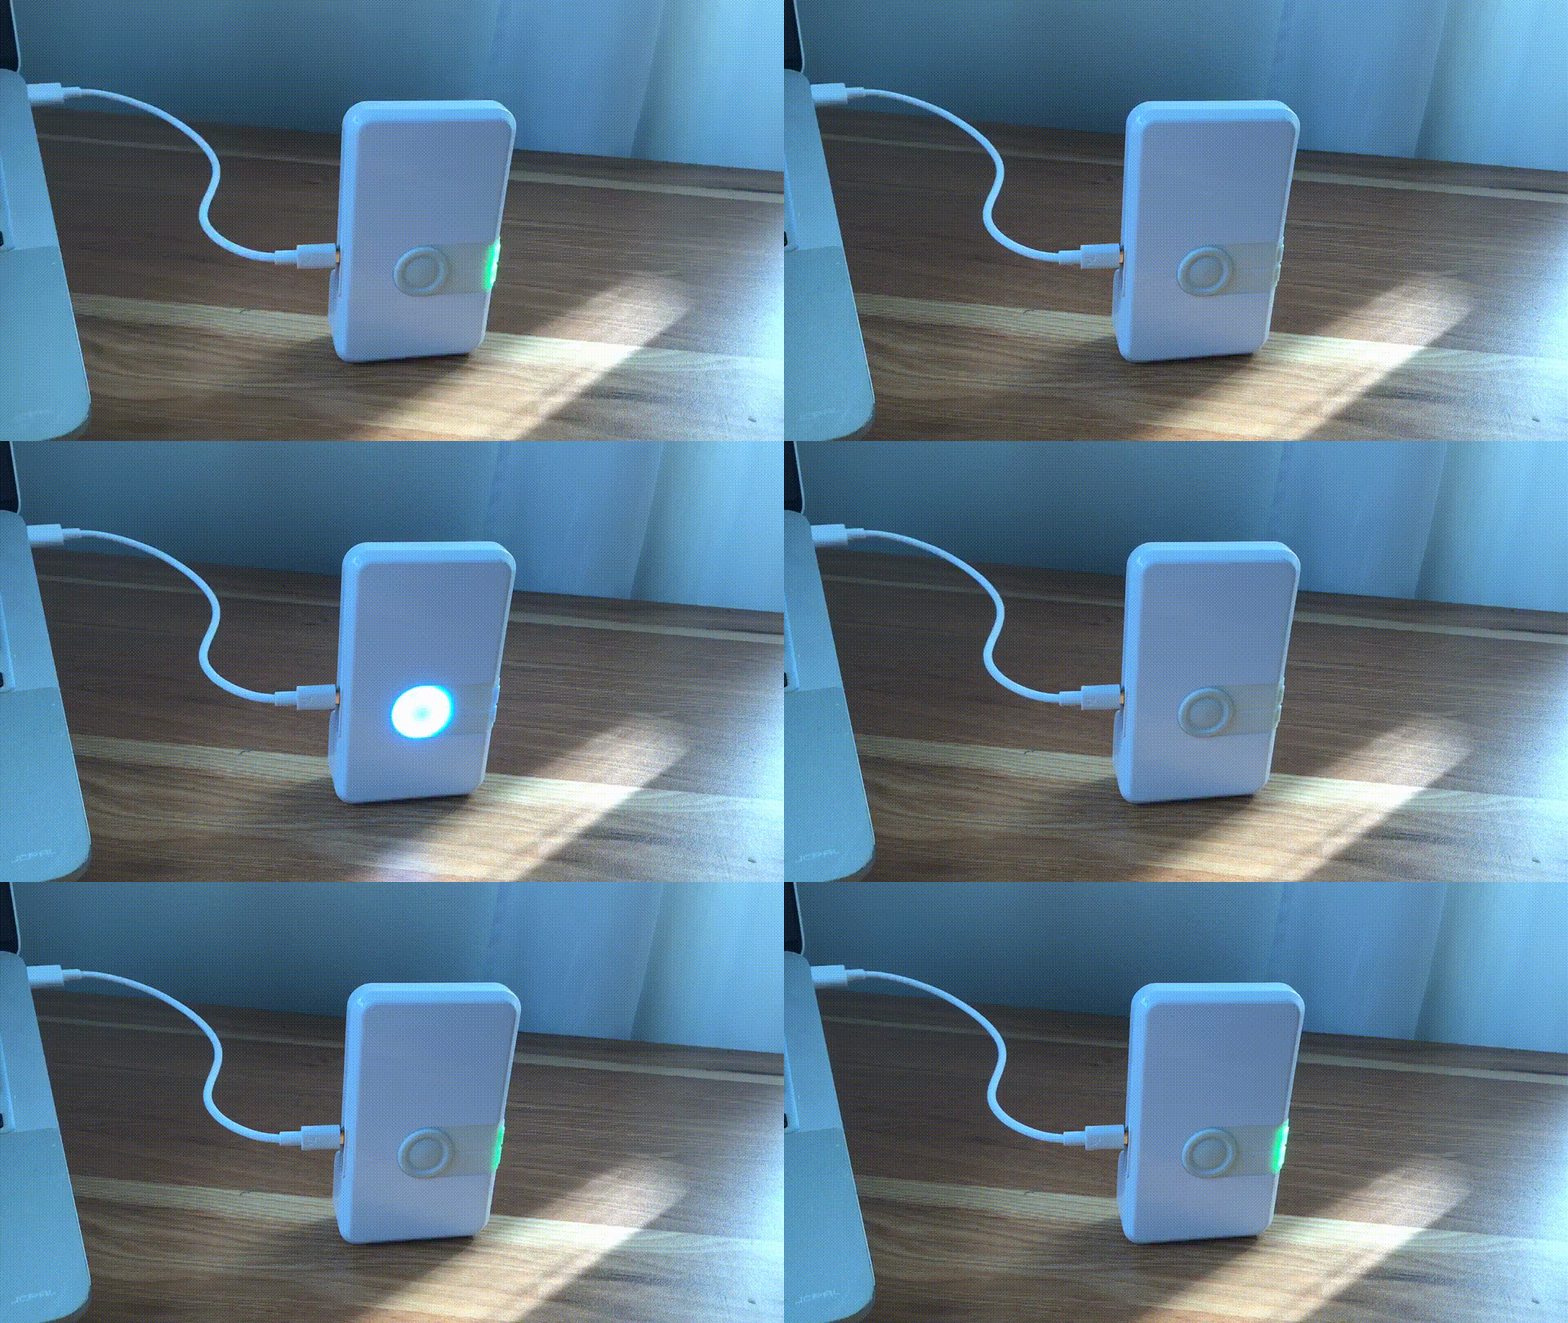
In the GIF Image below, the device is configured with thresholds 1 is 0.2 meters and, thresholds 2 is 0.5 meters.
After the configuration, you can open the shell console for the Tag and view the Tag position using the
lescommand.
For example:
$ leaps> les
  leaps>
  POS[NaN,NaN,Nan,0] 1219[0.00,0.00,0.00,100]=0.54
  POS[NaN,NaN,Nan,0] 1219[0.00,0.00,0.00,100]=0.57
  POS[NaN,NaN,Nan,0] 1219[0.00,0.00,0.00,100]=0.58
  POS[NaN,NaN,Nan,0] 1219[0.00,0.00,0.00,100]=0.59
  POS[NaN,NaN,Nan,0] 1219[0.00,0.00,0.00,100]=0.51
  POS[NaN,NaN,Nan,0] 1219[0.00,0.00,0.00,100]=0.47
  POS[NaN,NaN,Nan,0] 1219[0.00,0.00,0.00,100]=0.43
  POS[NaN,NaN,Nan,0] 1219[0.00,0.00,0.00,100]=0.40
  POS[NaN,NaN,Nan,0] 1219[0.00,0.00,0.00,100]=0.35
  POS[NaN,NaN,Nan,0] 1219[0.00,0.00,0.00,100]=0.32
  POS[NaN,NaN,Nan,0] 1219[0.00,0.00,0.00,100]=0.31
  POS[NaN,NaN,Nan,0] 1219[0.00,0.00,0.00,100]=0.29
  POS[NaN,NaN,Nan,0] 1219[0.00,0.00,0.00,100]=0.27
  POS[NaN,NaN,Nan,0] 1219[0.00,0.00,0.00,100]=0.22
  POS[NaN,NaN,Nan,0] 1219[0.00,0.00,0.00,100]=0.19
  POS[NaN,NaN,Nan,0] 1219[0.00,0.00,0.00,100]=0.16
  POS[NaN,NaN,Nan,0] 1219[0.00,0.00,0.00,100]=0.14
  POS[NaN,NaN,Nan,0] 1219[0.00,0.00,0.00,100]=0.12
  POS[NaN,NaN,Nan,0] 1219[0.00,0.00,0.00,100]=0.09
  POS[NaN,NaN,Nan,0] 1219[0.00,0.00,0.00,100]=0.08
  POS[NaN,NaN,Nan,0] 1219[0.00,0.00,0.00,100]=0.05
  POS[NaN,NaN,Nan,0] 1219[0.00,0.00,0.00,100]=0.09
  POS[NaN,NaN,Nan,0] 1219[0.00,0.00,0.00,100]=0.11
  POS[NaN,NaN,Nan,0] 1219[0.00,0.00,0.00,100]=0.13
  POS[NaN,NaN,Nan,0] 1219[0.00,0.00,0.00,100]=0.15
  POS[NaN,NaN,Nan,0] 1219[0.00,0.00,0.00,100]=0.17
  POS[NaN,NaN,Nan,0] 1219[0.00,0.00,0.00,100]=0.19
  POS[NaN,NaN,Nan,0] 1219[0.00,0.00,0.00,100]=0.21
  POS[NaN,NaN,Nan,0] 1219[0.00,0.00,0.00,100]=0.23
  POS[NaN,NaN,Nan,0] 1219[0.00,0.00,0.00,100]=0.42
  POS[NaN,NaN,Nan,0] 1219[0.00,0.00,0.00,100]=0.51
  POS[NaN,NaN,Nan,0] 1219[0.00,0.00,0.00,100]=0.56
  POS[NaN,NaN,Nan,0] 1219[0.00,0.00,0.00,100]=0.60
  POS[NaN,NaN,Nan,0] 1219[0.00,0.00,0.00,100]=0.62
  POS[NaN,NaN,Nan,0] 1219[0.00,0.00,0.00,100]=0.64
  POS[NaN,NaN,Nan,0] 1219[0.00,0.00,0.00,100]=0.67
  POS[NaN,NaN,Nan,0] 1219[0.00,0.00,0.00,100]=0.69
  POS[NaN,NaN,Nan,0] 1219[0.00,0.00,0.00,100]=0.71
  POS[NaN,NaN,Nan,0] 1219[0.00,0.00,0.00,100]=0.73
现在系统已经成功设置和配置。 请尽情使用!
Here are some tips for fixing some issues related to the installation process:
Please check the version. We recommend using the latest official version found under 发布.
When Bluetooth and the LEDs are both disabled, users may erroneously perceive the board as non-functional. In this scenario, the quickest solution is to perform a factory reset (frst) command via the shell.
当你不知道设备的当前状态时,请使用 LEAPS Manager 演示选择器中的 将设备重置为默认值 功能. 请参考下面的 GIF 图片。
小心
Related to Profile 4 (support Tag Mesh Proximity)
When a device is in anchor mode, or when a node acts as an initiator, users cannot switch to profile 4 (support Tag Mesh Proximity).
The configurable Update Rate is limited to a range of 0.1 seconds (10 Hz) to 1.0 second (1 Hz).