LEAPS Docker
This page provides:
The LEAPS Docker package.
Information about system requirements.
Instructions on how to install LEAPS Docker.
The installation is fast and easy and only needs to be done once.
Disclaimer
The LEAPS Docker installation is for professionals only. For demo purpose the LEAPS VMWare is much better option.
Visit the official Docker to learn more about Docker.
System requirements
System requirements follow Docker Desktop on Linux or Docker Desktop on Windows.
A desktop device: Requires 2 GB of free memory.
On windows, the installation of WSL consumes 2GB of RAM permanently. It is assigned to the Ubuntu WSL.
Recommended: A set of UDK1 (At least five devices) to verify.
Recommended: Batteries or USB-C cables for powering the devices.
Recommended: LEAPS Manager to configure devices.
Setup instructions
The system is compatible with AMD64, ARM64, and ARM32 architectures.
Download LEAPS UDK1 Docker
LEAPS UDK1 Docker: LEAPS-DOCKER-LINUX-v0.16.2.zip.
Extract the LEAPS UDK1 Docker Archive
Type in a terminal: $ unzip LEAPS-DOCKER-LINUX-v0.16.2.zip -d /path/to/directory
Install Docker on your operating system.
Run the leaps_docker_install.sh script to install Docker on your operating system.
For example, on Ubuntu (Linux):
source leaps_docker_install.sh
After the installation, and reboot your OS to ensure Docker is properly configured.
For detailed instructions, you can refer to the official Docker documentation.
Update the correct configuration with IP Address.
Use the update_configuration_ip.sh script to update the system’s configuration with your PC’s IP address.
For example, on Ubuntu (Linux):
source update_configuration_ip.sh
Running this script ensures that the system is correctly configured for communication.
Run all LEAPS Docker containers.
Execute the leaps_docker_run_all.sh script, which will pull and run the required Docker containers for LEAPS Center, LEAPS Server, LEAPS Gateway, and Mosquitto (MQTT broker).
For example, on Ubuntu (Linux):
source leaps_docker_run_all.sh
Execute the docker ps command, make sure all containers start successfully and are ready for use.
For example, on Ubuntu (Linux):
docker ps

CONTAINER ID   IMAGE                       COMMAND                  CREATED          STATUS          PORTS                                              NAMES
6f2ae0c87d65   leapslabs/leaps_mosquitto:udk1   "/docker-entrypoint.…"   9 seconds ago    Up 9 seconds    0.0.0.0:1883->1883/tcp, 0.0.0.0:15675->15675/tcp   leaps_mosquitto
3d84cad7a913   leapslabs/leaps_server:udk1      "/app/leaps-server -…"   10 seconds ago   Up 9 seconds    0.0.0.0:7777->7777/tcp, 0.0.0.0:7777->7777/udp     leaps_server
633c97e96f6e   leapslabs/leaps_center:udk1      "sh -c 'cd /app &&  …"   10 seconds ago   Up 10 seconds   80/tcp, 0.0.0.0:80->8080/tcp                       leaps_center
sudo docker ps CONTAINER ID IMAGE COMMAND CREATED STATUS PORTS NAMES 6bb3bf42cb63 leapslabs/leaps_gateway:udk1 "/app/leaps-gateway …" About a minute ago Up About a minute leaps_gateway
Connect the gateway board to your PC use a USB-C Data Cable.
Plug the USB-C Data Cable into the USB-C Data Port 1 on your PC. Ensure a stable connection.
Mosquitto and check messages (optional)
Use mosquitto_sub on your system.
To check for messages, use the following command in your terminal (This command will connect to the Mosquitto MQTT broker and display all messages received).
mosquitto_sub -p 1883 -d -v -t #
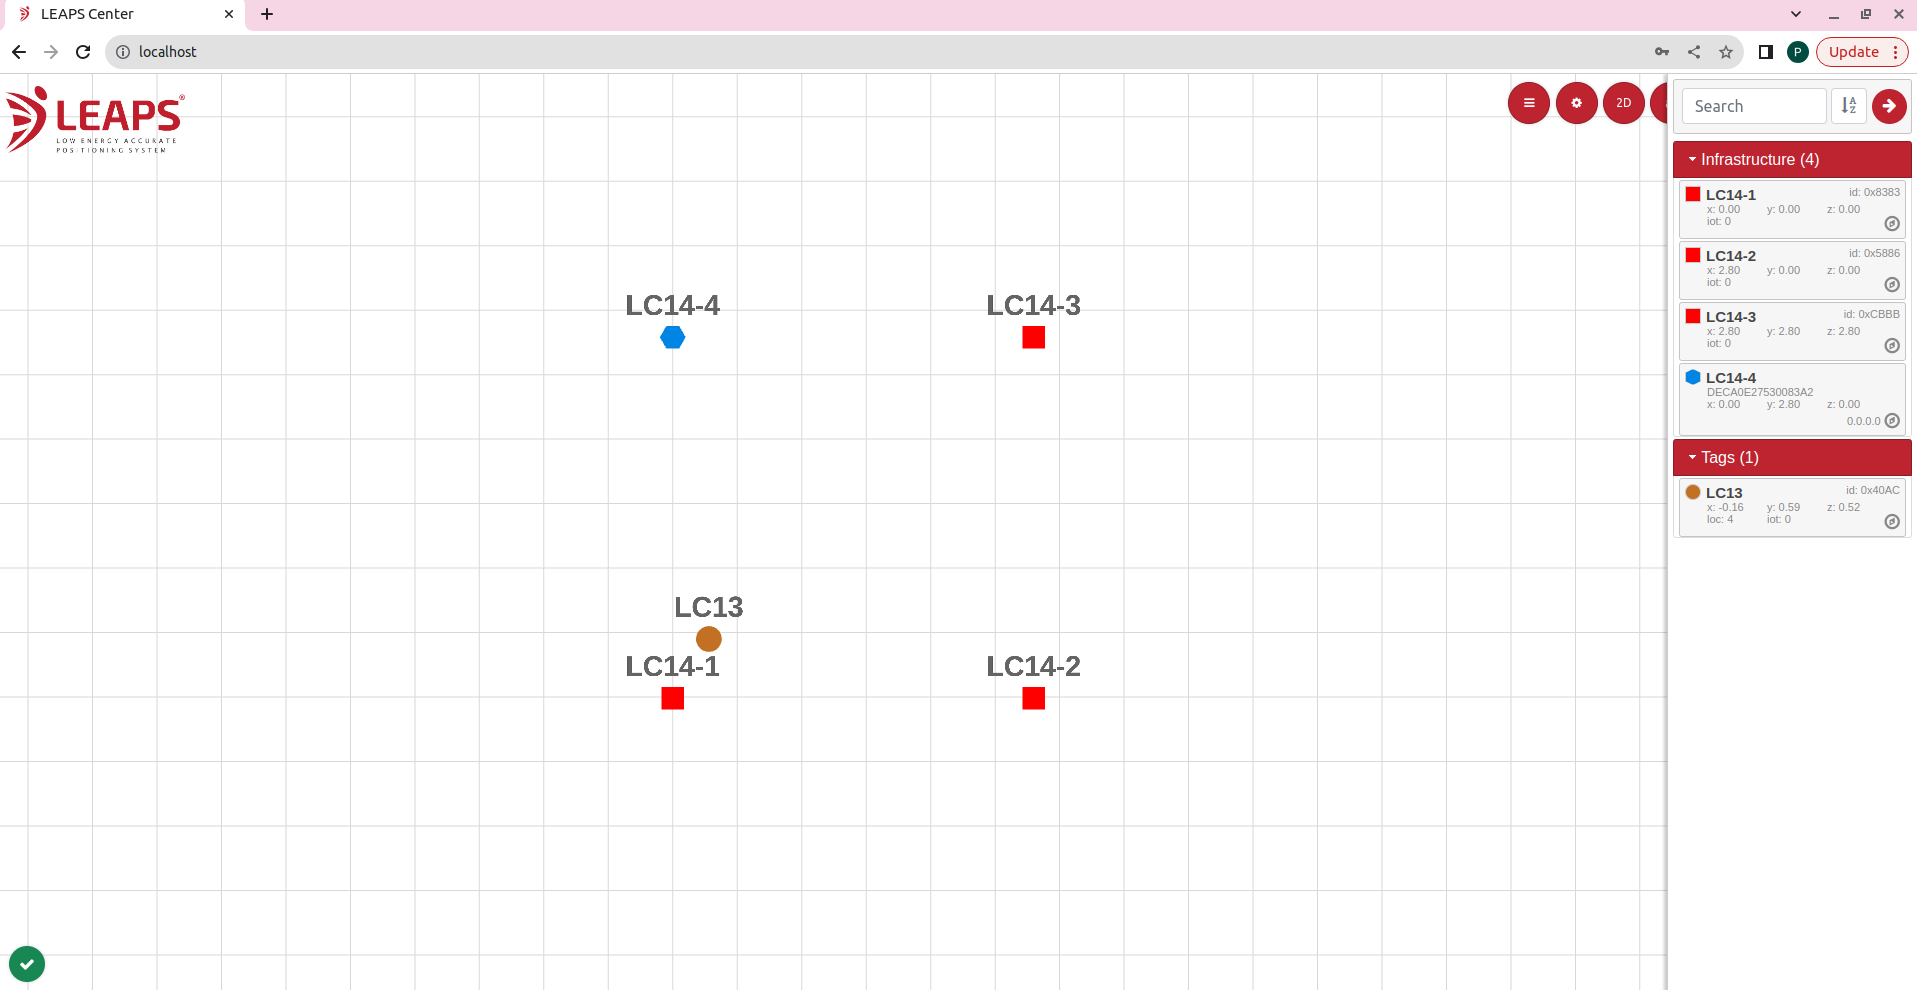
Access the LEAPS Center via IP address.
Use your computer’s web browser.
Enter the IP address or localhost to access the LEAPS Center.
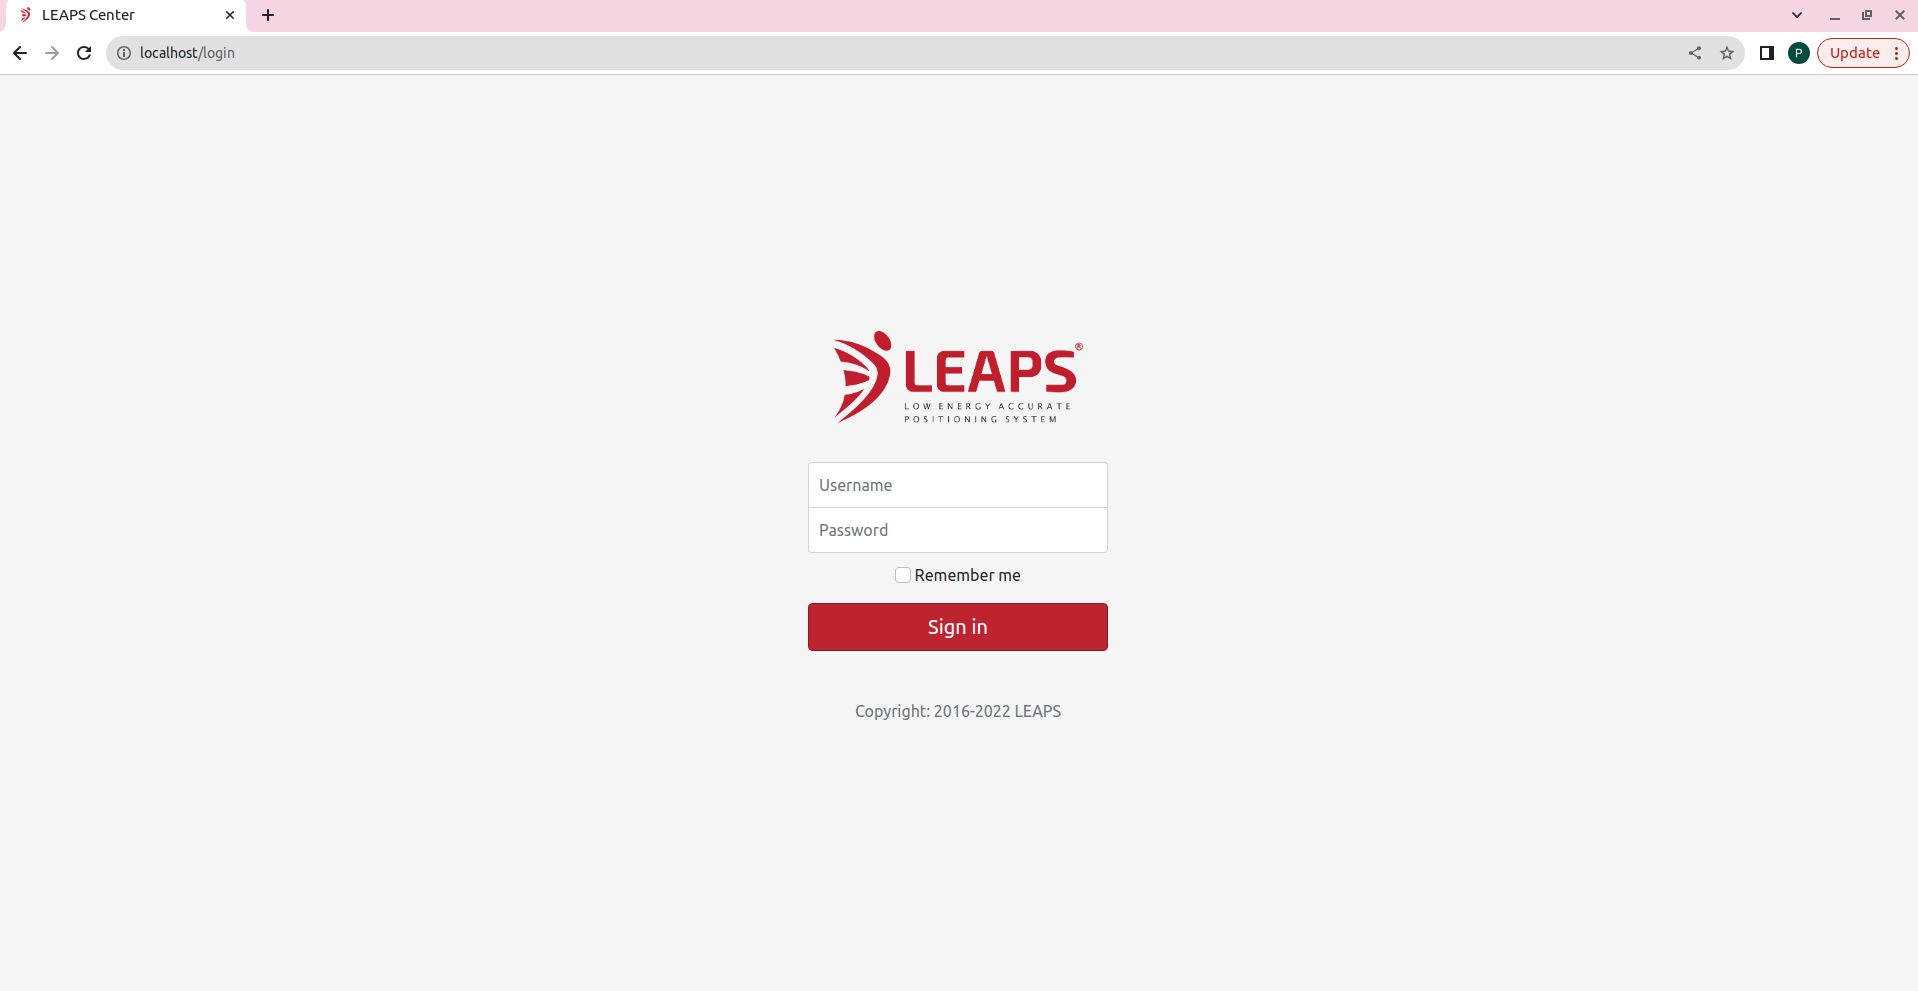
Login the LEAPS Center.
Logging in with Username as admin and Password as admin.
Use LEAPS Manager to prepare network.
Configure demo: TWR RTLS and Data Telemetry Demo or Uplink TDoA RTLS Demo.
By default, the network ID will be
0x1234.For this example, it is necessary to connect the gateway board with ID
0x83A2.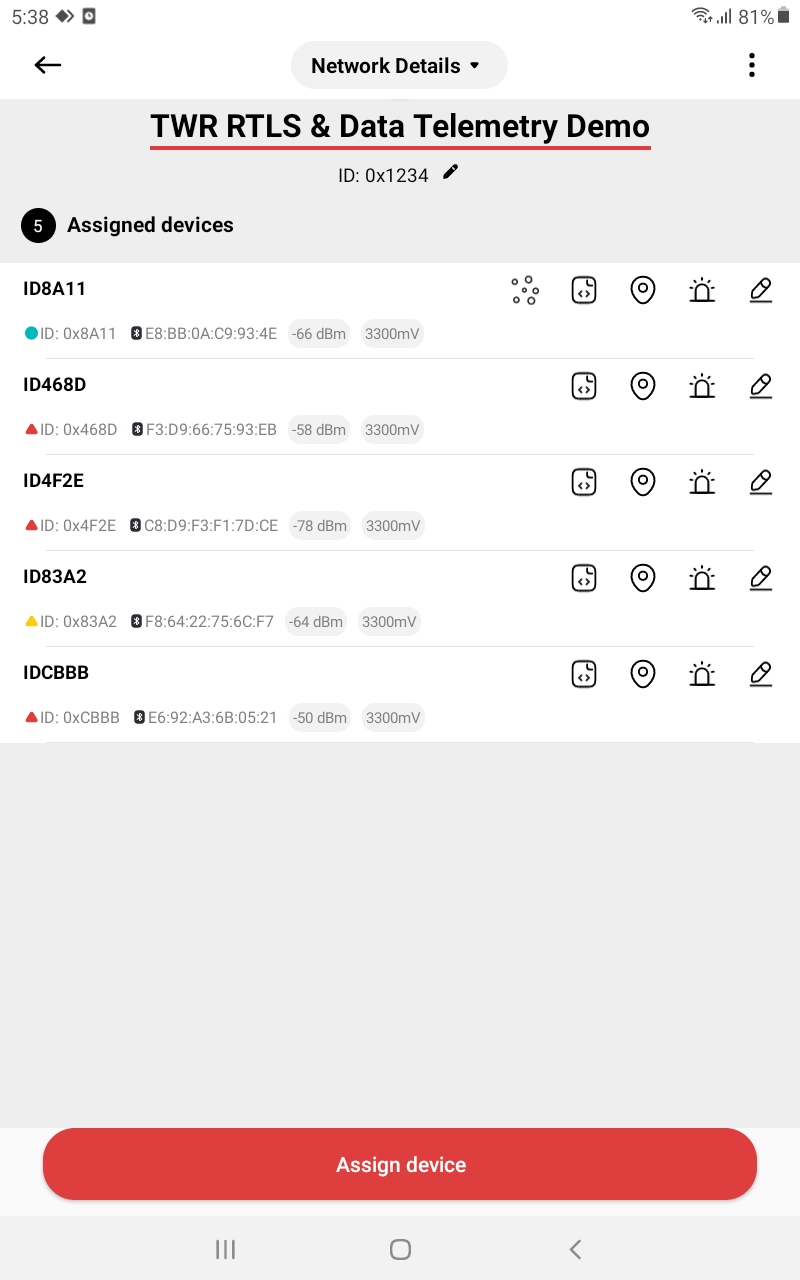
Configure the network on the LEAPS Center.
Check the network settings in LEAPS Center to match the network ID of the gateway board you have connected.
Check the correct host configured as the PC’s IP address.
For this example, the network ID is
0x1234and host is192.168.1.12.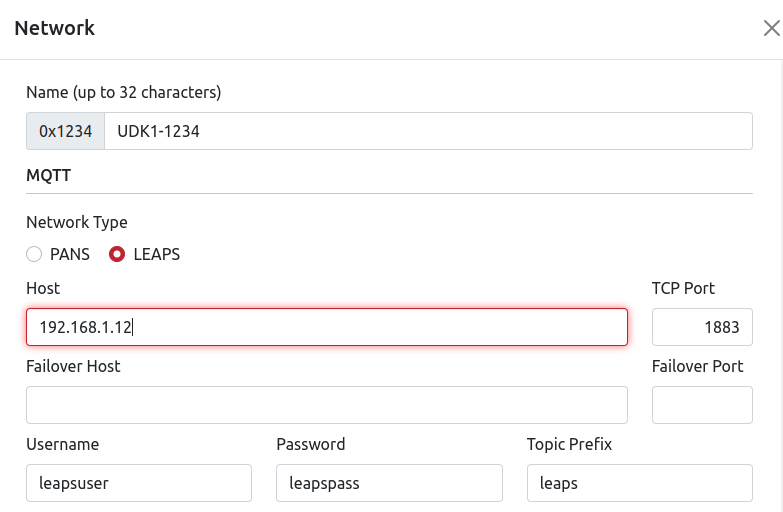
Please refer to the LEAPS Center and LEAPS Manager for more details on how to use the application to configure and visualize the nodes and network.
Now the system has been successfully set up and configured the system. Enjoy using it!
Download LEAPS UDK1 Docker.
LEAPS UDK1 Docker: LEAPS-DOCKER-WINDOWS-v0.16.2.zip.
Extract the LEAPS UDK1 Docker Archive.
Use a program like WinZip or 7-Zip to extract the downloaded LEAPS UDK1 Docker zip file.
Install Docker Desktop on Windows.
Follow the instructions provided in the Docker documentation for Docker Windows Installation.
Once the installation is complete, restart your Windows system to ensure all changes take effect.
Install the USBIPD-WIN project using Command Prompt as Administrator.
Follow the instructions: Install the USBIPD-WIN project.
For example install the usbipd-win project using Windows Package Manager (winget):
winget install --interactive --exact dorssel.usbipd-win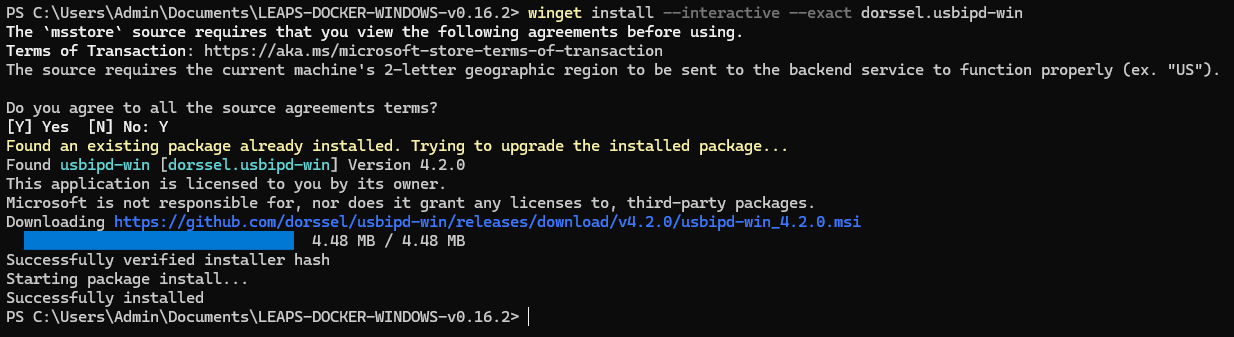
If you leave out
--interactive, winget may immediately restart your computer if that is required to install the drivers.Restart your computer and use
usbipd --versioncommand to verify installation.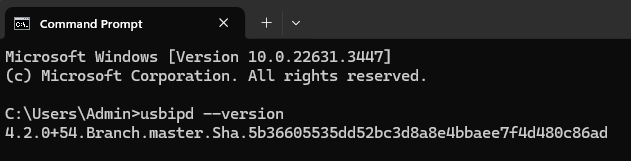
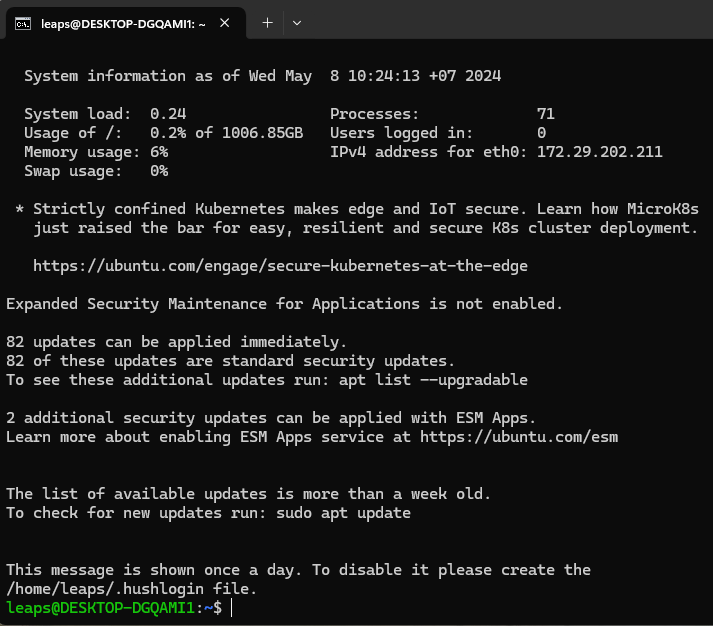
Install Ubuntu 20.04 WSL using PowerShell.
wsl --install -d Ubuntu-20.04
Use
exitto logout.
Set Ubuntu 20.04 as default WSL distribution using PowerShell.
wsl --set-default Ubuntu-20.04
List all of the installed WSL distributions, run
wsl --list.Windows Subsystem for Linux Distributions: Ubuntu-20.04 (Default) docker-desktop-data docker-desktop
Update the correct configuration with IP Address using PowerShell.
Use the update_configuration_ip.bat script to update the system’s configuration with your PC’s IP address.
./update_configuration_ip.batRunning this script ensures that the system is correctly configured for communication.
For this example, the IP Address is
192.168.1.12.
Docker Desktop WSL 2.
Refer to the Docker documentation for instructions on enable Docker Desktop WSL 2.

Run all LEAPS Docker containers using PowerShell.
Execute the leaps_docker_run_all.bat script, which will pull and run the required Docker containers for LEAPS Center, LEAPS Server, LEAPS Gateway, and Mosquitto (MQTT broker).
./leaps_docker_run_all.batMake sure all containers start successfully and are ready for use.
CONTAINER ID   IMAGE                       COMMAND                  CREATED          STATUS          PORTS                                              NAMES
6f2ae0c87d65   leapslabs/leaps_mosquitto:udk1   "/docker-entrypoint.…"   9 seconds ago    Up 9 seconds    0.0.0.0:1883->1883/tcp, 0.0.0.0:15675->15675/tcp   leaps_mosquitto
6bb3bf42cb63   leapslabs/leaps_gateway:udk1     "/app/leaps-gateway …"   10 seconds ago   Up 10 seconds                                                      leaps_gateway
3d84cad7a913   leapslabs/leaps_server:udk1      "/app/leaps-server -…"   11 seconds ago   Up 11 seconds    0.0.0.0:7777->7777/tcp, 0.0.0.0:7777->7777/udp    leaps_server
633c97e96f6e   leapslabs/leaps_center:udk1      "sh -c 'cd /app &&  …"   12 seconds ago   Up 12 seconds   80/tcp, 0.0.0.0:80->8080/tcp                       leaps_center
Connect the gateway board to your PC use a USB-C Data Cable.
Plug the USB-C Data Cable into the USB-C Data Port 1 on your PC. Ensure a stable connection.
Attach a USB device using Command Prompt as Administrator.
Refer to the following instructions: Attach a USB device.
For example:
Share the device, allowing it to be attached to WSL.
usbipd bind --busid 1-4
Select the bus ID of the device you’d like to attach to WSL (Repeat if not attached successfully).
usbipd attach --wsl --busid 1-4
List all the USB devices connected.
usbipd list
Access the LEAPS Center via IP address.
Use your computer’s web browser.
Enter the IP address or localhost to access the LEAPS Center.
Login the LEAPS Center.
Logging in with Username as admin and Password as admin.
Use LEAPS Manager to prepare network.
Configure demo: TWR RTLS and Data Telemetry Demo or Uplink TDoA RTLS Demo.
By default, the network ID will be
0x1234.For this example, it is necessary to connect the gateway board with ID
0x83A2.
Configure the network on the LEAPS Center.
Check the network settings in LEAPS Center to match the network ID of the gateway board you have connected.
Check the correct host configured as the PC’s IP address.
For this example, the network ID is
0x1234and host is192.168.1.12.
Please refer to the LEAPS Center and LEAPS Manager for more details on how to use the application to configure and visualize the nodes and network.
Now the system has been successfully set up and configured the system. Enjoy using it!
Caution