LEAPS VMWare
This page provides:
The LEAPS VMWare package package.
Information about system requirements.
Instructions on how to install LEAPS VMWare.
The installation is fast and easy and only needs to be done once.
System requirements
A desktop device.
Recommended: A set of UDK1 (At least five devices) to verify.
Recommended: Batteries or USB-C cables for powering the devices.
Recommended: LEAPS Manager to configure devices.
Setup instructions
Download and Install VMware Player or VMware Workstation.
Visit the following links to download the required software.
Choose the version compatible with your operating system and follow the installation instructions provided.
Download LEAPS UDK1 VMWare.
LEAPS UDK1 VMWare: LEAPS-UDK1-VMM-IMAGE-v0.16.2.zip.
Extract the VMWare Archive.
Use a program like WinZip or 7-Zip to extract the downloaded LEAPS UDK1 VMWare zip file.

Import the Appliance.
Navigate to the extracted files and locate the .ova file.
Open the VMware application and go to File » Import Appliance.
Browse to the .ova file and click Open.
Type a name for the virtual machine, type or browse to the directory for the virtual machine files, and click Import.
Click the Import button to start the import process. If the import fails, click Retry to try again, or click Cancel to cancel the import.

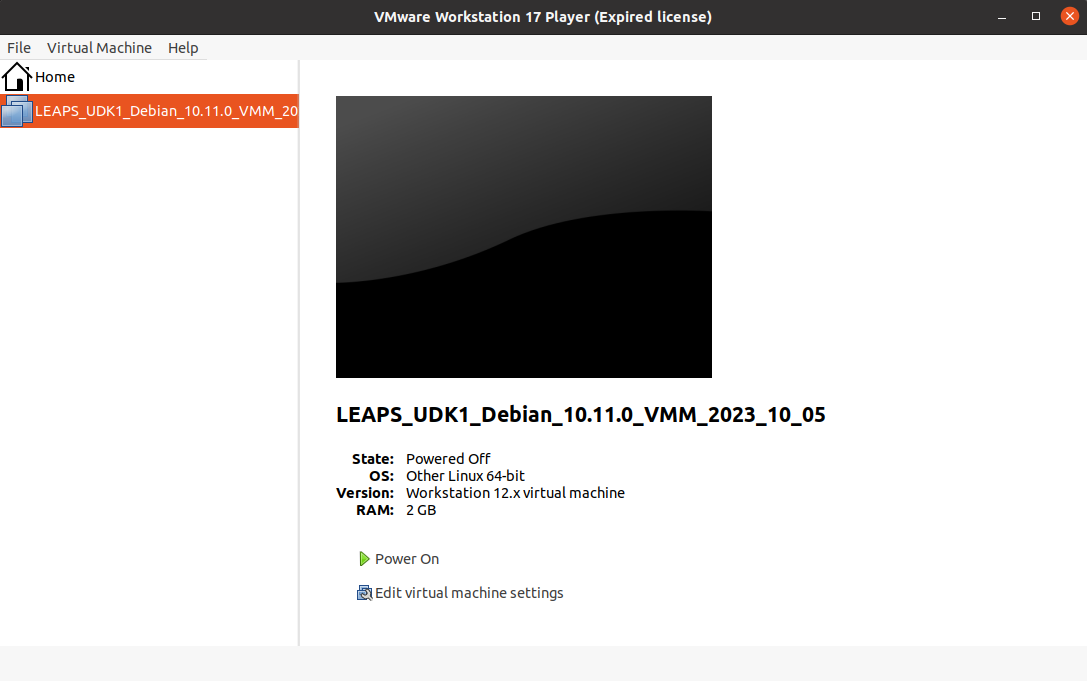
Start the VMWare.
Once the import is completed, select the imported Virtual Machine and click the Start button to launch it.
Wait for the System to Boot.
Please be patient and allow a few minutes for the entire system to finish booting.
By default the account is
leapsand password isleaps.

Use LEAPS Manager to prepare network.
Configure demo: TWR RTLS and Data Telemetry Demo or Uplink TDoA RTLS Demo.
By default, the network ID will be
0x1234.For this example, it is necessary to connect the gateway board with ID
0x83A2.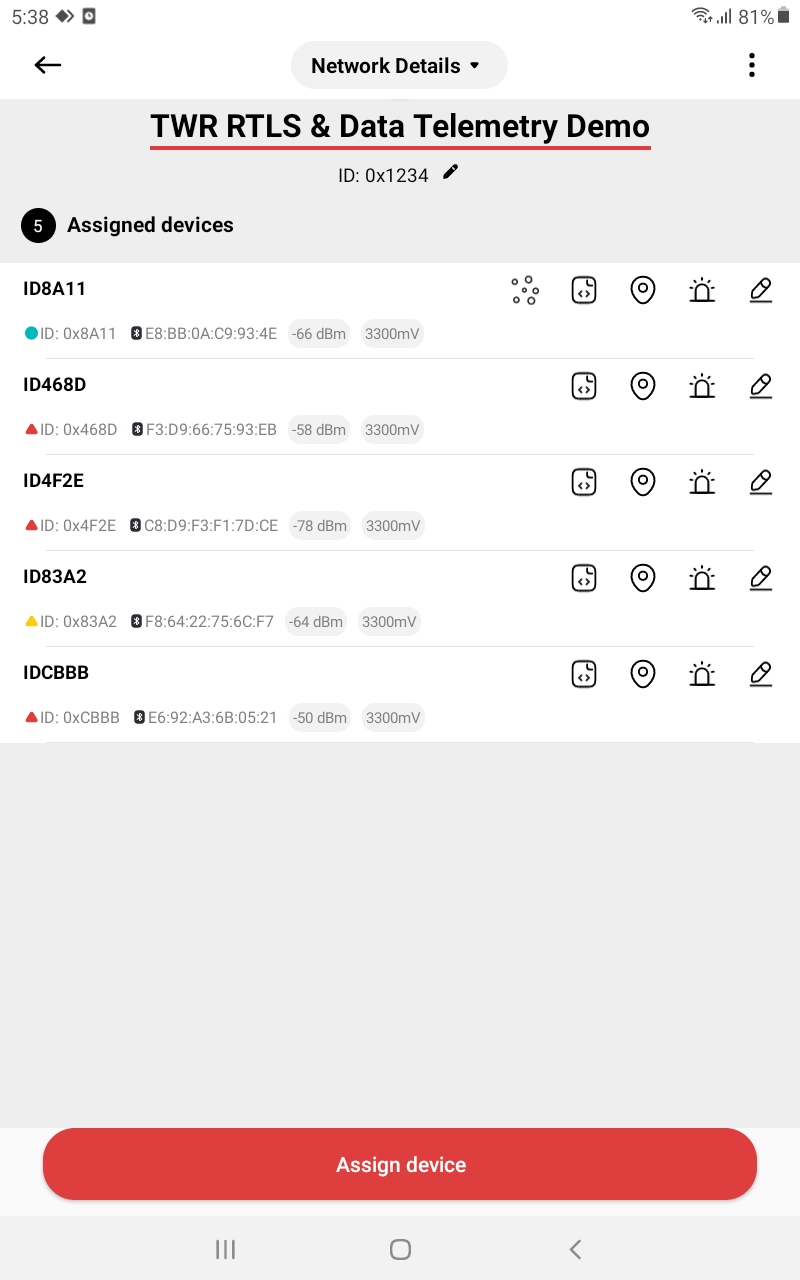
Connect the gateway board to your PC using a USB-C Data Cable.
Plug the USB-C Data Cable into the USB-C Data Port 1 on your PC. Ensure a stable connection.
In the running VMWare, navigate to the Virtual Machine » Removable Devices.
Will hear two beeps as a confirmation if successfully connected in gateway mode as confirmation.

Check System Status.
Open a terminal or command prompt within the VMWare.
Use the mosquitto_sub command to check the system status. This command will connect to the Mosquitto MQTT broker and display all messages received.
$ mosquitto_sub -p 1883 -d -v -t #
Check IP address.
The IP address in step 6. In case not shown. Use the command
sudo ifconfigto check it.
For this example is
192.168.26.151.
Alternatively, can change the configuration as follows if the IP address cannot be checked.

Then, use the command
sudo ifconfigto check. For this example is192.168.146.145.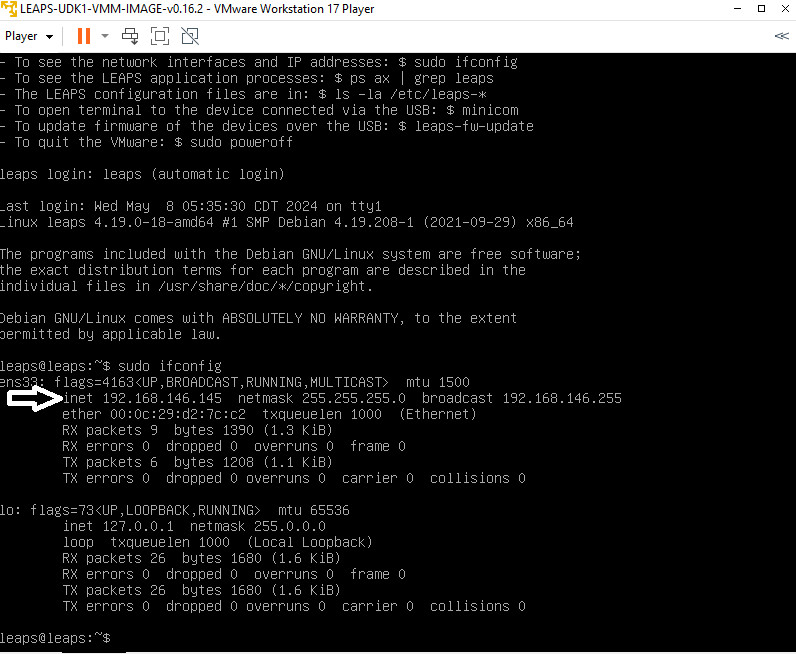
Access LEAPS Center.
Use your computer’s web browser.
Enter the IP address of the LEAPS UDK1 VMware to access the LEAPS Center.
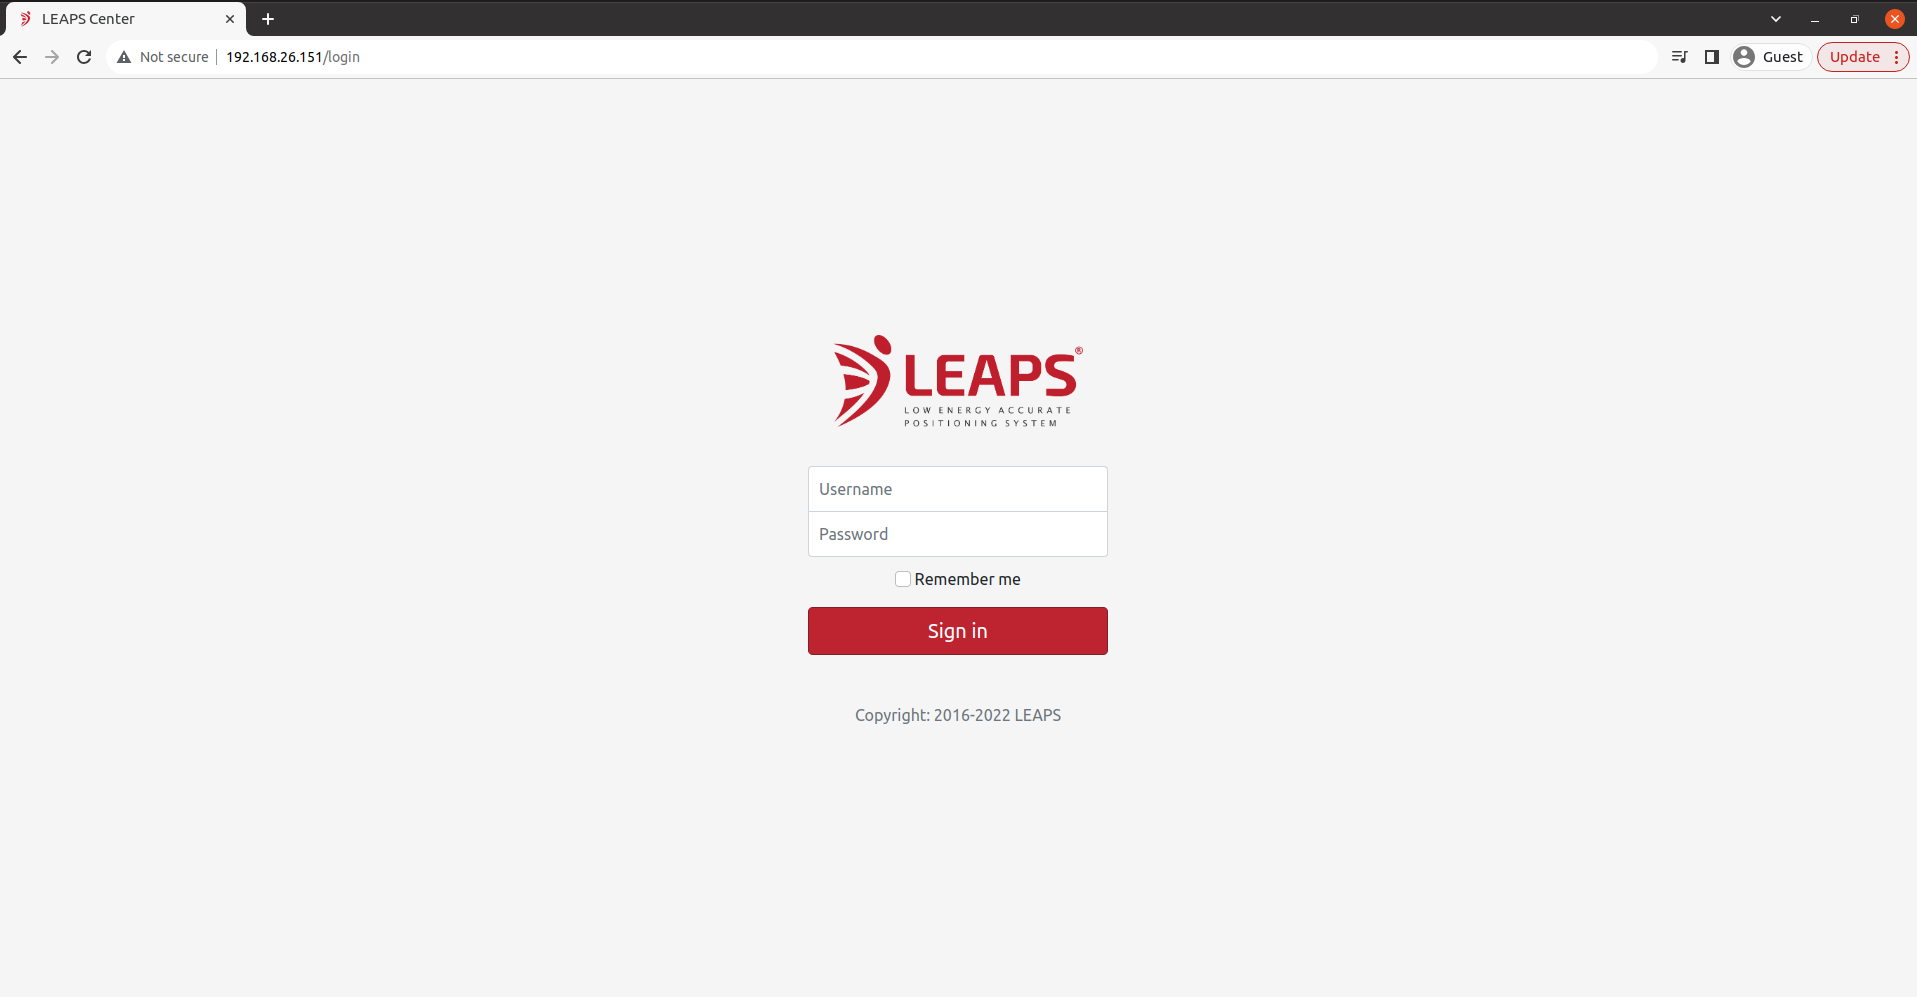
Login LEAPS Center.
Logging in with Username as admin and Password as admin.
The network on LEAPS Center.
Check the network settings in LEAPS Center to match the network ID of the gateway board you have connected.
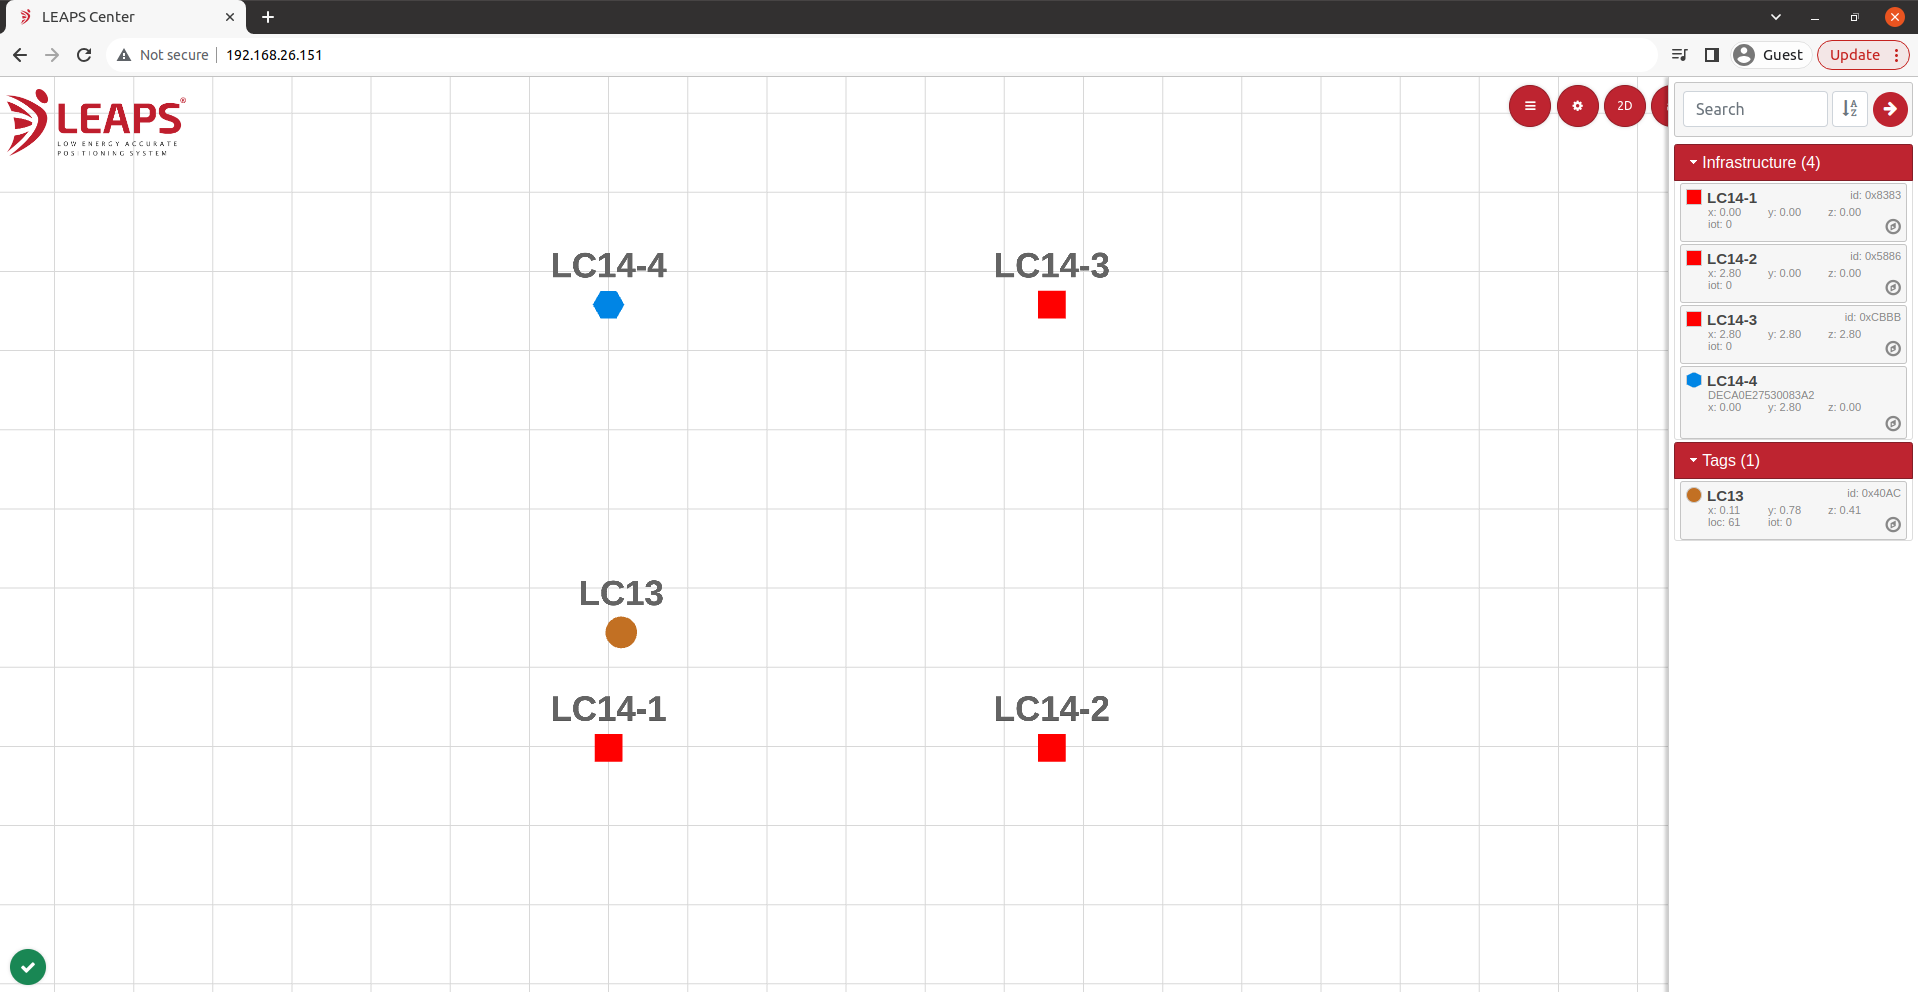
Please refer to the LEAPS Center and LEAPS Manager for more details on how to use the application to configure and visualize the nodes and network.
Now the system has been successfully set up and configured the system. Enjoy using it!