Our website is under construction. Please stay tuned!

LEAPS Raspberry Pi

This page provides:

  • The LEAPS Raspberry Pi package.

  • Information about system requirements.

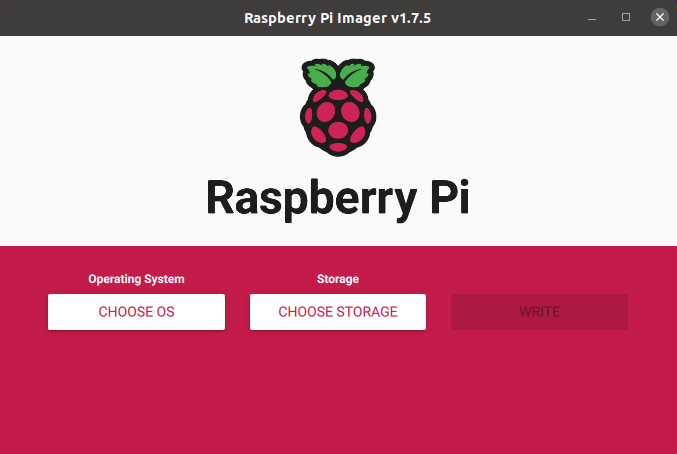
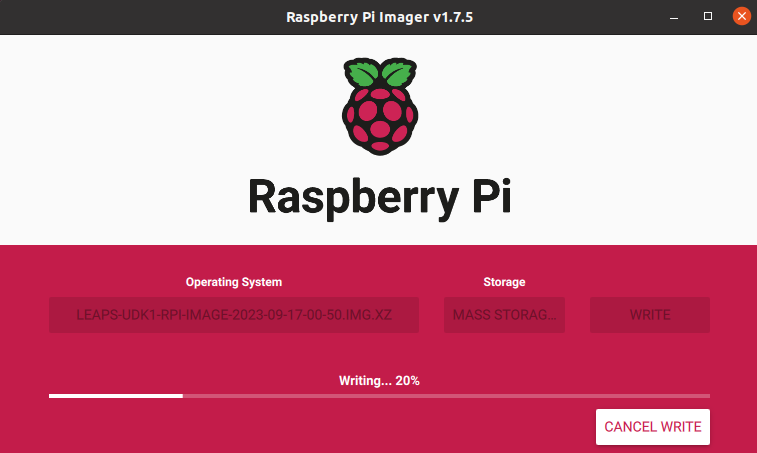
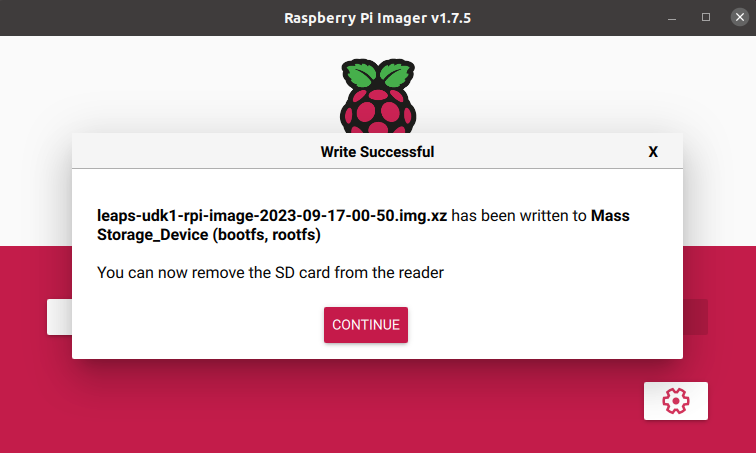
  • Instructions on how to install LEAPS Raspberry Pi.

The installation is fast and easy and only needs to be done once.

Before starting: Remember to back up any important files from the SD card you want to keep, as all data will be permanently overwritten during formatting.

System requirements

  • Raspberry Pi 3B or newer.

  • Recommended: A set of UDK1 (At least five devices) to verify.

  • Recommended: Batteries or USB-C cables for powering the devices.
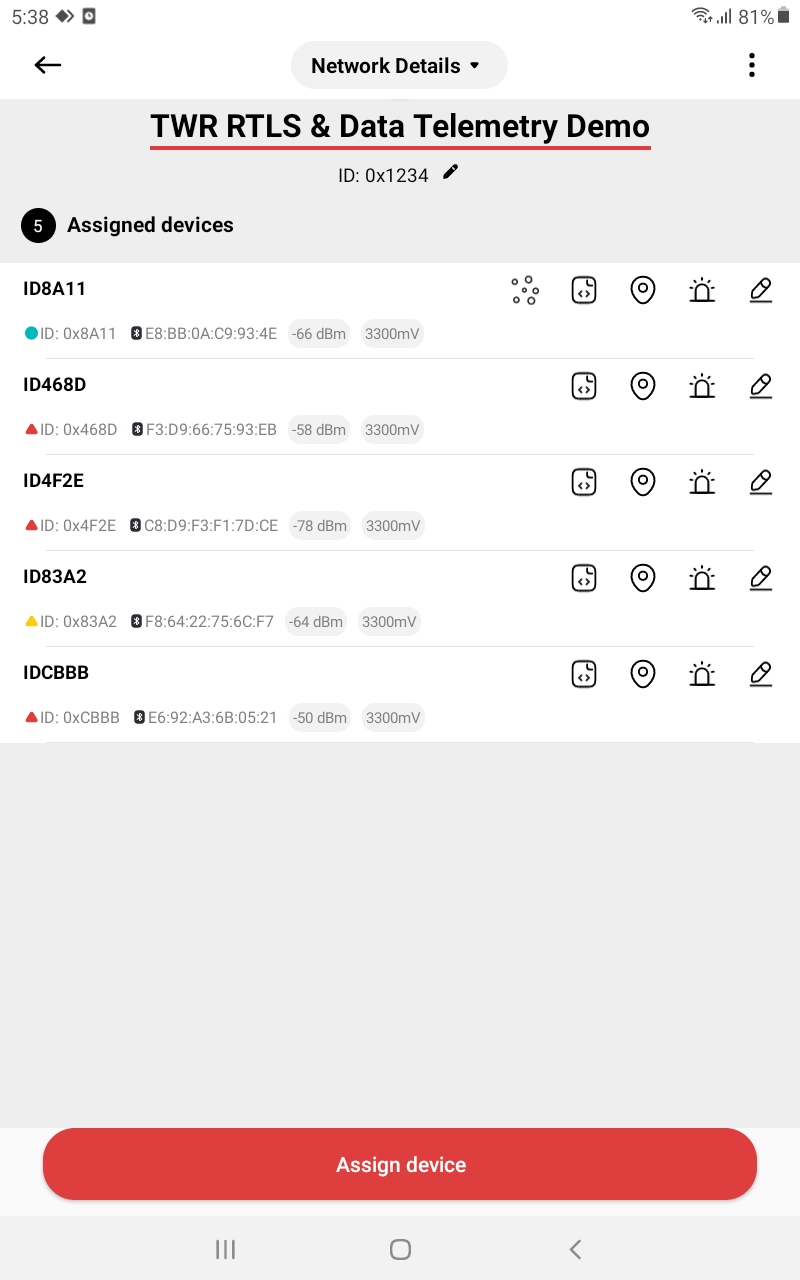
  • Recommended: LEAPS Manager to configure devices.

Setup instructions

  1. Download LEAPS UDK1 Raspberry Pi Image.

  1. Extract the LEAPS UDK1 Raspberry Pi Archive.

  • Use a program like WinZip or 7-Zip to extract the downloaded LEAPS UDK1 Raspberry Pi zip file.

  1. Launching the Raspberry Pi Imager.

  • Your operating system may try to block the installer.

  • On Windows: If you see a warning message, click More info and Run anyway.

  1. Installing the LEAPS UDK1 Raspberry Pi Image.

  • Insert your SD card into the computer or laptop’s SD card slot.

  • Open the Raspberry Pi Imager.

../../../_images/raspberry_pi_imager.png
  • Select ‘Use custom’ then select, the desired LEAPS UDK1 Raspberry Pi Image you want to install.

../../../_images/raspberry_pi_image_use_custom.png
  • Choose the correct SD card to install the image on. The drives may be displayed differently on different platforms.

../../../_images/choose_the_correct_sd_card.png
  • Take extra care to select the correct drive based on its memory capacity.

  • A new WRITE button will appear with “once the LEAPS UDK1 Raspberry Pi Image and the SD card are selected.

../../../_images/raspberry_pi_image_write.png
  • Click the WRITE button.

  1. Writing and finishing up.

  • Wait for the Raspberry Pi Imager to complete the writing process.

../../../_images/raspberry_pi_image_writing.png
  • Once you receive a confirmation message, you can safely eject your SD card.

../../../_images/raspberry_pi_image_confirm.png
  1. Getting started with LEAPS UDK1.

  • Remove the SD card from your computer or laptop and insert it into the Raspberry Pi.

  • Make sure your Raspberry Pi is powered on.

  • The LEAPS UDK1 system is installed and configured to boot with your Raspberry Pi.

  1. Wait for the System to Boot.

  • Please be patient and allow a few minutes for the entire system to finish booting

  1. Connect to the LEAPS-UDK1 network broadcasted by the Raspberry Pi.

../../../_images/connect_leaps_udk1_network.png
  1. SSH into the Raspberry Pi (optional).

  • On a PC (or even another Raspberry Pi), open a PowerShell or Terminal window, then enter the following command to connect to the Raspberry Pi via SSH.

    $ ssh leaps@192.168.1.1
    
  • By default the account is leaps and password is leaps.

  1. Use LEAPS Manager to prepare network.

../../../_images/twrrtlsanddatatelemetrydemo-advanced-01.jpeg
  1. Connection with Gateway Board.

  • Connect the gateway board to your Raspberry Pi using a USB-C Data Cable.

  • Plug the USB-C Data Cable into the USB-C Data Port 1 on your PC. Ensure a stable connection.

  • Will hear two beeps as a confirmation if successfully connected in gateway mode as confirmation.

  1. Check system status (optional).

  • Use the mosquitto_sub command to check the system status. This command will connect to the Mosquitto MQTT broker and display all messages received.

$ mosquitto_sub -p 1883 -d -v -t #
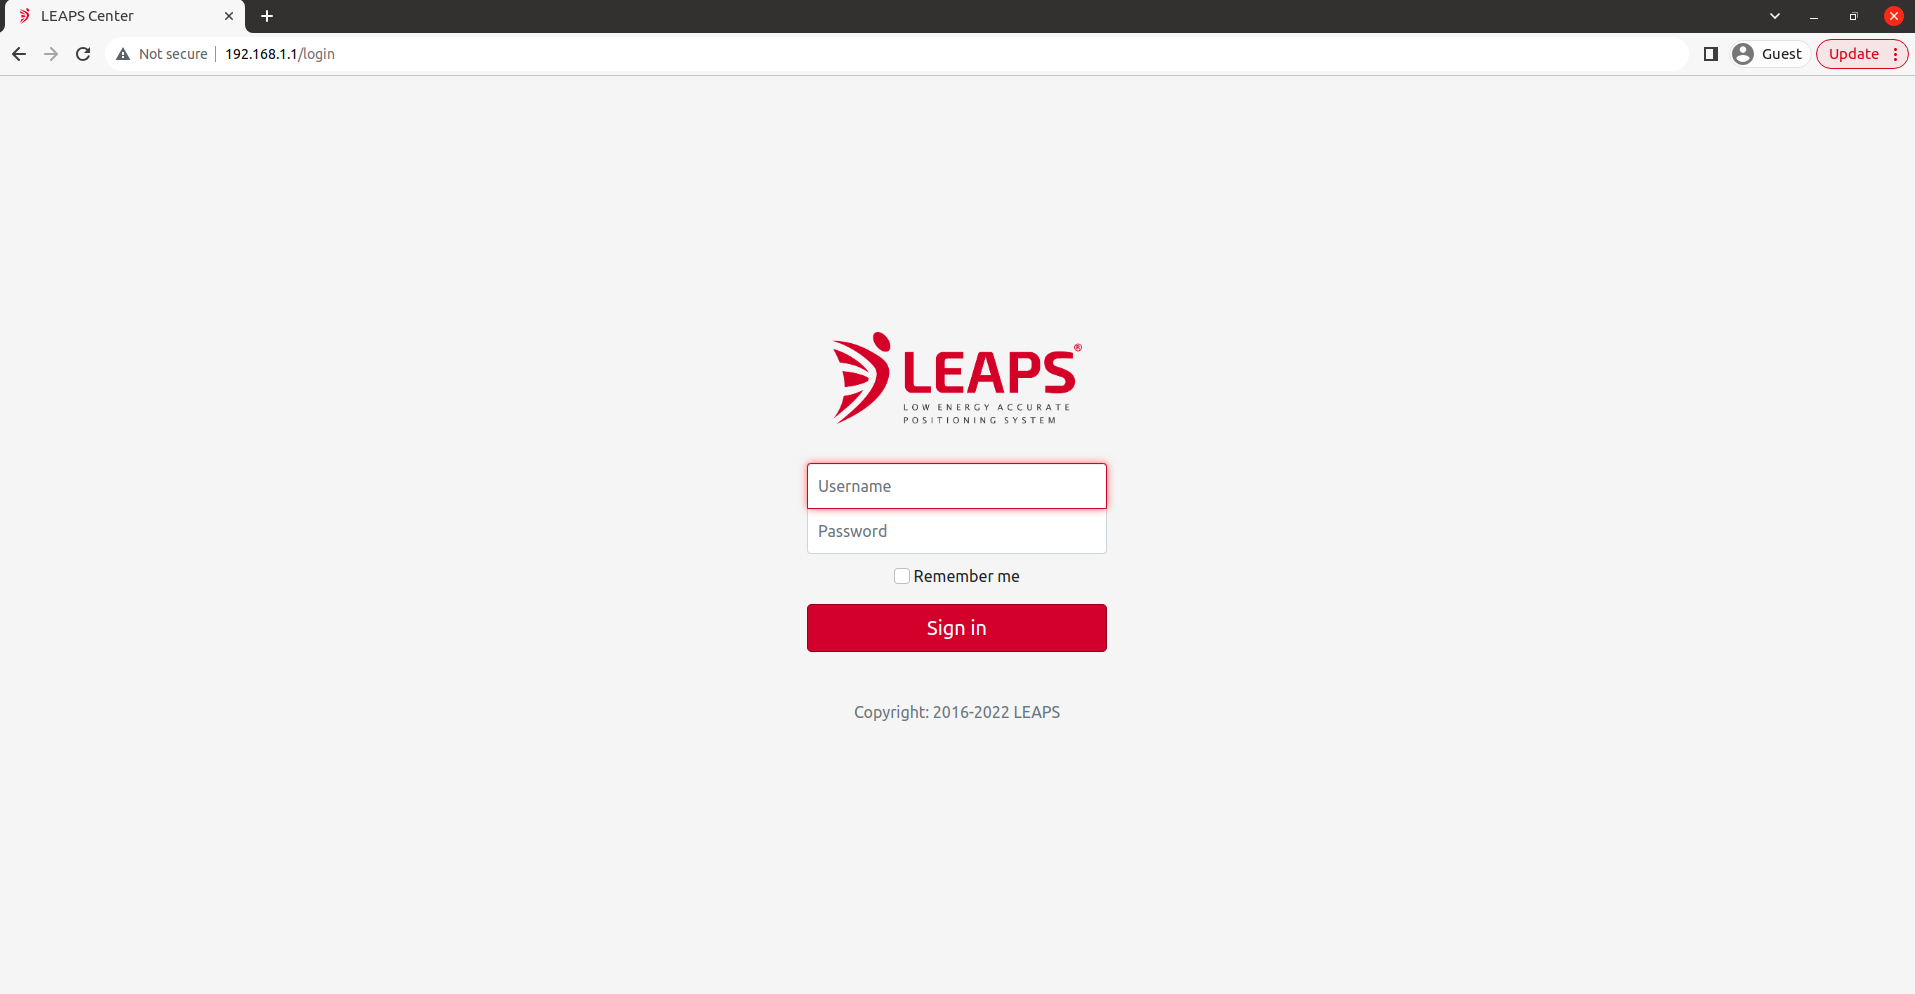
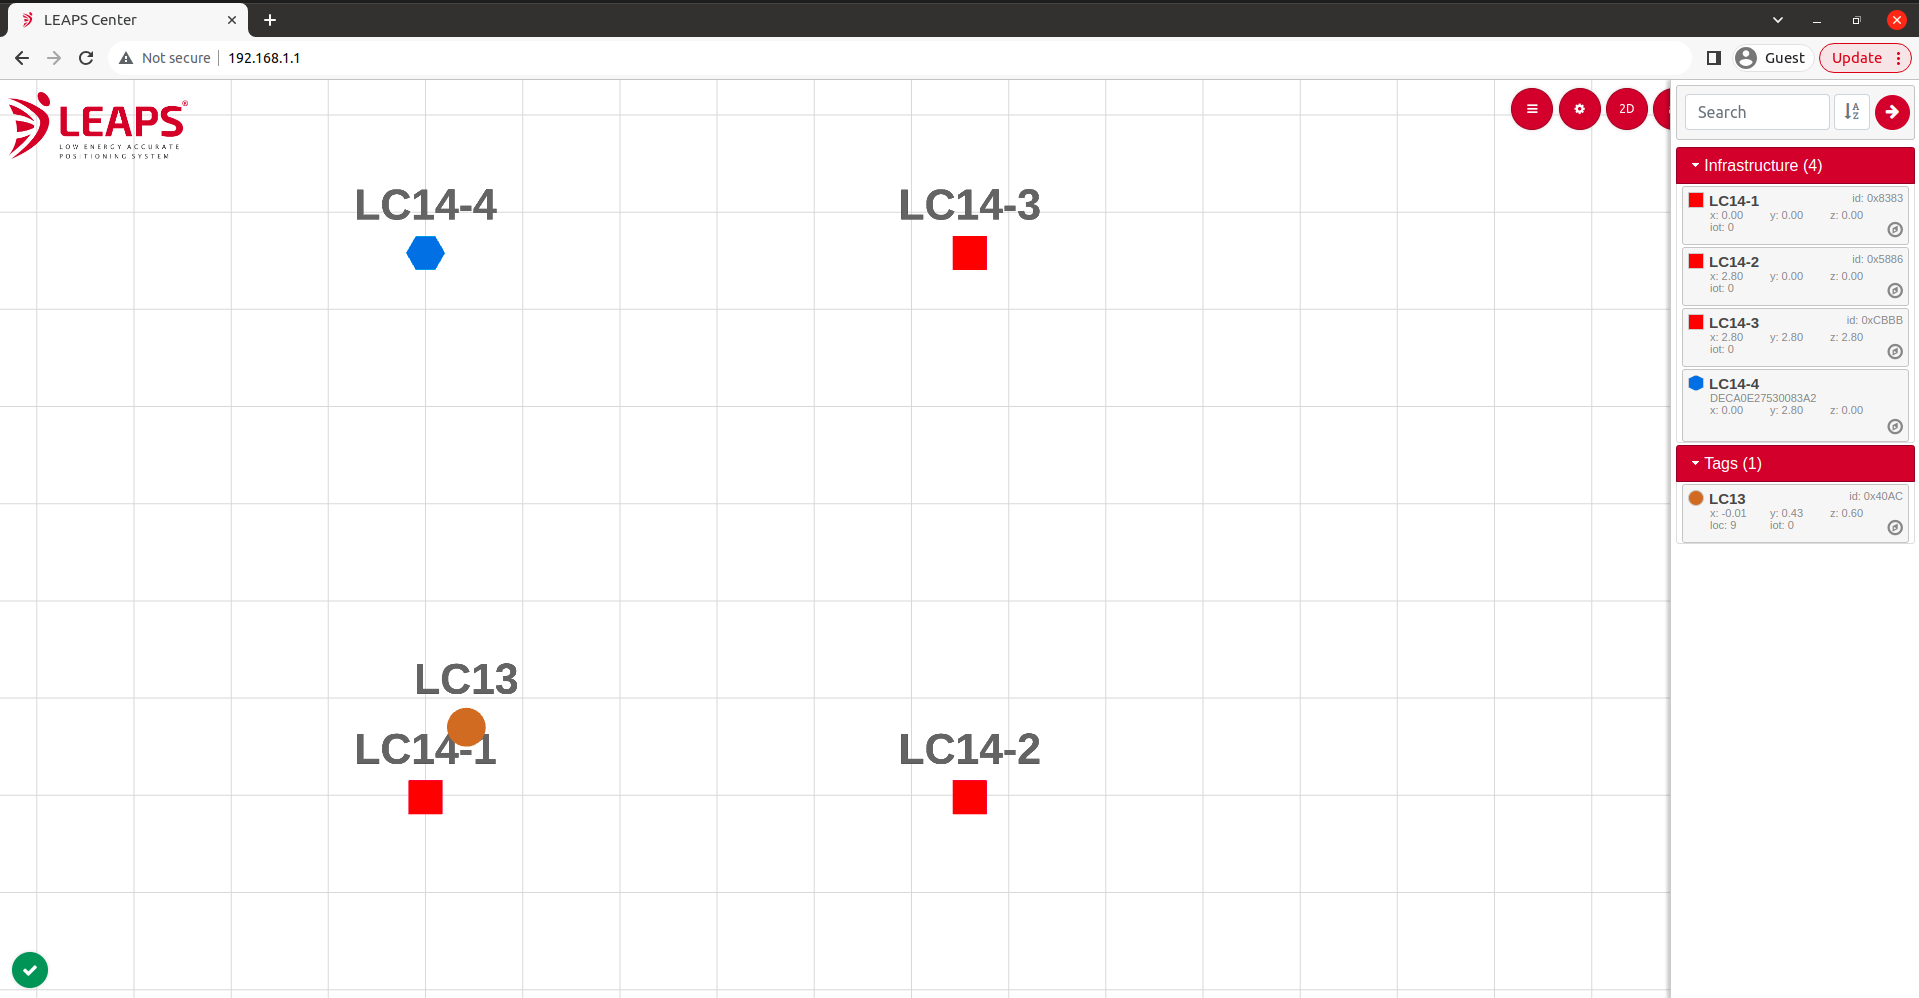
  1. Access LEAPS Center.

  • In a web browser, access the address 192.168.1.1/24. (This can be opened directly on Raspberry Pi or, on a PC that is connected to the LEAPS-UDK1 network broadcasted by the Raspberry Pi - Step 9)

  • If you are on a LAN network, use another computer’s web browser to access the Raspberry Pi’s IP address.

  • Configure the network settings in LEAPS Center to match the network ID of the gateway board you have connected.

../../../_images/raspberry_leaps_center_login.png
  1. Login LEAPS Center.

  • Logging in with Username as admin and Password as admin.

  1. Configure the network on LEAPS Center.

  • Check the network settings in LEAPS Center to match the network ID of the gateway board you have connected.

../../../_images/raspberry_leaps_center_network.png
  • Please refer to the LEAPS Center and LEAPS Manager for more details on how to use the application to configure and visualize the nodes and network.

Now the system has been successfully set up and configured the system. Enjoy using it!